
Related Manuals for panana CDA-07


Summary of Contents for panana CDA-07
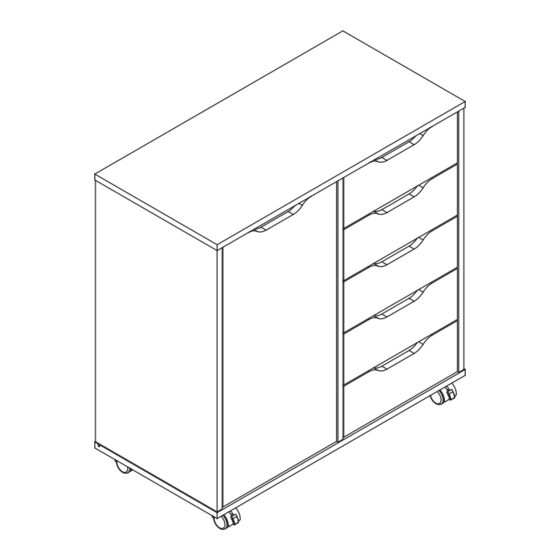
- Page 1 PAY L E SS W A I T L E SS 5-Drawer Chest with 1 Door CDA-07 Assembly Manual 120 MIN NUMBER OF PACKAGES APPROXIMATE ASSEMBLY TIME 2 PEOPLE ASSEMBLE...
-
Page 2: Exploded View
Exploded View ① ⑧ ④ ⑧ ③ ⑦ ② ⑤ ⑥ ⑪ ⑩ ⑫ ⑨ ⑩ Drawer 5X Panel List Please check the Panel list before installation. ⑨ ⑩ ⑪ ⑫ Item no. Qty. -
Page 3: Accessories List
Accessories List Please check the Accessories list before installation. Item Item Reference Image Qty. Reference Image Qty. ×6 ×2 ×6 ×2 FRONT ×5 ×10 ×12 ×20 ×58 ×10 ×6 ×2 ×46 ×4... - Page 4 A×6 When the thread is fully screwed in, it is installed. ×6...
- Page 5 C×5 E×15 ×15 ×5 Pre-drilled...
- Page 6 C×5 E×15 ×15 ×5 Pre-drilled...
- Page 7 D×12 ×12 √ ×...
- Page 8 B×6 Step1 Step3 Step2 Arrow Arrow (Unlocked) ×6 (Unlocked) Arrow Locked Unlocked...
- Page 9 ⑧ ⑧...
- Page 10 F×6 ×6 ⑤...
- Page 11 I×2 H×2 E×16 How to use "H" "OPEN" "LOCK" ×16...
- Page 12 G×16 90° 90° 90° 90° Put on corner guard to make the cabinet stable. G2×16 G1 ×16...
- Page 13 M×2 E×4 ×4 ×2 Pre-drilled...
- Page 14 E×8 Pre-drilled Pre-drilled ×8...
- Page 15 Non-essential steps fine-tune this method if needed +2mm -2mm +2mm +2mm -2mm -2mm Door hinge adjustment method and principle...
- Page 16 N×4 Adjust the height to install according to your needs. STEP 1 ×4 STEP 3 Fasten the notch of the active laminate to the laminate grain STEP 2 ⑦ Tilt the movable shelf and enter the cabinet...
-
Page 17: Drawer Installation
Drawer Installation ×5 K×20 L×10 ×4 DRAWER INSTALLATION SCAN QR CODE TO WATCH THE VIDEO Outward ×4 L×1 Drawer installation STEP 1 L×1 Drawer installation STEP 2 Pay attention to the slot and slot alignment Drawer installation STEP 3... - Page 18 Drawer Installation ×5 Drawer installation STEP 4 Drawer installation STEP 5 If you need to disassemble the drawer, please follow the steps below. REMOVE DRAWER SIDE PANELS Step1 SCAN QR CODE TO WATCH THE VIDEO Step2...
- Page 19 Drawer Installation ×5 G×20 G2×4 G1×4 90° RIGHT ANGLE DETECTION SCAN QR CODE TO WATCH THE VIDEO...
- Page 20 J×12 DRAWER ASSEMBLY SCAN QR CODE TO WATCH THE VIDEO Step1 Step2 Step3 ×10 ×10...