Advertisement
Quick Links
Advertisement

Related Manuals for Plumbworld PWLPRADC03


Summary of Contents for Plumbworld PWLPRADC03
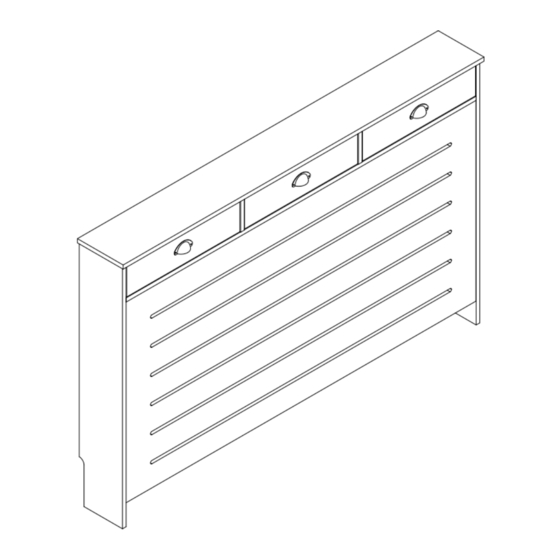
- Page 1 Large Radiator Cover with 3 Drawers PWLPRADC03 PWLPRADC06 PWLPRADC09 Issue 1 - 25/11/22...
- Page 2 WARNING! IN ORDER TO PREVENT OVERTURNING THIS PRODUCT MUST BE USED WITH THE WALL ATTACHMENT DEVICE PROVIDED Serious or fatal crushing injuries can occur from furniture tipping over. To help prevent this item of furniture tipping over: • Use the wall attachment device provided. •...
- Page 3 Fittings NOTE: The quantities below are the correct amount to complete the assembly. In some cases Cam Stud x 35 Cam Socket x 35 Dowel x 10 Drawer Stop x 6 50 x 40 x15mm Wall plug with Screw x 8 Handle x 3 12mm screw x 8 Wall Block x 3...
- Page 4 Panels Top panel x1 Left side panel x1 Right side panel x1 (150(w)cm x 19(d)cm) (94.5(h)cm x 18(d)cm) (94.5(h)cm x 18(d)cm) Centre panel x2 Middle panel x1 Face panel x1 (18(d)cm x 12(h)cm) (145.5(w)cm x 18(d)cm) (145.5(w)cm x 75(h)cm) Drawer front panel x3 Drawer left side panel x3 Drawer right side panel x3 (46.8(w)cm x 13(h)cm)
- Page 5 Cam Stud x 35 Cam Socket x 35 Dowel x 10 Drawer Stop x 6 Cam Stud x 10 50 x 40 x15mm Wall plug with Screw x 8 Handle x 3 12mm screw x 8 Wall Block x 3 35mm screw x 12 Felt Strip x 6 Wall Strap x 2...
- Page 6 Cam Stud x 7 180° Cam Socket x 4 Dowel x 2 For how to use camlocks watch our video: www.youtube.com/ watch?v=tBMdYxtpu88...
- Page 7 Cam Socket x 3 Cam Socket x 10 Dowel x 2...
- Page 8 Cam Socket x 6 Dowel x 6 50 x 40 x15mm Wall plug with Screw x 6 Wall Block x 3 wall...
- Page 9 12mm screw x 2 Wall Strap x 2 Washer x 2...
- Page 10 Washer x 2 Wall plug with Screw x 2 Cam Stud x 12 Handle x 3 12mm screw x 6 180° ×3 ×3...
- Page 11 Cam Socket x 12 ×3 ×3...
- Page 12 35mm screw x 12 Felt Strip x 6 180° ×3 ×3...
- Page 13 Using camlocks Step 1 Step 3 Connect the male Push the male camlock camlock as directed in into every hole. the assembly instructions using a screwdriver. Step 2 Step 4 Insert the female Turn the female camlock camlock as shown in the with a screwdriver.
Need help?
Do you have a question about the PWLPRADC03 and is the answer not in the manual?
Questions and answers