Advertisement
Table of Contents
Contents
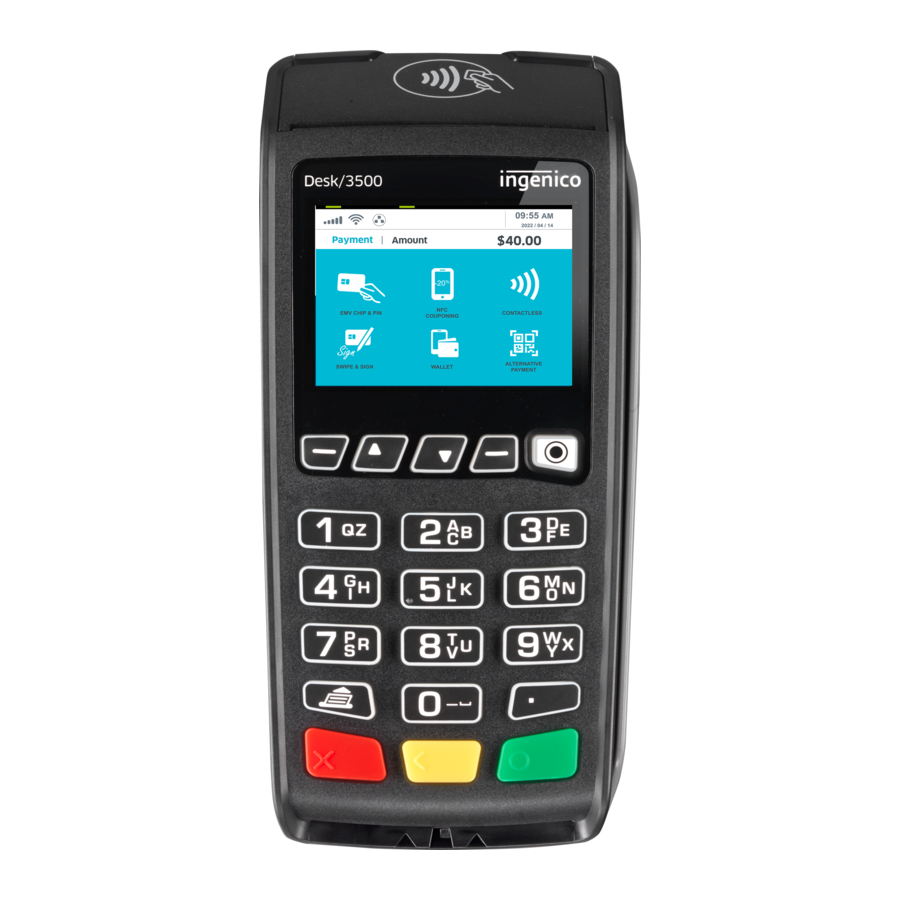
AFS Ingenico Desk 3500 - Payment Terminal Quick Reference Guide
INCLUDED IN YOUR BOX
- Ingenico Desk 3500 Terminal
- Power Supply
- IP Cabling - Phone Line | Ethernet
- Quick Reference Guide
- A Roll of Paper
KEYS

- Red Key: Cancel/go back to previous screen
- Yellow Key: Backspace
- Green Key: Enter/Confirm
RE-PRINT RECEIPT
- From home or idle screen select 9 for OTHER
- Press 4 for REPRINT or scroll down to REPRINT and press Green ENTER
- Press 1 for LAST RECEIPT
- Or select 2 to SEARCH by:
- # 1 – All
- # 2 – Reference
- # 3 – Server
- # 4 – Invoice/PO
- # 5 – Account
- # 6 – Customer
- # 7 – RRN
- # 8 – Approval Code
- Select MERCHANT COPY, CUSTOMER COPY or BOTH
- Receipts will print
OPEN/CLOSE TAB
- From home or idle screen press 2 for TAB
- Select from List: 1 – Open, 2 – Close, 3 – Delete
- Select 1 to Open a Tab
- Enter Server # and press Green ENTER
- Enter tab amount and press Green ENTER
- Swipe, Insert, Tap, or Key in card # and press Green ENTER
- Terminal verifies card and displays approval code on screen
- Receipts print
- • Select 2 to Close a Tab
- Use Search Menu to select tab to close
- Close Tab Amount will display. Choose Accept or Change
- Swipe, Insert, Tap, or key in card # and press Green ENTER
- Select Enter Tip if prompted and enter tip amount, otherwise select No Tip
- Confirm Total. Select Accept or Change
- Terminal verifies card and displays approval code on screen
- Receipts print
CREDIT SALE
- From home or idle screen press 0 (zero) for SALE
- Press 1 or Green ENTER for Credit
- Enter server number if prompted then press Green ENTER
- Swipe, Insert or Tap the card
- Select Enter Tip if prompted and enter tip amount, otherwise select No Tip
- Confirm Total. Select Accept or Change
- Terminal will verify card and display approval code on screen
- Customer and Merchant receipts print
MANUAL CREDIT SALE
- From home or idle screen press 0 (zero) for SALE
- Select 1 or Green ENTER for Credit
- Enter server number if prompted then press Green ENTER
- Enter sale amount then press Green ENTER
- Enter card number and then press Green ENTER
- Enter Exp Date then press Green ENTER
- Confirm Total. Select Accept or Change
- Cardholder present? Choose Yes or No
- If Yes, enter Zip Code then press Green ENTER
- If No, enter CVC code then Green ENTER
- Select Mail-Order/Telephone or eCommerce
- Enter Order Number
- Enter Address
- Enter Zip Code
- Terminal will verify account and display approval code on screen
- Customer and Merchant receipts print
DEBIT SALE
- From home or idle screen press 0 (zero) for SALE
- Press 2 for Debit or scroll down to Debit and press Green ENTER
- Enter server number if prompted then press Green ENTER
- Enter sale amount then press Green ENTER
- Swipe, Insert or Tap the card
- Select Enter Tip if prompted and enter tip amount, otherwise select No Tip
- Terminal will verify card and prompt for PIN entry – have customer enter PIN
- Approval code will display on screen
- Customer and Merchant receipts print
CREDIT CARD RETURN
- From home or idle screen press 1 for RETURN
- Select 1 or Green ENTER for Credit
- Enter server number if prompted then press Green ENTER
- Enter return amount, then press Green ENTER
- Swipe, Insert, Tap or Key in card
- Enter expiration date if keyed entry
- Terminal will verify card and then display approval code on screen
- Customer and Merchant receipts print
BATCH
- From home or idle screen press 8 for SETTLEMENT
- Terminal will ask: Close Batch and Deposit Funds?
- Select 2 or press Green ENTER for YES
- Terminal will close batch and connect with server, GB – Good Batch will display on screen and batch report will print
TIP ADJUST
- From home or idle screen select 5 for TIP ADJUSTMENT
- Select to search by:
- # 1 – All
- # 2 – Reference
- # 3 – Server
- # 4 – Invoice/PO
- # 5 – Account
- # 6 – Customer
- # 7 – RRN
- # 8 – Approval Code
- Once transaction is located, press Green ENTER to select
- Enter tip amount and press Green ENTER
- Confirm total. Select Accept or Change
- Terminal will connect and approve adjustment
SERVER MENU
- From home or idle screen select # button for ADMIN MENU
- Select 2 for Server Menu and select from the list:
- 1 – Add ID,
2 – Delete ID,
3 – Print ID, List
4 – Clerk Auto Add,
5 – Server Prompt,
6 – Clerk Wording,
7 – Display Parameters
REPORTS MENU
- From home or idle screen select # button for ADMIN MENU
- Select 1 or Green ENTER button for REPORTS
- Select report from list:
- # 1 – Detail
- # 2 – Summary
- # 3 – Server
- # 4 – Unadjusted Tip
- # 5 – Open Tabs
- # 6 – EMV Report
- # 7 – Stored Transactions
- # 8 – Recent Error
- Next select 1 – Print or 2 – Display
SERVER REPORTS
- From home or idle screen select # button for ADMIN MENU
- Select 1 or Green ENTER button for REPORTS
- Select 3 for Server, or scroll down to Server and press Green ENTER
- Press 1 for All Servers or press Green ENTER
- For Single Server report press 2 and enter Server #
- Report will print
Merchant Support
888-708-8019
support@go-afs.com
go-afs.com

Documents / ResourcesDownload manual
Here you can download full pdf version of manual, it may contain additional safety instructions, warranty information, FCC rules, etc.
Download AFS Ingenico Desk 3500 - Payment Terminal Quick Reference Guide
Advertisement


Need help?
Do you have a question about the Ingenico Desk 3500 and is the answer not in the manual?
Questions and answers