Table of Contents
Advertisement
Quick Links
+45°
-45°
min10mm-
max88mm
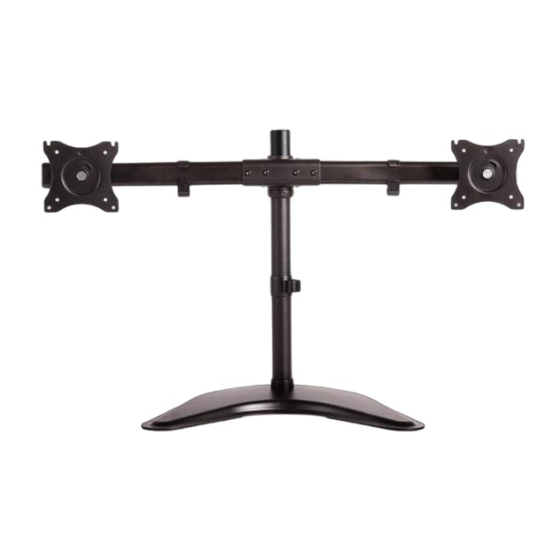
NM-D335DBLACK
EN
Monitor desk mount
NL
Monitor bureausteun
DE
Monitor Tischhalterung
FR
Support moniteur de bureau
IT
Supporto da scrivania per monitor
ES
Soporte de escritorio para monitor
PT
Suporte de mesa para monitor
DK
Bordbeslag skærm
INSTRUCTION MANUAL
360°
NO
Bordstativ til skjerm
SE
Skrivbordsfäste för bildskärm
FI
Näytön pöytäteline
PL
Uchwyt nabiurkowy do monitora
CS
Stolní držák monitoru
SK
Držiak na monitor
RO
Suport de birou pentru monitor
WWW.NEOMOUNTS.COM
Advertisement
Table of Contents

Related Manuals for NeoMounts NM-D335DBLACK


Summary of Contents for NeoMounts NM-D335DBLACK
- Page 1 INSTRUCTION MANUAL +45° -45° 360° min10mm- max88mm NM-D335DBLACK Monitor desk mount Bordstativ til skjerm Monitor bureausteun Skrivbordsfäste för bildskärm Monitor Tischhalterung Näytön pöytäteline Support moniteur de bureau Uchwyt nabiurkowy do monitora Supporto da scrivania per monitor Stolní držák monitoru Soporte de escritorio para monitor Držiak na monitor...
- Page 2 Tool Drill NM-D335DBLACK 0-8 kg 0-45 cm 75x75 - 100x100 mm (2x) PARTS A. (x1) B. (x2) C. (x1) D. (x1) E. (x1) F. (x2) G. (x1) H. (x1) I. (x2) J. (x2) K. (x1) L. (x5) M. (x2) N. 3mm O.
- Page 3 STEP 1 Grommet Mount the grommet to the rod and install through the desk Monteer de doorvoer aan de stang en installeer in het bureau Befestigen Sie die Tülle an der Stange und installieren Sie sie im Schreibtisch Montez le passe-fil sur la tige et installez-le dans le bureau Montare il gommino sull'asta e installarlo nella scrivania Monte el pasacables en la varilla e instálelo en el escri-...
- Page 4 STEP 2 Adjust the height to the desired position Stel de hoogte in op de gewenste positie Stellen Sie die Höhe auf die gewünschte Position ein Ajuster la hauteur à la position souhaitée Regolare l'altezza nella posizione desiderata Ajuste la altura a la posición deseada Ajustar a altura para a posição desejada Ustawić...
- Page 5 STEP 4 Attach the VESA plates to the crossbar Bevestig de VESA-platen aan de crossbar Befestigen der VESA-Platten an der Querstange Fixez les plaques VESA à la barre transversale Attaccare le piastre VESA alla barra trasversale Coloque las placas VESA en la barra transversal Prenda as placas VESA na barra transversal Przymocuj płyty VESA do poprzeczki STEP 5...
- Page 6 STEP 6 Adjust the mount to the desired position and loosen or tighten the adjustment knob if necessary Stel de steun in op de gewenste positie en draai de stel- knop desgewenst losser of vaster Stellen Sie die Halterung auf die gewünschte Position ein und lockern oder ziehen Sie den Einstellknopf an, falls er- forderlich Ajustez la monture à...
- Page 7 STEP 8 Attach the screen to the bracket and secure it Bevestig het scherm op de beugel en zet vast Befestigen Sie den Bildschirm an der Halterung und sichern Sie ihn * Not Included Attachez l'écran au support et fixez-le Fissare lo schermo alla staffa e fissarlo Coloque la pantalla en el soporte y fíjela Fixar o ecrã...
Need help?
Do you have a question about the NM-D335DBLACK and is the answer not in the manual?
Questions and answers