Advertisement
Quick Links
Advertisement

Related Manuals for Venesta SGL


Summary of Contents for Venesta SGL
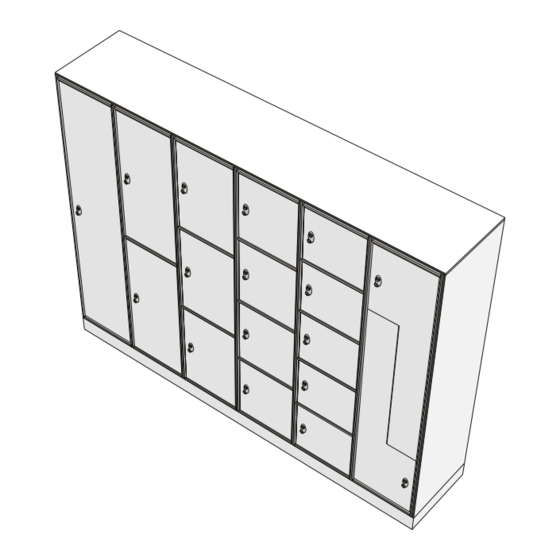
- Page 1 627-212-06 (11/22) SGL Locker We know washrooms Installation Instructions...
- Page 2 Recommendations for Solid Grade Laminate (SGL) Machining • Pilot hole diameters for screw fixing to SGL to be 0.5mm less than diameter of screw. • Use tungsten carbide tipped blades/cutters or metal cutting tools. Generally; • No 6 screw - 3.5mm •...
- Page 3 Introduction Safety Prerequisites Panel Storage & Conditioning Secure Fixing • To ensure panels and doors remain flat ambient It is vital that the structural integrity of walls, ceilings site conditions must be stable prior to delivery. and floors is capable of taking the dynamic and static Variable temperature and humidity can cause panels loads imposed by the fixings to support the product.
- Page 4 Layout & Levelling ! These products require very careful setting out and are manufactured to tight tolerances. ! Installers should be highly experienced and be qualified to a carpentry joiner level. ! Before installation, if in any doubt about how to install these products please contact our technical department.
-
Page 5: Site Preparation
Site Preparation Refer to layout drawing Plinth to be supplied by others as standard If optional SGL plinth has been supplied see details on pages 16-17 Please ensure plinth is level 627-212-06 (11/22) - Page 6 Locker Fixing Details Ensure fixings are suitable for application. Due to locker weight, secure fixing is vital; please consult a fasteners specialist. Wall end lockers must be fixed to the side wall in the top and bottom compartments (1). EVERY locker must be fixed to the wall at the top (2). Appropriate ø...
- Page 7 Locker Fixing Details (continued) 6 . 5 ø Repeat steps 2 and 3 until all lockers are installed 627-212-06 (11/22)
- Page 8 End Panel Fixing Details Fix from inside locker m ø e e p 1 0 m Do NOT drill through outside 4 . 0 face 1 2 m 627-212-06 (11/22)
- Page 9 Top Panel Fixing Details Drill 5mm holes through top panel and 3mm Ø x 10mm deep holes in top of locker 627-212-06 (11/22)
- Page 10 Variation A) Corner Arrangement Prepare site - see step 3, page 5 Cut down corner SGL Assemble SGL panels and angles panels and angles to suit to make corner section 3 . 5 1 1 m ø e e p 4 .
- Page 11 Variation B) Lockers with Benching: Bench Assembly Details Assemble upside-down on a clean, flat surface Hardwood Do NOT drill through faces of bench slats Hardwood *Washer required for SGL slats only turn over 627-212-06 (11/22)
- Page 12 Variation B) Lockers with Benching: Bench Fixing Details Leg can be wound up/down to adjust height Appropriate anchor bolt or fixing (not supplied) Ensure fixings are suitable for application Ensure bench is fixed securely u i t ø t Appropriate anchor bolt or fixing (not supplied) 627-212-06 (11/22)
- Page 13 Variation B) Lockers with Benching: Locker to Bench Fixing Details Secure lockers individually as shown in step 4, pages 7 - 8 underside view Do NOT drill through face of locker base *Washer required for SGL slats only 627-212-06 (11/22)
- Page 14 Variation B) Lockers with Benching: Optional Front Panel Fixing Details 3 . 5 1 0 m ø e e p Scribed by site inside 4 . 0 view Do NOT drill through face of panel 627-212-06 (11/22)
- Page 15 Variation B) Lockers with Benching: Top and End Panel Fixing Details Secure top and end panels as shown in step 5, page 9 and step 6, page 10 627-212-06 (11/22)
- Page 16 Appendix C: SGL Plinth Assembly & Installation Cut to required lengths 3 . 5 1 1 m ø e e p 4 . 0 1 2 m ø e e p 3 . 5 1 1 m 4 . 0 1 2 m 3 .
- Page 17 Appendix C: SGL Plinth Assembly & Installation (continued) Appropriate screw (not supplied) Appropriate plug or similar (not supplied) Ensure walls are level prior to installation Ensure plinth is fixed securely 627-212-06 (11/22)
- Page 18 Appendix D: Coin Retain & Coin Return Locks There is a small red tag attached to the locks allowing them to lock without a coin. This should be removed after installation to allow normal operation. If coin is stuck, please use lever to release Coin Return &...
- Page 19 We recommend using a hammer to view connect the two sides together. Alderflat Drive Newstead Industrial Estate Trentham Stoke-on-Trent ST4 8HX Venesta have a policy of continuous improvement and reserve the right to amend the information in this publication without notice 627-212-06 (11/22)