
Subscribe to Our Youtube Channel
Related Manuals for eRapta A9


Summary of Contents for eRapta A9
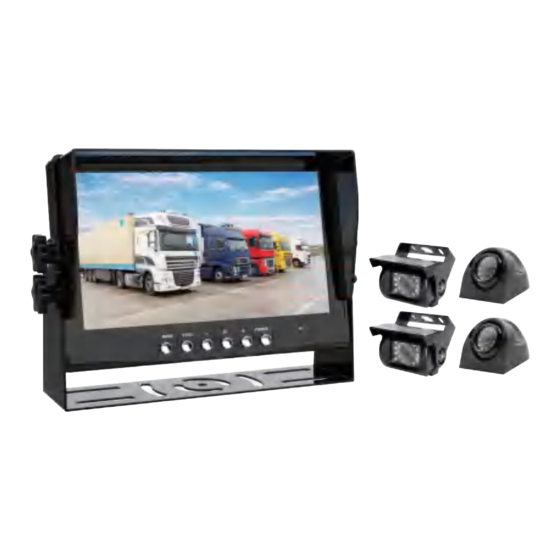
- Page 1 Operating Instructions & Installation Guide Backup camera with 9”monitor and DVR Before Operating This Set Please Read These Instructions Completely sales2@erapta.com...
-
Page 3: Monitor Introduction
1. Monitor introduction The user can perform the manipulation of the guest power segment on the display parameters through the following nuclear health operations. ① ② ③ ④ ⑤ ⑥ ⑦ ①MODE: select/confirm button ②V1/V2: Mode switch button ③ : Decrease button ④M: Menu button ⑤... -
Page 4: Remote Controller Introduction
2. Remote Controller introduction (1).Standby: Power ON/OFF (2).Video Select: Channel switch (3).Menu: Go in setting page (4).Mode Select: Start/end video, take photos, menu selection (5).Function Down: Reduce when in setting page (6).Function Up: Increase when in setting page 3.Wiring instructions 3.1. - Page 5 Our engineer made a video in eRapta official website about how to install. How to find the video? ①. Surf the address https://www.erapta.com/pages/installation9...
- Page 6 3.3. About Trailer installation If you need to extend the cable for your trailer, please tell us via our email: sales2@erapta.com. So we can send the extend cable for you, then you can extend it as the attached picture below shows, and you can disconnect them by Rotating the button of cable.
- Page 7 2.The extend 4 pin cable we 1.The original 4 pin cable want to send 3.4. How to adjust the angle of side camera: twist the camera's ball unscrew the camera's to get the image that open the camera's base screws you want...
-
Page 8: Basic Function
3.5. How to install the monitor and camera: ① install the monitor and camera ② choose the monitor brackets 4.Basic Function Make sure Turn off the recording video function when you use the menu button into basic function.Press the SEL button of monitor let the red point disappear then the recording video function will disappear. - Page 9 Date Setting View Playback Sp;it Setting System 4.1 Date Setting Press the button Date Setting (Increase MODE time/ decrease time) (into next time setting) until last complete set MODE 4.2 View Press the button Press View MODE Brightness Saturation Contrast 4.3 Playback Press the button...
- Page 10 4.4 Split Setting Press the button Press thrice Split Setting MODE Choose a default split screen mode among SIX split screen modes in picture. 4.5 System Press the button Press four times System Reversing Line Line off Cyclic Record 1 Min Astern Delay Timestamp Language...
- Page 11 (1). Reversing Lines: off / MODE 1/2/3 (2). Astern Delay: off / 3s/ 6s/ 9s That means after reversing trigger ended, it will return to monitoring page after the setting time. (3). Cyclic Record: Recording video for the certain length. (4).
- Page 12 Amazon Order ID# : A additional original A additional original A HD dash cam with side camera rectangular camera 16GB SD card Contact Person: Luis Contact Email: sales2@erapta.com Website: www.eRapta.com...
Need help?
Do you have a question about the A9 and is the answer not in the manual?
Questions and answers