Advertisement
Quick Links
Advertisement

Related Manuals for Karol URBAN CHIC

Summary of Contents for Karol URBAN CHIC
- Page 1 URBAN CHIC Instructions of assembly...
- Page 2 An improper lifting or an incorrect transport may cause cracks of glass/stone tops. 4) Carry the top in the proper mounting position. We recommend to stick always to these simple rules. Karol disclaims all responsibility in case of breakages due to improper handling and assembling.
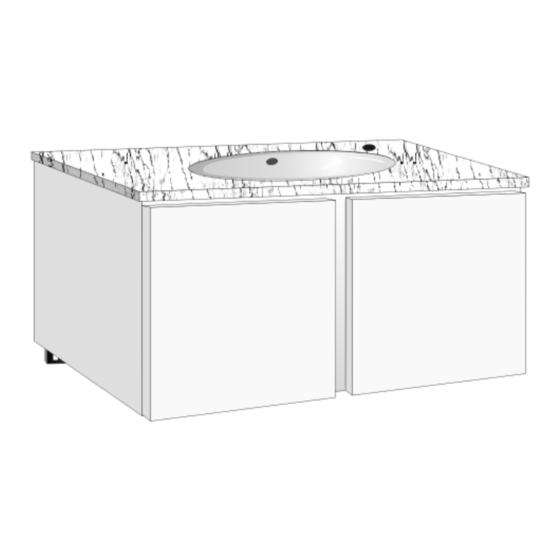
- Page 3 Assembling instructions for hanging vanity units and wall cabinets “Urban chic” Assembling 1) Fix the “E” bracket to the wall at wished height (height depends on use of under or over top built-in basins). PLEASE NOTE: IT IS VERY IMPORTANT TO MOUNT THE BRACKET LEVELLED 2) Open the drawers and the large pull-out drawers “A”...
- Page 4 Assembling instructions for wall cupboards “Urban chic” Assembling 1) Fix the bracket “A” in line with the wall, mark holes, drill, insert screw anchors and screw. 2) Hang the cabinet on the bracket “A” by adjusting the screw “B” from inside to level it.
- Page 5 Drawers fronts “Urban chic” Adjustment 1) Remove the side plate. 2) Vertical adjustment. 3) Horizontal adjustment. + -- - 2 mm 1 mm to the right 1 mm to the left We disclaim all responsibility if the assembling is not carried out as advised.
- Page 6 Assembling instructions for undertop basin “Urban chic” Assembling 1) Place the basin “A” on the cabinet “B”. 2) Put silicone on the basin’s edge”A”. 3) Put silicone on the edge of top “D” side against wall/walls. 4) Place the top on the cabinet and act on “C” screws pushing up the basin as long as there is a perfect adhesion between top and basin.
- Page 7 Assembling instructions for “Urban chic” standing basin K9504 Assembling 1) Fix the “E” bracket to the wall at wished height. PLEASE NOTE: IT IS VERY IMPORTANT TO MOUNT THE BRACKET LEVELLEDPL EASE 2) Open the drawers and the large pull-out drawers “B”...
- Page 8 Electrical connecting/maintenance for “Urban chic” internal lighting kit Assembling 1) Unscrew the screws “A” and remove the white panel. 2) Insert the electric cable in the hole “B” and connect it to the terminal board “C”. 3) Close the unit with the white panel by fixing it with screws “A”.
- Page 9 Assembling instructions for internal fittings “Urban chic” Assembling 1) Place the screws “C” on the prearranged cuts on the door. 2) Screw the screws “C” leaving the space to insert the fitting “A”; insert the fitting “A” and tighten the screws.
- Page 10 Assembling instructions for towel holder “Urban chic” Assembling 1) Place the screws “C” on the prearranged cuts “E” as per drawing “D”. 2) Place the supplied cylinders between the towerl holder “A” and the door “B” and screw. We disclaim all responsibility if the assembling is not carried out as advised.
- Page 11 Assembling instructions for mirrors “Urban chic” Assembling Mirror stirrup 1) Fasten the two hooks “G” to the wall by acting on “E” screws. 2) Place the mirror acting on hook “G”. Wall hook 3) Unhook the mirror and fasten “F” screws.