
Related Manuals for Autonnic A4032

Summary of Contents for Autonnic A4032
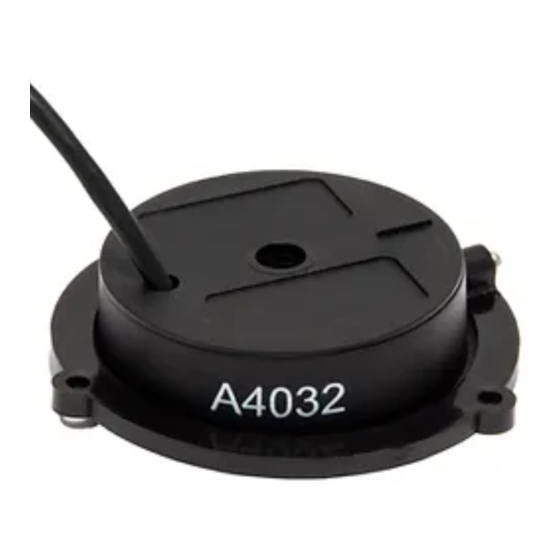
- Page 1 A4032 COMPASS PICK-UP USER MANUAL October 2022 A4032 manual 13 Hardware version 3 PCB 7319-6 PCB 7322-3 Software version V040...
-
Page 2: Table Of Contents
Table of Contents Description Installation Mounting Power supply Connection 2.3.1 Compass to a NMEA-0183 instrument 2.3.2 Compass to a PC serial port Calibration Serial data NMEA-0183 Input Commands and Output Data References... -
Page 3: Description
Installation Mounting The A4032 is fixed to the base of the ship’s compass using the fixing holes shown in the data sheet. The cable hangs down directly from the labelled side of the housing. It does not matter which way it faces as the azimuth can be set to North at any time. -
Page 4: Connection
‘noise’ from a switching power supply. But this is unlikely as the A4032 will be mounted on a fixed compass which should have been sited correctly. -
Page 5: Compass To A Pc Serial Port
2.3.2 Compass to a PC serial port In many cases the wires can be joined directly as shown in Fig 2. Alternatively use the Autonnic A3036 serial interface unit. 1 +8-30V POWER SOURCE COM PORT D CONNECTOR 7 GND 5 GND... - Page 6 Hardware notes: 1 The A4032 is to be attached to a magnetic compass which itself can be rotated while the A4032 does not move relative to the compass so that, at all times, the A4032 data represents the angle of the magnet of the Compass.
- Page 7 Close the port (but leave the program running) and open the Calibration Tool V1.02. Open the correct comm port to connect. Then adjust the Compass so the needle is at 0.0 and adjust the A4032 by rotating it so it too reads 0.0. Then press...
- Page 8 When the button says ‘Calibrate 360’ DO NOT press it but close the com port with [Close com port]. On the Autonnic Factory Utility V1.12 screen reconnect the port. Then press [SCV] to transfer the points to the internal calibration tables within the A4032.
-
Page 9: Nmea-0183 Serial Data
In the A4032 the sentence may have one of several forms typically of the general form: $HCHDG,hhh.h,,,,*ssss<CR><LF> Note that the first character is typically $ but the A4032 will respond correctly even if it is missing. List of Command in V040 of the software Factory default calibration values;... - Page 10 4.2.11 Read heading damping value 4.2.12 Read heading offset 4.2.13 Read device serial number One shot read of raw ADC values: 4.2.14 X, Y, REF,Vector,Temperature 4.2.15 Copy calibration bank 2 to bank 1 4.2.16 Read software version 4.2.17 Set temperature output period 4.2.18 Set NMEA output period 4.2.19...
- Page 11 4.2.4 $PATC,IIHDG,CFG,ab<CR><LF> Configures the output sentence structure and type. [Replies with the standard acknowledge sentence $PATC,HCHDG,ACK<CR><LF>] Where 'a' specifies the heading of the output sentence as follows: a=0 : $HCHDG,hhh.h,,,,<CR><LF> a=1 : $HCHDT,hhh.h,T<CR><LF> a=2 : $HCHDM,hhh.h,M<CR><LF> a=3 : $HCHCC,hhh.h<CR><LF> - default a=4 : $HEHDT,hhh.h<CR><LF>...
- Page 12 : a=0 device mount normally (i.e. top of fluxgate pointed upward) a=1 device mount inertly (i.e. top of fluxgate pointed downward) The A4032 replies with the standard acknowledge sentence 4.2.9 $PATC,IIHDG,PCV,aa0<CR><LF> This command should be used only after sending the 0CV command.
- Page 13 If the calibration is successful and within allowed limits ACK is sent back otherwise a NACK is sent back: $PATC,IIHDG,PCV,340 $PATC,HCHDG,ACK successful $PATC,IIHDG,PCV,322 $PATC,HCHDG,NACK not successful because angle not multiple of 10°. $PATC,IIHDG,PCV,320 $PATC,HCHDG,NACK not successful because at 320° the P6033 thought it was at <...
- Page 14 4.2.12 $PATC,IIHDG,RHO<CR><LF> $PATC,IIHDG,RHO,nnn.n<CR><LF> Where nnn.n is the heading offset Note that leading zeros are suppressed eg 0.0 4.2.13 $PATC,IIHDG,RID<CR><LF> Request the serial number: A special proprietary reply sentence follows: $PATC,IIHDG,RID,ssss<CR><LF> where ssss is the serial number in ASCII decimal. 4.2.14 $PATC,IIHDG,RXY<CR><LF>...
- Page 15 4.2.16 $SR <CR><LF> Read device firmware release A typical response from a unit is as follows: $SR,A5024,016,02<CR><LF> showing the release is 016. 4.2.17 $PATC,IIHDG,TMP,rr Set rate at which temperature data is sent. where rr is the rate from 0 (default) to 30. $PATC,IIHDG,TMP,0 disables the temperature display feature $PATC,IIHDG,TMP,1 sets the temperature display rate to the fastest rate of once a minute...
-
Page 16: References
Where the value following the MFE is a representation of the field strength. References A4032 data sheet NMEA-0183 specification Autonnic and the *A logo and Fluxgateworld are registered Trade Marks of Autonnic Research Ltd ©2006 - 2022 Autonnic Research Ltd Tollesbury Essex CM9 8SE UK www.autonnic.com...
Need help?
Do you have a question about the A4032 and is the answer not in the manual?
Questions and answers