
Related Manuals for aquanta AQ-CA-E300-1

Summary of Contents for aquanta AQ-CA-E300-1
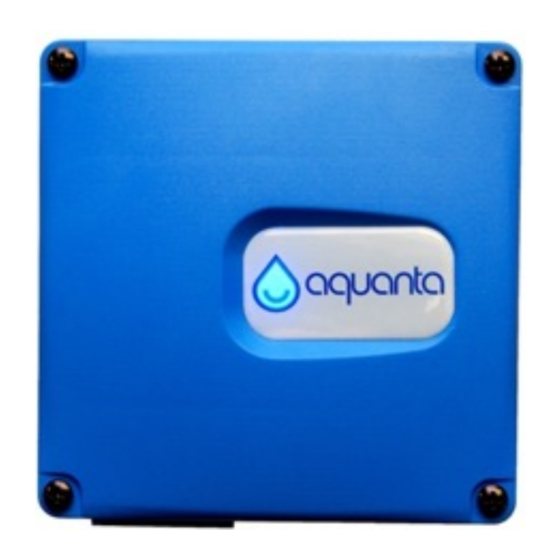
- Page 1 Smart Water Heater Controller Installation Instructions For Electric Water Heaters Model: WiFi (AQ-CA-E300-1) Version 3.1 Aquanta Inc.
- Page 2 The Aquanta E300 Controller contains a Wi-Fi transmitter module FCC ID: VPYLBYD. This device complies with Part 15 of FCC Rules and Industry Canada license-exempt RSS standard(s). Operation is subject to the following two conditions: (1) this device may not cause interference, and (2) this device must accept any interference, including interference that may cause undesired operation of this device.
-
Page 3: Tools Needed
(do not use power tools for installing • Voltage tester (optional) Aquanta) Parts Included: 1. Aquanta Controller 2. Temperature Sensors (2 each) 3. Cable Management Clips (4 each) 4. Cable Ties for retaining the Temperature Sensors (4 each) 5. Leak Sensor (Optional) - Page 4 This is typically a double breaker for electric water heaters. Aquanta is intended for use on electrical branch- circuits of 30 amps or less. Do not connect Aquanta to a branch circuit that has a circuit breaker larger than 30 amps.
- Page 5 Aquanta. Orient Aquanta to face the desired direction and then tighten the nut on the conduit fitting. Lower Aquanta, with cover plate, over the two wires coming from the water heater and then secure the cover plate onto the water heater using the original screws.
- Page 6 Do not use a power tool to tighten the screws. Install the original cable clamp for the AC Mains supply wire in the hole at the top of Aquanta. Straighten the AC Mains supply wires and pull them down through the cable clamp. Ensure that there is sufficient ground wire to reach the ground screw at the bottom of the Aquanta unit and sufficient black and white wire to reach the upper terminal block (marked Line).
-
Page 7: Sensor Installation
Plug this sensor into the “T&P” connector (the top 2-pin port) on the side of Aquanta (see Step 4 on page 8). 2. Attach the second Temperature Sensor to the cold water inlet pipe using two of the supplied Cable Ties. - Page 8 Plug the Leak Sensor into the “Leak” connector on the side of Aquanta (see Step 4 below). Connect the sensors to Aquanta as marked. The “AUX” port is not used. The T&P sensor goes on the Temperature & Pressure relief valve.
- Page 9 5. Four Cable Management Clips are included with Aquanta. Use these clips to organize the routing of the wires on the water heater. Place two of the clips on the back of Aquanta is a convenient way of retaining excess sensor wire.
- Page 10 Aquanta. This label is located on the top of your Aquanta as shown. Congratulations! You have now completed the Aquanta installation! For a tutorial on how to use Aquanta to manage your water heater, visit www.aquanta.io and click on “Preview the Dashboard.”...
- Page 11 Normal operation with AC power applied to the hot water cylinder. Aquanta is preventing the water heater from heating which means you have to put Aquanta in Away Mode, or you have to set a Schedule. Aqua, Blue, Purple Aquanta Intelligent Mode Operation LED Blinking Wireless connection to the server is not available.
- Page 12 FAQs To view our Frequently Asked Questions on our website at https://aquanta.io/faqs/. Support If you have any issues with your Aquanta, email support at support@aquanta.io Thank you and enjoy your Aquanta! Cool Technology for Hot Water Aquanta Inc. 1775 Tyson Blvd FL5 Tysons, VA 22102 support@aquanta.io...
Need help?
Do you have a question about the AQ-CA-E300-1 and is the answer not in the manual?
Questions and answers