
Related Manuals for aquanta AQ-CA-E100-ESL

Summary of Contents for aquanta AQ-CA-E100-ESL
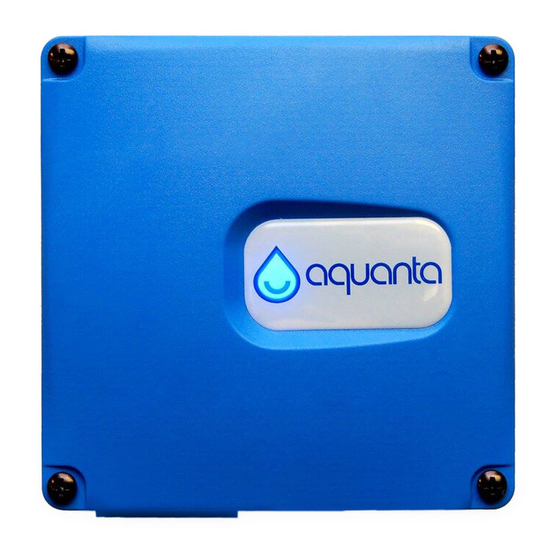
- Page 1 Smart Water Heater Controller Installation Instructions For Electric Water Heaters Model: AQ-CA-E100-ESL Version 2.2e...
- Page 2 FCC CAUTION Changes or modifications not expressly approved by Aquanta Inc. could void the user’s authority to operate the equipment. This transmitter must not be co-located or operated in conjunction with any other antenna or...
-
Page 3: Tools Needed
Smart phone, tablet or laptop with wifi • • Needle nose pliers Voltage tester (optional) Parts Included: 1. Aquanta Controller 2. Temperature Sensors (2 ) 3. Leak Sensor (Optional) 4. Cable Ties for retaining the Temperature Sensors (4 ) 5. Cable Management Clips (4 ) - Page 4 Remove the cover plate from the cable clamp and the AC Mains supply wires. 2. Open the Aquanta Controller by removing the 4 Philips-head screws to remove the front cover.
- Page 5 Alternative mounting: For some water heaters it may be necessary to mount the electrical cover plate to the water heater prior to fastening it to the Aquanta Controller. In this case, remove the supplied conduit fittings from the bottom of the Aquanta Controller. Place a washer onto the conduit nipple and then slide the conduit nipple up through the hole in the cover plate.
- Page 6 Ensure that there is sufficient ground wire to reach the ground screw at the bottom of the Aquanta unit, and sufficient black and white wire to reach the upper terminal block (marked Line), then secure the wire in the cable clamp. Bend and trim the wires to length as shown with ¼”...
-
Page 7: Sensor Connections
Temperature Sensor to that fitting as close to the water heater as possible. Plug this sensor into the “Hot Water Sensor” connector on the side of the Aquanta Controller (see Step 4 on page 8). 2. Attach the second Temperature Sensor to the cold water inlet pipe using two of the supplied Cable Ties. - Page 8 Sensor wire and water pipe as a strain relief. Clip off the excess length of the Cable Ties. Plug this Temperature Sensor into the “Cold Water Sensor” connector on the side of the Aquanta Controller (see Step 4 below). 3. If you purchased the Optional Leak Sensor, peel the paper backing off of the double-sided tape on the Leak Sensor.
- Page 9 5. Four Cable Management Clips are included with the Aquanta unit. Use these clips to organize the routing of the wires on the water heater. Placing two of the clips on the back of the Aquanta Controller is a convenient way of retaining the excess sensor wire.
- Page 10 Wi-Fi Setup The Aquanta Controller has built-in Wi-Fi capability for communications with you home Wi-Fi network. Follow the steps below to establish a connection between the Aquanta Controller and your home network: 1. Verify that the Aquanta Controller is powered ON and ready to connect, as shown by a blinking green light.
- Page 11 Aquanta Controller reboots. If for some reason it does not, disconnect from the Aquanta Wi-Fi network or reboot your computer. 5. You have now completed the Aquanta installation! 6. Next go to the Aquanta portal to register a user account and connect to the Aquanta unit at: https://portal.aquanta.io/signUp 7.
- Page 12 (aka AP-mode) by pressing and holding the button on the right side of the controller for 10 seconds until the LED begins to blink. 2. You can force the Aquanta Controller to activate your hot water cylinder permanently by first putting it in Wi-Fi reconfiguration mode, as described above, and then cycling power to the Controller by switching the circuit breaker OFF and back ON.
Need help?
Do you have a question about the AQ-CA-E100-ESL and is the answer not in the manual?
Questions and answers