Lenovo Smart Frame Installation Manual
Hide thumbs
Also See for Smart Frame:
- User manual (10 pages) ,
- Safety, warranty & quick start manual (13 pages) ,
- User manual
Advertisement
Advertisement
Table of Contents

Related Manuals for Lenovo Smart Frame


Summary of Contents for Lenovo Smart Frame
- Page 1 Installation Guide...
-
Page 2: What's In The Box
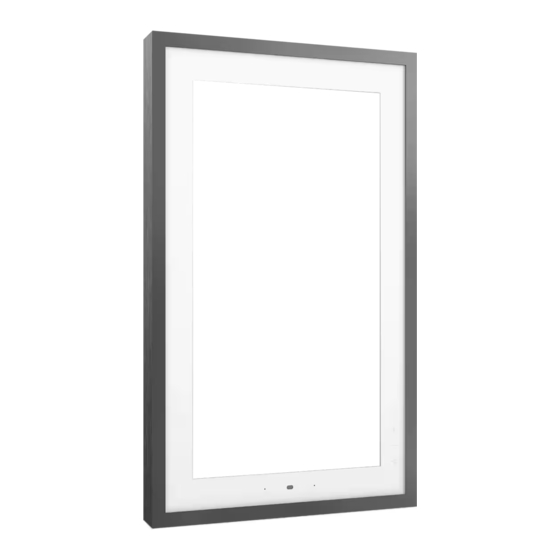
WHAT’S IN THE BOX Proprietary Safety, Warranty & Power adapter Mounting bracket Quick Start Guide Lenovo Smart Metallic outer Frame frame Strong screws Brick wall plugs Drywall plugs *All pictures and illustrations in this document are for your reference only and may di er from the final product. -
Page 3: Wall Mounting Installation
*For drywalls, use drywall plugs and strong screws (4B, 5) Plug the power adapter into the mounting bracket Mount the main frame onto the mounting bracket – ensure the Lenovo Smart Frame pogo pins are aligned with the mounting bracket pogo pins. A clicking sound indicates it has been installed correctly. - Page 4 WALL MOUNTING INSTALLATION Gently mount the metallic outer frame onto the Lenovo Smart Frame Plug the power adaptor into a wall outlet to start the Lenovo Smart Frame...
- Page 5 LENOVO SMART FRAME REMOVAL INSTRUCTIONS Unplug the charger, then pull the left and right unlock buttons outwards to unlock the frame. If the metallic decorative frame is installed, remove that first Unmount the frame 3-4. Press the unlock key and gently pull the charging head.
-
Page 6: Mounting On A Table
Connect the power adapter Single tap: Previous item (Photo, Artwork) Long press: Volume down Ensure the Lenovo Smart Frame is firmly mounted against a surface Single tap: Next channel Long press (over 1.5s): Mark (or unmark) a photo as favorite... -
Page 7: Gesture Control
GESTURE CONTROL > 55cm < 55cm Swipe left for Swipe right Swipe up Gesture sensing next item for previous item for next channel detection range The capacitive buttons located on the right side of the frame will light up when you’re within range, indicating that the frame is ready to detect your gestures.
Need help?
Do you have a question about the Smart Frame and is the answer not in the manual?
Questions and answers
1. My google photos will not connect. 2. I do not see how to make sure my firmware is current. 3. I have tried resetting including factory reset. It will not connect to google photos.