Table of Contents
Advertisement
Advertisement
Table of Contents

Subscribe to Our Youtube Channel
Related Manuals for BILT HARD TGA-0253

Summary of Contents for BILT HARD TGA-0253
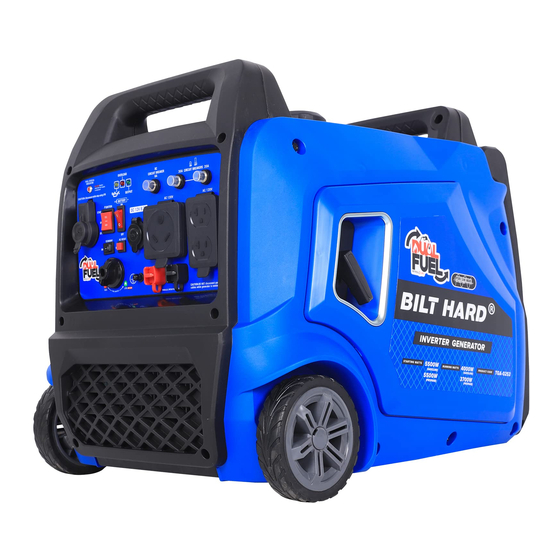
- Page 1 Dual Fuel Inverter Generator TGA-0253...
-
Page 2: Table Of Contents
TABLE OF CONTENTS Introduction..........1 Maintenance and Storage....21 Overload Operation........21 Introduction..........1 Engine Maintenance........21 Portable Power Generator.........1 Oil............21 This Booklet..........1 Spark Plugs..........22 Specifications........2 Air Filter..........22 Cleaning..........22 Manual Conventions........3 C lean the Spark Arrestor ......23 Safety Rules..........4 Adjustments.........23 Maintenance Schedule......23 Fuel Safety...........6 Generator Maintenance......23 Controls and Features......7 Battery Maintenance/Storage....24... -
Page 3: Introduction
TGA-0253... -
Page 4: Specifications
SPECIFICATIONS 120V AC, 60 Hz, 33.3 A, 1 Phase 12V DC, 8.3 A 4000 Running Watts(Gasoline) Output 3700 Running Watts(Propane) Generator 5500 Maximum Starting Watts 120V 20A Duplex (5-20R) Receptacles 120V 30A (TT-30R/RV) 12V DC Automotive Displacement 224 cc Compression Ratio 9.1:1 Horizontal Single Cylinder Engine Type... -
Page 9: Controls And Features
Never Flat Wheels Automotive style USB adapter LPG Hose With Regulator... -
Page 10: Power Panel
FUEL STATUS INDICATOR CIRCUIT BREAKER OVERLOAD Red light flashes CIRCUIT BREAKERS when the fuel supply is abnormal OUTPUT CAUTION: Disconnect while stop using LPG AC 120V AC 120V DC 12V 8.3A ECONOMY AC RESET CAUTION:DO NOT disconnect parallel GAS OFF PARALLEL OPERA TING SYSTEM cables while generator is running FUEL STATUS INDICATOR –Red light ashes... -
Page 11: Assembly
Turn the knob from lock to open.Then remove the maintenance cover. Turn the knob from lock to open.Then remove the maintenance cover.(A) 2. Take off the SAE sheath, then connect two SAE wires. Add 0.6L of oil and replace oil fill cap/dipstick. nearby... -
Page 12: Add Fuel (Gas)
Add fuel until reach the red line. Add fuel until reach the red line. -
Page 13: Connecting The Propane (Lpg) Cylinder
open the LPG quick connect cover then GAS OFF... -
Page 14: Operation At High Altitude
1. Turn off the engine. 2. Close the fuel valve. 3. Place a bowl under the fuel cup to catch any spilled fuel. Follow instructions in a well-ventilated area away from ignition sources.If the engine is hot from Carburetor bowl may have gas in it which will leak use, shut the engine off and wait for it to cool upon removing the bolt. -
Page 15: Grounding
Do not use in rainy or wet conditions. Do not touch Using a generator indoors CAN KILL YOU IN MINUTES. bare wires or receptacles (outlets). Do not allow Generator exhaust contains carbon monoxide (CO). This children or non-qualified persons to operate. is a poison gas you cannot see or smell. -
Page 16: Start The Inverter
GAS OFF Before Starting the Generator 1. Verify that generator is outside on a dry, level surface with at least two feet of clearance on all sides. 2. To maximize safety, check that the generator is properly grounded. 3. Check there is sufficient level of oil in the crankcase. Add oil if necessary. -
Page 17: Manual Choke Start(Gas)
Turn the battery switch to the “ON” position. 6.Turn the knob from lock to open.Then remove the maintenance cover.(A) 6. Press and hold the ignition switch to the “START” position. Release as the engine begins to roll over. If the engine fails to start within five seconds, release the switch and wait at least ten seconds 7. -
Page 18: Electric Start(Lpg)
Manual Choke Start (LPG Electric Start (LPG If the battery is dead or not able to produce enough current to power the push button choke, the choke itself can be operated manually to help start the engine. To manually choke and start the inverter, follow these steps: open the LPG quick connect cover then open the LPG quick connect cover then GAS OFF... - Page 19 6.Turn the knob from lock to open.Then remove the maintenance cover.(A) 7. Turn the choke lever to the “CHOKE” (right) position. 8. Pull the starter cord slowly until resistance is felt and then pull rapidly. 9. After the generator is started, the choke lever will automatically run to the working position, without...
-
Page 20: Connecting Electrical Devices
Connecting Electrical Devices When the rated wattage requirement of each electrical device has been determined, add these numbers to find the total rated wattage needed. If this number exceeds the rated wattage of the generator, DO NOT connect all these devices. Select a combination of electrical devices with a total rated wattage lower than or equal to the rated wattage of the generator. -
Page 21: Economy Control Switch
while operating with an output less than 75% of the rated watts of the generator. Allowing Economy Control Switch DC 12V Outlet (For charging ONLY) The 12V DC outlet can be used with the supplied charge cable and USB charger and other commercially available 12V DC automotive style plugs. -
Page 22: Stopping The Engine(Gas)
(GAS Unplugging running devices can cause damage to the generator. Never stop the engine with electrical devices connected and running. (LPG b. Turn the Fuel Valve to the “OFF” position if operating by gas. c. Turn the LPG cylinder knob to the “CLOSE” or off position if operating by LPG.Let the engine run until fuel starvation has stopped the engine. -
Page 23: Maintenance And Storage
1. Turn the knob from lock to open.Then remove the maintenance cover. Add 0.6L of oil and replace oil fill cap/dipstick. Reduce the load by turning off and disconnecting your electrical device(s) press the reset button to reset the circuit. If no power is produced after resetting, turn off and disconnect all electrical devices and restart your generator. -
Page 25: Clean The Spark Arrestor
Clean the Spark Arrestor 1. Allow the engine to cool completely before servicing the spark arrestor. 2. Remove the two or three screws (varies by model) holding the cover plate which retains the spark arrestor to the muffler. 3. Remove the spark arrestor screen. 4. -
Page 26: Battery Maintenance/Storage
To reinstall/replace the battery: Battery Maintenance/Storage 1.Turn the knob from lock to open.Then remove the The battery will receive charge when the engine is running. Remember to run the generator once a month for 20-30 maintenance cover.Loosen the nylon belt and pull out the battery minutes to charge the battery. -
Page 27: Transportation And Storage
TRANSPORTATION AND STORAGE Transporting the Generator To prevent fuel spillage when transporting, be sure to Store the generator upright in a cool and dry location, perform the following: away from sources of heat, open flames,sparks or 1. Tighten the fuel cap. pilot lights. -
Page 28: Troubleshooting
TROUBLESHOOTING Problem Cause Solution No fuel. Add fuel. Faulty spark plug. Clean and adjust spark plug or replace. Fill crankcase to the proper level. Low oil level. Place generator on a flat, level surface. Spark plug wire loose. Attach wire to spark plug. Engine will not start. -
Page 29: Parts Diagram
PARTS LIST...
Need help?
Do you have a question about the TGA-0253 and is the answer not in the manual?
Questions and answers