Advertisement
Table of Contents
ASSEMBLY INSTRUCTIONS
Before You Begin:
Please identify all component parts and hardware pieces required before you begin. Carefully remove all of the
components from the packaging and set aside for assembly. Assemble on a soft surface to prevent scratching
during assembly.
Caution:
Tighten all components securely before use. Failure to do so may result in personal injury.
DO NOT use any sharp objects to open plastic wrapped components as damage to product or components may
result.
Warning:
CHOKING HAZARD - Small Parts. Adult Assembly Required.
DO NOT ALLOW CHILDREN TO CLIMB ON FURNITURE
Serious or fatal injuries can occur from furniture tipping over. You must install Tipping Restraint Hardware (where
included) to help prevent the unit from tipping and causing accidental injury, instability, death or damage. The
tipping restraint is intended only as a safety measure, it is not a substitute for proper adult supervision.
To help prevent furniture from tipping over it must be permanently attached to the wall. Anti-Tip Safety Wall
Straps suitable for the unit weight and wall materials (if not included) should be purchased and installed.
Customer Service Email: CustomerExperience@belnick.com | Phone: 866-552-2810
ES-UN3-24-OAK-GG / ES-UN3-29-OAK-GG / ES-UN3-24-ESP-GG / ES-UN3-29-ESP-GG
Commercial Grade
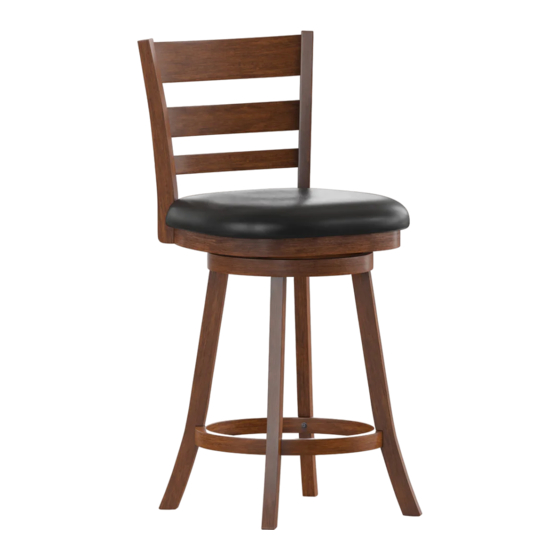
Classic Ladderback
Swivel Bar Height
Wood Stool
Thank you for your purchase!
Advertisement
Table of Contents

Summary of Contents for Belnick ES-UN3-24-OAK-GG
- Page 1 To help prevent furniture from tipping over it must be permanently attached to the wall. Anti-Tip Safety Wall Straps suitable for the unit weight and wall materials (if not included) should be purchased and installed. Customer Service Email: CustomerExperience@belnick.com | Phone: 866-552-2810 ES-UN3-24-OAK-GG / ES-UN3-29-OAK-GG / ES-UN3-24-ESP-GG / ES-UN3-29-ESP-GG...
- Page 2 In the absence of product-specific restrictions and weight limits, normal usage means use for no more than forty hours per week by persons weighing 250 lbs. or less. Coverage terminates if the product is sold or otherwise transferred. Repairs made by parties other than Belnick also void this warranty.
- Page 3 ASSEMBLY INSTRUCTION IMPORTANT NOTE: • To prevent scra tches, place all wooden parts on a clea n, smooth surface such as carpet. • Keep all hardware parts out of reach of children. • Follow step by step assembly instructions. PARTS LIST HARDWARE LIST ITEM...
- Page 4 ASSEMBLY INSTRUCTION STEP 2 Invert Cushioned Seat (Part E) and place on a stable raised surface such as a table. Attach the Backrest (Part A) to the Cushioned Seat (Part E) using (4) Cushion Seat M6x40mm Hex Screws (Part 2), (4) Lock Washers (Part 3) and (4) 6.5x16.5mm Flat Washers (Part 5).


Need help?
Do you have a question about the ES-UN3-24-OAK-GG and is the answer not in the manual?
Questions and answers