Advertisement
OVERVIEW

FEATURES
PRODUCT SPECIFICATIONS
| Motor | 4 V DC | |
| No Load Speed (revolutions per minute) | approx. 175/min (RPM) | |
| Charger Input | 120 V, AC only, 60 Hz | |
| Waterproof Rating | IPX7* | |
* IP Rating: Specifies the environmental protection the product enclosure provides. This product has an IPX7 rating meaning it can withstand immersion in water up to 1 meter for up to 30 minutes.
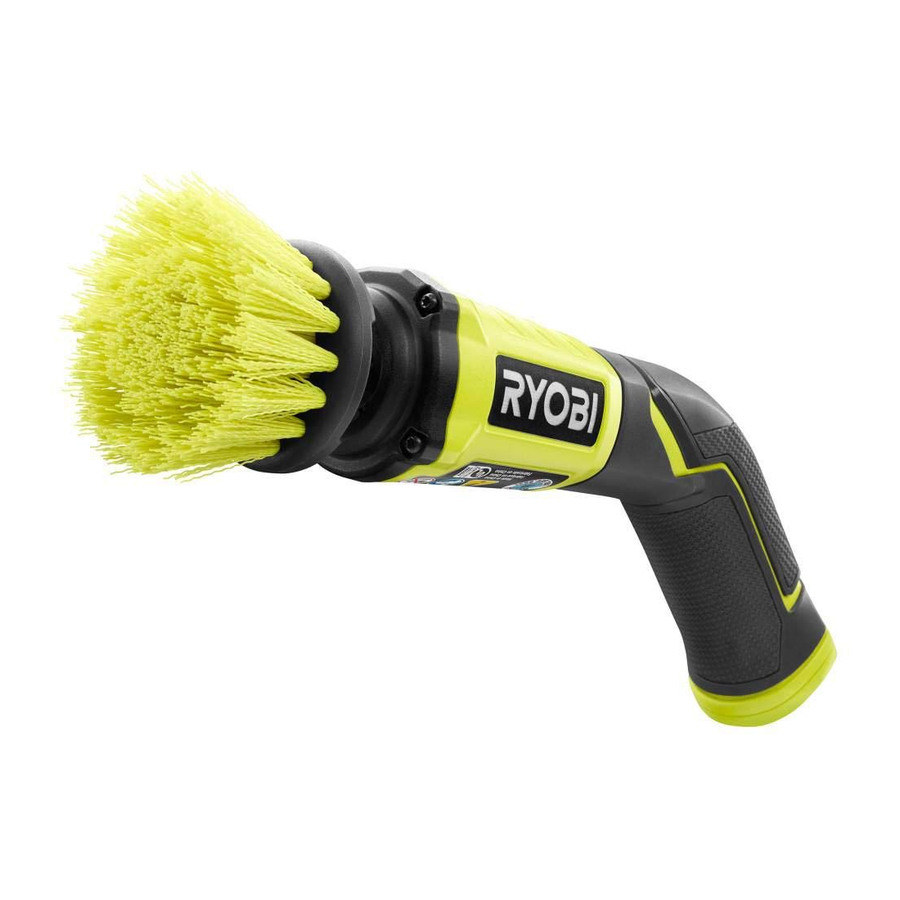
KNOW YOUR POWER SCRUBBER
The safe use of this product requires an understanding of the information on the tool and in this operator's manual as well as a knowledge of the project you are attempting. Before use of this product, familiarize yourself with all operating features and safety rules.
HANDLE WITH OVERMOLD
The handle with overmold provides added user comfort.
USB CHARGING
This product features USB Charging functionality. Utilize any powered USB port or USB power adapter (not included) for effortless charging.
ASSEMBLY

Do not use this product if it is not completely assembled or if any parts appear to be missing or damaged. Use of a product that is not properly and completely assembled or with damaged or missing parts could result in serious personal injury.
Do not attempt to modify this product or create accessories or attachments not recommended for use with this product. Any such alteration or modification is misuse and could result in a hazardous condition leading to possible serious personal injury.
If any parts are damaged or missing, please call 1-800-525-2579 for assistance.
OPERATION
Do not allow familiarity with this product to make you careless. Remember that a careless fraction of a second is sufficient to inflict serious injury.
Always wear eye protection with side shields marked to comply with ANSI Z87.1. Failure to do so could result in objects being thrown into your eyes and other possible serious injuries.
Do not use any attachments or accessories not recommended by the manufacturer of this product.
The use of attachments or accessories not recommended can result in serious personal injury.
APPLICATIONS
You may use this product for the purposes listed below:
- The power scrubber can be used to clean exterior and interior surfaces.
- This product is not for commercial use.
TO CHARGE

- USB power adapter (not included)
- USB cable
- USB port
- USB cover
- LED
- Powered USB port
- Turn the power scrubber off.
- Remove the USB cover and insert the USB cable into the product as shown.
- Connect the USB cable to any powered USB port, or connect it to a USB power adapter (not included) and plug the adapter into a power supply.
NOTE: Make sure the power supply is normal household voltage, 120 volts, AC only, 60 Hz. - The LED light will turn on while charging and turn off once the power scrubber is fully charged or when the USB cable is disconnected.
NOTE: If the LED does not turn on, the on/off button may still be in the on position. Fully depress the on/ off button to stop the tool and begin charging. - Upon full battery depletion, an estimate of 5 hours of charging time is required to fully recharge the scrubber.
- Do not place charger in an area of extreme heat or cold. It will work best at normal room temperature.
- Remove the product from the USB power adapter (not included) or powered USB port once it is fully charged and ready for use.
- Disconnect the USB cable from the scrubber and reinstall the USB cover.
SELECTING A BRUSH ACCESSORY
Selecting the correct type of brush accessory is important in order to obtain the best performance from the power scrubber. Select the brush accessory based on the application and on the surface you wish to clean. Selecting the right brush accessory will help you clean more efficiently and protect the surface being cleaned. To reduce the risk of property damage, always test the brush in an inconspicuous area of a surface before beginning a project.
NOTE: A brush accessory with medium bristles is included with your power scrubber. Brush accessories with hard and soft bristles can be purchased where you bought this product.
BRUSH ACCESSORY SELECTION GUIDE | |
 | Soft Bristle (Blue) Light Duty Cleaning |
| | Medium Bristle (Green) General Purpose Cleaning |
| | Hard Bristle (Gray) Heavy Duty Cleaning |
INSTALLING/REMOVING BRUSH ACCESSORIES

- Brush attachment
- Collet
Insert the accessory into the collet and push it in as far as possible. To remove an accessory, pull it straight out of the collet.
STARTING/STOPPING THE POWER SCRUBBER

- On/Off button (bouton marche/arrêt, botón de encendido/apagado)
To start the motor:
- Fully depress the on/off button to start the motor.
NOTE: When the motor is on, the brush accessory will spin continuously.
To stop the motor:
- Fully depress the on/off button to stop the motor.
NOTE: When the motor is off, the brush accessory will stop spinning.
OPERATING THE POWER SCRUBBER
See Figure 3.
- Select the appropriate brush accessory.
- Hold the scrubber firmly against the surface.
- Fully depress the on/off button to start the power scrubber.
- Move the unit forward and back over the surface to be cleaned.
NOTE: Move slowly when learning to use the unit and when scrubbing tough or difficult stains.
NOTE: Do not press down on the unit or keep the unit in one place over an extended period of time. Doing so could damage the surface being cleaned. - When scrubbing is complete, fully depress the on/off button to turn the motor off, and wait for the brush accessory to stop spinning.
- Remove the brush accessory as described earlier and clean thoroughly.
NOTICE:
Dirt and debris can damage delicate surfaces. Thoroughly rinse the brush accessory before use and continue to do so at regular intervals during use. Thoroughly clean the brush accessory after use. Allow to dry and always store brush accessory without bending the bristles.
MAINTENANCE
When servicing, use only identical replacement parts. Use of any other part could create a hazard or cause product damage.
Always wear eye protection with side shields marked to comply with ANSI Z87.1. Failure to do so could result in objects being thrown into your eyes and other possible serious injuries.
GENERAL MAINTENANCE
Avoid using solvents when cleaning plastic parts. Most plastics are susceptible to damage from various types of commercial solvents and can be damaged by their use. Use clean cloths to remove dirt, dust, oil, grease, etc.
Do not at any time let brake fluids, gasoline, petroleum-based products, penetrating oils, etc., come in contact with plastic parts. Chemicals can damage, weaken or destroy plastic which could result in serious personal injury.
REPLACING THE BRUSH ACCESSORY
See Figure 2.
After extended use, the brush accessory may wear and need replacing. If you drop the tool and damage the brush accessory it may also be necessary for you to replace it. Refer to Installing/Removing Brush Accessories earlier in this manual.
BATTERIES
This product is equipped with a lithium-ion rechargeable battery. Length of service from each charging will depend on the type of work you are doing.
The battery in this product has been designed to provide maximum trouble-free life. However, like all batteries, it will eventually wear out.
To obtain the longest possible battery life, we suggest the following:
- Remove the product from the charger once it is fully charged and ready for use.
For product storage longer than 30 days:
- Store the product where the temperature is below 80°F.
- Store the product in a "discharged" condition.
BATTERY PACK REMOVAL AND PREPARATION FOR RECYCLING

- Screws
- End cap
- Battery carrier
- USB cover
- Tabs
- Circuit board
- Washer

- Battery carrier
- Battery
- Weld straps
- Wire cutters
- Circuit board
- Drain the battery by running the scrubber until it shuts off.
- Remove the screws, washer, USB cover, and end cap from the tool.
- Pull the battery carrier and circuit board assembly out of the tool.
- Release the tabs and separate the battery cover from the circuit board.
- Use wire cutters to cut the weld straps securing the battery to the circuit board.
- Remove the battery and apply tape over the ends for disposal.
To preserve natural resources, please recycle or dispose of batteries p roperly.

This product contains lithium-ion batteries. Local, state or federal laws may prohibit disposal of batteries in ordinary trash.
Consult your local waste authority for information regarding available recycling and/or disposal options.


Upon removal, cover the battery pack's terminals with heavy-duty adhesive tape. Do not attempt to destroy or disassemble battery pack or remove any of its components. Lithium-ion batteries must be recycled or disposed of properly. Also, never touch both terminals with metal objects and/or body parts as short circuit may result. Keep away from children. Failure to comply with these warnings could result in fire and/or serious injury.
To request service, purchase replacement parts, locate an Authorized Service Center and obtain Customer or Technical Support:
Visit www.ryobitools.com or call 1-800-525-2579
If any parts or accessories are damaged or missing, do not return this product to the store. Call 1-800-525-2579 for immediate service.
Please obtain your model and serial number from the product data plate.
This product is covered under a 3-year limited Warranty. Proof of purchase is required.
*Model number on product may have additional letters at the end. These letters designate manufacturing information and should be provided when calling for service.
RYOBI is a trademark of Ryobi Limited and is used pursuant to a license granted by Ryobi Limited.

Documents / Resources
References
Download manual
Here you can download full pdf version of manual, it may contain additional safety instructions, warranty information, FCC rules, etc.
Advertisement


Need help?
Do you have a question about the P4400 and is the answer not in the manual?
Questions and answers