
Subscribe to Our Youtube Channel
Related Manuals for Image Engineering CAL3-XL


Summary of Contents for Image Engineering CAL3-XL
- Page 1 CAL3-XL User Manual May 26, 2021 Image Engineering GmbH & Co. KG · Im Gleisdreieck 5 · 50169 Kerpen · Germany T +49 2273 99991-0 · F +49 2273 99991-10 · www.image-engineering.com...
-
Page 2: Table Of Contents
4.3.2 iQ-LED calibration....................9 4.4 Low intensity use ....................9 ADDITIONAL INFORMATION ..................10 5.1 Maintenance ......................10 5.1.1 Spectrometer removal for yearly calibration ............ 10 5.2 Care instructions ....................13 5.3 Disposal instructions .....................13 TECHNICAL DATA SHEET ..................13 Image Engineering Seite 2 von 13... -
Page 3: Introduction
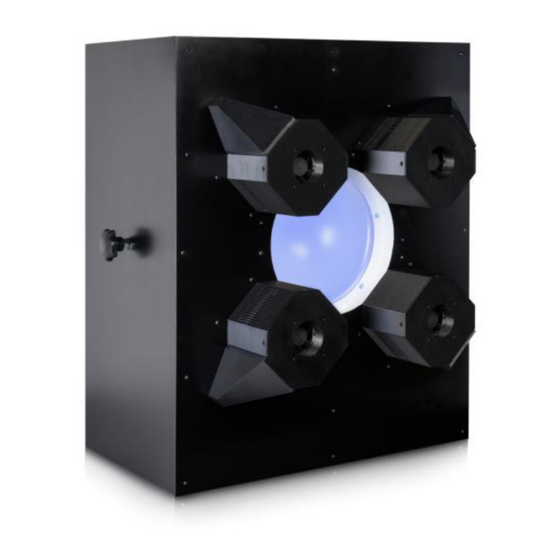
Low Voltage - 2014/35/EU Intended use The CAL3-XL is designed as a calibration light source based on iQ-LED technology for cameras with a wide field of view. It includes a micro spectrometer and is controlled with the iQ-LED control software or via dip switches on the device when not connected to a PC. -
Page 4: Usb Connection
1.2.2 USB connection Only an appropriate USB connection allows error-free operation of CAL3-XL. Use the delivered USB cables. If you need to extend the USB connection to longer distances, please check if powered hubs/repeaters are necessary. General safety information WARNING! Some LEDs emit invisible light in the IR and UV near area. -
Page 5: Operating Instructions Hardware
• 1 x port for power adapter Use the control panel to set different light settings for the iQ-LEDs: Figure 2: Control panel of CAL3-XL • Use the “+” and “-“ buttons to switch between up to 44 saved illuminants •... -
Page 6: Connecting The Hardware
Requirements for your camera (device under test, DUT): • Maximum device diameter inside diffuser: between 100 and 150 mm • Lens depth inside diffuser (see Figure 4: positioning of DUT in front of the CAL3-XL): recommended: 75 mm minimum: 65 mm... - Page 7 Figure 4: positioning of DUT in front of the CAL3-XL Image Engineering Seite 7 von 13...
-
Page 8: Using The Included 4-Prong Alignment Aid
Figure 5: Using the 4-prong alignment aid Image 1 shows the removable alignment aid mounted on the CAL3-XL from the DUT’s point of view. Images 2 through 5 show the DUT moving closer to the optimal depth inside the diffuser. -
Page 9: Operating Instructions Software
Image Engineering support team. 4.3.2 iQ-LED calibration The individual LED lights of the iQ-LED inside the CAL3-XL depend on many different types and wavelengths. Some LEDs will change their intensity level and peak wavelength slightly in the first 500- 600 working hours because of a burn-in effect. -
Page 10: Low Intensity Use
A temporary replacement spectrometer can be provided to bridge the time gap while your spectrometer is recalibrated. Please contact us for conditions and procedures. For instructions on removing the spectrometer from your CAL3-XL, see chapter 5.1.1. below. Image Engineering Seite 10 von 13... - Page 11 5.1.1 Spectrometer removal for yearly calibration To gain access to the spectrometer, remove the four screws securing the maintenance cover to the rear of the CAL3-XL (see Figure 6). Secure the cover with one hand before removing the last screw to avoid it falling off.
- Page 12 Figure 7: Fiber connector and spectrometer mounting points Image Engineering Seite 12 von 13...
-
Page 13: Care Instructions
Only store and transport the CAL3-XL in the delivered hard case. Disposal instructions After the service life of CAL3-XL, it must be disposed of properly. Electrical and electromechanical components are included in CAL3-XL. Observe your national regulations and ensure that third parties cannot use CAL3-XL after disposing of it.
Need help?
Do you have a question about the CAL3-XL and is the answer not in the manual?
Questions and answers