Sony Ericsson Xperia Mini Pro Test Instructions
Hide thumbs
Also See for Xperia Mini Pro:
- Extended user manual (116 pages) ,
- Working instructions (85 pages) ,
- Startup manual (15 pages)

Related Manuals for Sony Ericsson Xperia Mini Pro


Summary of Contents for Sony Ericsson Xperia Mini Pro
- Page 1 Test Instructions - mechanical - Xperia Mini Pro SK17i, SK17a 1251-8385 Rev 1 © Sony Ericsson Mobile Communications AB – Company Internal...
-
Page 2: Table Of Contents
2.3 Manual Tests ..................19 2.3.1 SIM ......................19 2.3.2 On/Off key test ................... 19 2.3.3 Home key test .................... 19 2.3.4 Charging via USB (Charger or Computer) ..........20 1251-8385 Rev 1 © Sony Ericsson Mobile Communications AB – Company Internal 2(22) - Page 3 On-the-air call to mobile (UMTS network available) ....... 21 Revision History ................22 For general information about test procedures, refer to 1220-1333: Generic Repair Manual - mechanical 1251-8385 Rev 1 © Sony Ericsson Mobile Communications AB – Company Internal 3(22)
-
Page 4: Pre-Test Preparations
PBA or the magnet in the Touch/Display Front Cover Assy. 6. Replace the Touch/Display Front Cover Assy. If the problem continues send the phone to higher level of repair. 1251-8385 Rev 1 © Sony Ericsson Mobile Communications AB – Company Internal 4(22) -
Page 5: Software
• Press and keep the ’Volume Down key’ on the phone, connect the phone to the USB cable and then release the ’Volume Down key’. • Select the appropriate service and follow the on-screen instructions. 1251-8385 Rev 1 © Sony Ericsson Mobile Communications AB – Company Internal 5(22) -
Page 6: Tests
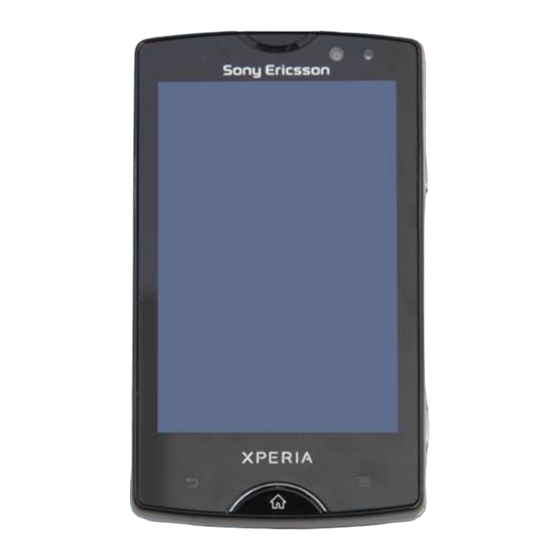
For more information, refer to 1220-1333: Generic Repair Manual - mechanical XPERIA The pictures to follow will show a simplified basic phone for a general visualization of the service tests! 1251-8385 Rev 1 © Sony Ericsson Mobile Communications AB – Company Internal 6(22) -
Page 7: Service Tests
Make sure that there are no missing segments and that the colors and contrast are OK. XPERIA Press Back key to return to Service Test Menu. 1251-8385 Rev 1 © Sony Ericsson Mobile Communications AB – Company Internal 7(22) -
Page 8: Led/Illumination
Press Volume up/Volume down key to adjust speaker volume. Press Back key to return to Service Test Menu. 2.2.6 Stereo speaker N/A. This test is not applicable for this product. 1251-8385 Rev 1 © Sony Ericsson Mobile Communications AB – Company Internal 8(22) -
Page 9: Earphone
Check the quality by listening to the recording from the Speaker during the ‘Playing recorded sound’ phase at maximum volume. XPERIA Press Back key to return to Service Test Menu. 1251-8385 Rev 1 © Sony Ericsson Mobile Communications AB – Company Internal 9(22) -
Page 10: Vibrator
Aim the camera (located front upper right of the phone) at an object and check the quality of the image shown in the display. Press Back key to return to Service Test Menu. 1251-8385 Rev 1 © Sony Ericsson Mobile Communications AB – Company Internal 10(22) -
Page 11: Flash Led
Step 5: Enter a web address (ex. google.com) Step 6: When Connection succeeded, it shows “Test Complete”. XPERIA Press Back key to return to Service Test Menu. 1251-8385 Rev 1 © Sony Ericsson Mobile Communications AB – Company Internal 11(22) -
Page 12: Gps
Sony Ericsson Accelerometer 2.2.18 Accelerometer X: 0,1234 Y: 6,7890 Z: 0,1234 The accelerometer test displays the actual position of the phone as a 3D coordinate X:Y:Z XPERIA 1251-8385 Rev 1 © Sony Ericsson Mobile Communications AB – Company Internal 12(22) -
Page 13: Ambient Light Sensor
“Proximity switch ON” with a different type of tone. XPERIA Press Back key to return to Service Test Menu. 1251-8385 Rev 1 © Sony Ericsson Mobile Communications AB – Company Internal 13(22) -
Page 14: Pressure Sensor
Total call time The total call time is displayed in the format HH:MM:SS 00:01:07 (hours: minutes: seconds). Press Back key to return to Service Test Menu. XPERIA 1251-8385 Rev 1 © Sony Ericsson Mobile Communications AB – Company Internal 14(22) -
Page 15: External Memory
Connect a headset and then set your local radio station in Secure that the reception and sound quality is normal. Press Back key to return to Service Test Menu. 1251-8385 Rev 1 © Sony Ericsson Mobile Communications AB – Company Internal 15(22) -
Page 16: Battery Test
Sony Ericsson Start level(%): Curr level(%): Min Level(%) Voltage(mV): 3998 Temp(C): 34.0 Plug Type: Charger Status: Charging Connect a Sony Ericsson charger (to secure correct Batt type: Li-Poly Health: GOOD result). Time: Pow cons(mA): New battery(mAh): 1200 Result: Charging... XPERIA... -
Page 17: Flip Slider Counter
FM Radio Battery test N/A. This test is not applicable for this product. Flip slider counter Verify certificates IrDA Test IrDA Test app doesn’t exist HDMI Test XPERIA 1251-8385 Rev 1 © Sony Ericsson Mobile Communications AB – Company Internal 17(22) -
Page 18: Hdmi Test
Battery test N/A. This test is not applicable for this product. Flip slider counter Verify certificates IrDA Test HDMI Test Ground Connector Unvailable Connector Ground Test XPERIA 1251-8385 Rev 1 © Sony Ericsson Mobile Communications AB – Company Internal 18(22) -
Page 19: Manual Tests
Home key and then phone will go back to the Stand by screen directly. 2010-03-15 • When phone is in Sleep mode, Press Home key and the Phone will light up. XPERIA 1251-8385 Rev 1 © Sony Ericsson Mobile Communications AB – Company Internal 19(22) -
Page 20: Charging Via Usb (Charger Or Computer)
• Press the third icon to change to chat camera Aim the camera (located in front upper right of the phone) at an object and check the quality of the image shown in the display. 1251-8385 Rev 1 © Sony Ericsson Mobile Communications AB – Company Internal 20(22) -
Page 21: Network Test
Ensure that the UMTS/3G icon now is visible at the top of the display. To verify the radio functions (UMTS) of the phone, follow the ‘2.4.1.1 Procedure’ above. 1251-8385 Rev 1 © Sony Ericsson Mobile Communications AB – Company Internal 21(22) -
Page 22: Revision History
Test Instructions (mech) Revision History Rev. Date Changes / Comments 2011-Jul-12 Initial release 1251-8385 Rev 1 © Sony Ericsson Mobile Communications AB – Company Internal 22(22)
Need help?
Do you have a question about the Xperia Mini Pro and is the answer not in the manual?
Questions and answers