HPM Slimline Digital Timer D817SLIM Manual
- Instruction manual (8 pages) ,
- Instruction manual (8 pages)
Advertisement
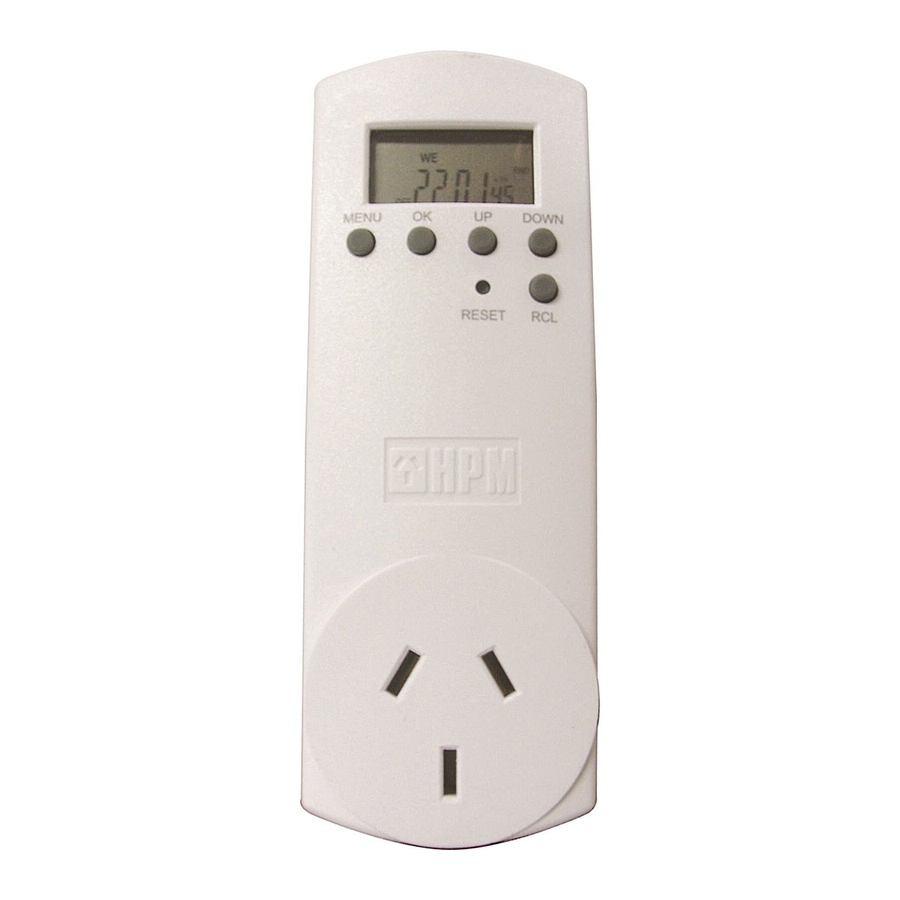
About your Slimline Digital Timer

This 7 day digital timer can be set with up to 16 programs. Each of these can be set to repeat daily, weekly, daily during the working week, daily on weekends and in a variety of other day combinations to maximise flexibility.
Additionally this timer has a Random Feature and Countdown Mode.
This timer has an internal rechargeable battery to keep your settings in the event of a power failure. When new, or not used for some time, the battery may need recharging before you can setup your timer. Plug the timer in for a few hours or overnight to recharge the battery.
Mechanism Dimensions

Operation

HPM recommends you keep these instructions for future reference.
Setting a digital timer can be confusing at first. Essentially there are 3 steps:
- Set the clock.
- Setup your switching programs.
- Put in AUTO mode and plug in your device.
The timer has 3 modes. Press the MENU button to change from one mode to the next.
- Clock Mode – The screen will display the current time and day.
![]()
- Program Mode – Enables you to scroll through to view or set the 16 program settings.
![]()
- Countdown Mode – Enables you to simply set the timer to turn ON or OFF at a later time.
![]()


To return to clock mode from Program Setting Mode, press MENU twice.
To return to clock mode from Countdown Mode, press MENU once.
Clock Mode - Setting the Clock

- Hold the ok button until the day of the week flashes – press the up button to cycle through and select the day that it is then press ok.
- Set the hours for the current time – press ok – set the minutes then press ok then press menu
- On the clock screen there 4 options for the mode – press the up button to cycle through the modes
- On – straight override - power on all the time
- Off – override off – no power
- Auto On – Is a temporary override where the unit gives power until the program starts. Its used once off then the unit continues on with the program – example if connected to a light and its 6pm, you're setting the timer for 7, this mode will turn the light on until the program starts then continues to turn off and on as per the program
- Auto off - is straight timer mode. Turns the unit on and off per the timer programs
Program Mode – Navigating Program Mode

Press menu – 1on will flash – this is to set the on program time
Press ok then the days of the week will flash. If timer is to be used for all days of the week press ok or press up to cycle through the options ie single days or Monday Wednesday Friday.
Press ok then set the hours for the on time – press ok and set the minutes for the on time. Press ok once done and the 1on will flash again. Press up and it will change to 1off
Press ok then the days of the week will flash. If timer is to be used for all days of the week press ok or press up to cycle through the options ie single days, Monday Wednesday Friday or just Saturday Sunday etc.
Press ok then set the hours for the off time – press ok and set the minutes for the on time. Press ok once done and the 1off will flash again.
If you want to set a second program, press up and 2on will flash. This is the 2nd on program, follow the above steps to set the 2on time then set the 2off time and so on up to 16 programs.
Activate the Timer and Timer Override
To have the timer automatically operate your device the word AUTO must be displayed when in Clock Mode.
Press the UP button to scroll through 4 options:
- ON: power is available to your device at all times. This is the same as leaving your device plugged in at the wall.
![]()
- AUTO ON: power is available to your device until the next OFF switching time. In the example in (xii), a lamp plugged into the timer will remain ON until 7:05 pm
![]()
- OFF: power will not be available to the device plugged into the timer. This is the same as turning off the power point. NB: This is a convenience setting. For safety HPM recommends unplugging the timer from the wall and using the device's OFF switch when performing maintenance tasks like replacing a globe.
![]()
- AUTO OFF:power will not be available until the next ON switching time. In the example in (vii) a lamp will remain OFF until 5:15pm
![]()


Random Feature

The Random Feature will delay the preset ON and OFF times of your set programs by between 4 and 32 minutes. This means you can set one program to repeat every day but the switching pattern will vary a little from day to day. This feature is ideal to use with lamps when you go on holidays as the switching pattern is not predictable.
To turn on the Random Feature, in Clock Mode, press the DOWN button once. The letters RND will show on the display.
To turn off the Random Feature, press the DOWN button again.
Countdown Mode

Countdown Mode lets you set up a delayed ON or OFF switching. It's a bit like a kitchen timer, except instead of an alarm ringing when the clock reaches zero, the timer switches power ON or OFF.
- Before setting the Countdown time choose whether you want to turn power ON or OFF after the time has elapsed:
- Delayed switch OFF: use the UP button to switch the timer to ON or AUTO ON for a delayed switch OFF
- Delayed switch ON: use the UP button to switch the timer to OFF or AUTO OFF for a delayed switch ON
- Press MENU twice to scroll to Countdown Mode. The letters CTD will show on the display above the seconds.
- The display shows 0:00:00 and the hour position will flash. Use the UP and DOWN buttons to set the hour (0- 99). Press OK – the minutes position will flash.
- Use the UP and DOWN buttons to set the minute (0-59). Press OK – the seconds position will flash.
- Use the UP and DOWN buttons to set the seconds (0-59). Press OK.
- The timer will start to count down straight away and the letters CTD will flash. After 2 minutes the display will return to Clock Mode. Countdown Mode overrides the programmed settings and Random Feature.
- To cancel the Countdown scroll to the Countdown Mode display and press RCL. Hint! Pressing the RCL button in Clock Mode will adjust between Standard and Daylight Savings Times – you must return to the Countdown Mode display to cancel the Countdown.
Deleting Programs
Step 1:
- To delete ALL pre-programmed settings, press the RESET button. The clock will need to be reset.
- To delete an individual timer setting, re-programme the required block so the start and finish times are the same
OR
Step 2:
- Scroll to the block you wish to delete and press the MODE button. The display will change to --:--.
To retrieve the setting press the MODE button again.
Troubleshooting
Timer not turning off – if only using one program, check the programs are set correctly- also ensure there is no program in program 2on – if no program is set it should show --:-- a time of 0:00 means program 2on is set for on at midnight and may interfere with other programs at this time.
Timer not turning on – ensure item connected to timer is turned on and powerpoint switch is turned on. To rule out compatibility/connection problems, on the clock screen, press up to cycle through the modes, when 'on' is selected the connected device should turn on – if it doesn't it may not be compatible.
Unit turning on and off later than program (between 4 and 32 minutes later than time set) – ensure random function isn't on - 'rnd' will be above the seconds on the clock screen if this function is turned on. Press the down button to turn this off or on.
Note: timer must be in auto on or auto off for the timer to run – change by pressing up on the clock screen

VideosHPM Slimline Digital Timer D817SLIM How to Use Video
Documents / ResourcesDownload manual
Here you can download full pdf version of manual, it may contain additional safety instructions, warranty information, FCC rules, etc.
Advertisement


Need help?
Do you have a question about the Slimline Digital Timer D817SLIM and is the answer not in the manual?
Questions and answers