Table of Contents
Advertisement
Quick Links
Advertisement
Table of Contents

Subscribe to Our Youtube Channel
Related Manuals for Infomark Biscuit IMW-C610W

Summary of Contents for Infomark Biscuit IMW-C610W
- Page 1 User Manual Biscuit IMW-C610W...
-
Page 2: Table Of Contents
Table of list Chapter 1. Attention ..............................4 Chapter 2. Introduction & Requirements ......................4 Introduction of goods ............................4 What is the IMW-C610W? ........................... 4 System Requirements..........................4 Specification ..............................4 Application ................................. 4 The points of name & Components list....................... 5 Components List in the package. - Page 3 Input ID/Password ............................12 Description of Web User Interface ......................12 Introduction ..............................12 Home Menu ..............................13 LAN settings ............................... 14 WiMAX Configuration ............................. 15 Parametric Data description ........................16 Network Information description ......................17 Device Information ............................17 Frequency Setting ............................
-
Page 4: Chapter 1. Attention
Chapter 1. Attention Don’t use in high humidity place. Use in the clean place. Install on the safe place without dropping. Don’t use and keep around electromagnetic waves. Don’t put the goods on heavy things. ... -
Page 5: The Points Of Name & Components List
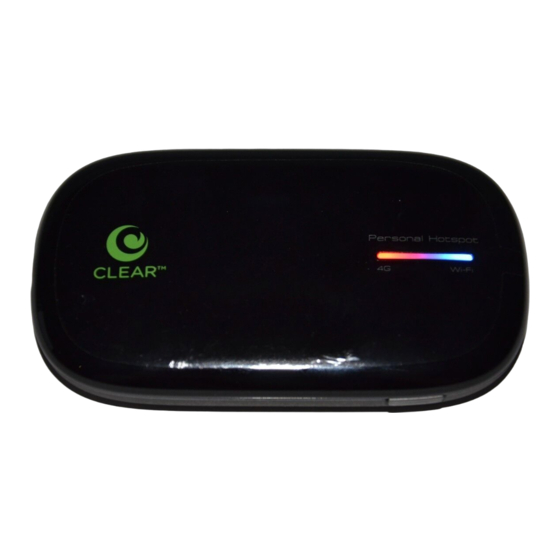
The points of name & Components list Components List in the package. ① IMW-C610W ② Adaptor [5V / 2A] ③ User’s Manual ④ Plug ⑤ USB Cable Points of name & Function ① Status LED : WiMAX signal status and WiFi status LED (Color : Blue / Yellow / Green / Red) ②... - Page 6 Green LED On WiMAX signal level 4 ~ 5 WiFi LED WiFi AP turn On Blue color Connection is failed Green color Power LED Remained battery (100% ~ 60%) Green color Remained battery (60% ~ 30%) Yellow color Remained battery (30% ~ 0%) Red color Battery charging Red color...
-
Page 7: Chapter 3. How To Use The Imw-C610W
Chapter 3. How to use the IMW-C610W Power ON/OFF Power ON : Push the power button for 4 Seconds. Power OFF : Push and hold the power button for 20 Secnds. How to charge battery Using Power Adaptor Using USB Cable from Battery Insert Method <Insert the battery>... -
Page 8: Setting Of The Wifi Ap
Setting of the WiFi AP Notice : Configuration of WiFi AP has to be set to “Obtain IP address and DNS sever address automatically”. Setting with Window XP <Start><Connect to><Wireless Network Connection> Choose WiFi AP of IMW-C610W in the list... -
Page 9: Setting With Window 7
Setting with Window 7 <Start><Control Panel><Network and Internet><Connect to Network> Choose the WiFi AP of IMW-C610W in the list Setting with Mac OS Click the wireless Icon on the menu Choose the WiFi AP of IMW-C610W in the list Setting of USB (RNDIS) Notice : 1. -
Page 10: Setting With Window Xp
3. Refer to USB Driver Page No. XX for download. Setting with Window XP 1. IMW-C610W should be connected with PC by USB cable. 2. Below is each step of RNDIS installation. -
Page 11: Setting With Window 7
Setting with Window 7 1. IMW-C610W should be connected with PC by USB cable. 2. Below is each step of RNDIS installation. <Start><Control Panel><Network and Internet><Connect to Network>... -
Page 12: Chapter 4 Configuring Cm
Chapter 4 Configuring CM Connect to Web CM (Web Connection Manager) Start CM - Use web browser to connect Web CM - Type Address 192.168.1.1/admin ※ Microsoft Internet Explorer is recommended Input ID/Password - A Pop-up window will requests for specific ID and Password to enter into Web CM ID : admin / Password : admin Description of Web User Interface Introduction... -
Page 13: Home Menu
② Sub Menu Sub Menu shows detail categories of Main Menu ③ Main Window Main Window shows status of device or setting parameters ④ Help Display It shows additional description of Main Window Home Menu ① Device Information It shows description of Device such as name of device, manufacturer, software version, hardware version, API version and MAC address ②... -
Page 14: Lan Settings
LAN settings ① LAN Status It shows web address of local area network information. ② LAN Setting - Local IP Address: Input desired IP address that user want to use for Local Area Network - Subnet Mask: Input subnet mask to allocated IP address - DHCP Server: When DHCP is ‘Disabled’, please set IP address of client with static address. -
Page 15: Wimax Configuration
Wireless networks broadcast messages using radio and are thus more susceptible to eavesdropping than wired networks. This Device provides 64/128 bit encryption for network protection. - Authentication type: In case of selecting WEP, default setting is ‘Auto’. ▶ Auto : This support both open system and shared key. ▶... -
Page 16: Parametric Data Description
Parametric Data description ● Auto Refresh: When check box of enable is marked, real time values of WiMAX will be shown. ● Reset stat: This function initialize WiMAX monitoring value with ‘Reset stat’ button. ● Link Status Info Device State: It shows current status of WiMAX connection. Freq: It shows current connection frequency. -
Page 17: Network Information Description
This indicates modulation information of device. Network Information description ● Auto Refresh : When check box is enabled, Network and MAC status of device in monitored in real time. ● WiMAX Link Status Device Status: This indicates connection status of WiMAX device. BSID: This indicates BSID of WiMAX network. -
Page 18: Frequency Setting
Frequency Setting ① No: Please register frequency that desiered to be used in sequenc. ② First Freq.(kHz): Please register the first frequency NAP operator’s range. ③ Last Freq.(kHz): Please register last frequency NAP operator’s range. ④ Next Freq.(kHz): Please register step of frequency range. ⑤... -
Page 19: Authentication Setting
4. In case there is Sub CA Certificate, register in ④ 5. ⑤ Register Client Certificate file 6. ⑦ Input private password 7. ⓐ input Outer NAI (Anonymous ID) (ex:random@infomark.co.kr or MAC Address@infomark.co.kr) 8. Select ⓒ to save configuration 9. Click ‘Reboot’ in main window... -
Page 20: Administration Setting
5. Input inner NAI (ID) with ⑧ 6. Input inner NAI password with ⑨ 7. ⓐ input Outer NAI (Anonymous ID) (ex:random@infomark.co.kr or MAC Address@infomark.co.kr) 8. Select ⓒ to save configuration 8. Select ⓒ to save configuration 9. Click ‘Reboot’ in main window Administration setting Items of Administrator settings are consist of Status, Firm info., Administration, Upgrade and USB Driver... -
Page 21: Administration Setting
Administration setting ① NTP Setting Enable NTP Client: In case of using NTP Client, enable check box of Enable NTP client NTP Server: Input URL of NTP Server URL Time Zone: Select Time Zone Click save to store the configuratio. Admin Password ②... -
Page 22: Usb Driver Description
- FOTA URL: Input URL of the site and save click to restore - When Enable Auto Upgrade is checked, device will compare the firmware version and on server and update if the firmware is new. USB Driver description ① This is driver file when USB is used on Windows XP/Vista/7 ②...
Need help?
Do you have a question about the Biscuit IMW-C610W and is the answer not in the manual?
Questions and answers