Advertisement
Quick start for EVK-F9T
3
1
UBX-22015125
2
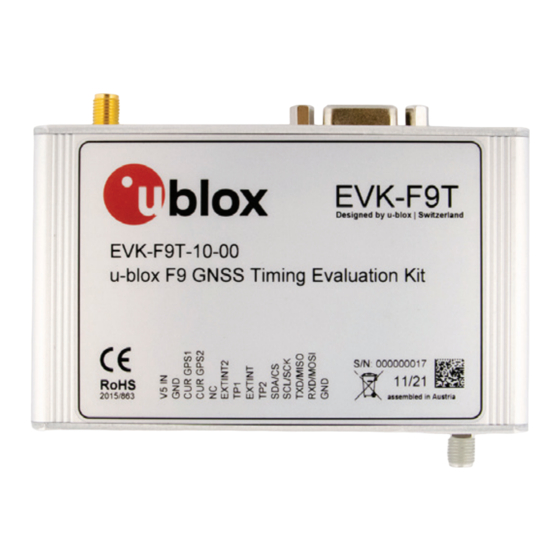
Setup overview
1. Download and install the u-center GNSS evalua-
tion software from www.u-blox.com/u-center.
2. Connect the unit to a PC. Options:
•
Connect via USB port. The USB driver installs
automatically when the device is connected to
the PC; internet connection is required.
•
Connect via RS232 port (UART interface). Set
the interface switch (2) to I2C.
•
SPI / I2C: Set switch to either SPI or I2C and
connect the appropriate pins (1).
Note: Press RST after setting the switch.
3. The device must always have power, either via
USB on the back or the V5 IN pin (3) on the front.
4. Connect the provided GNSS antenna to the eval-
uation unit and place the antenna so that it has
an unobstructed view to the sky. Alternatively,
connect a GNSS simulator signal directly to the
EVK-F9T RF input.
5. Start the u-center GNSS evaluation software
and select the corresponding COM port and
baud rate.
Copyright © 2022, u-blox AG
Advertisement
Table of Contents

Related Manuals for u-blox EVK-F9T


Summary of Contents for u-blox EVK-F9T
- Page 1 Quick start for EVK-F9T Setup overview 1. Download and install the u-center GNSS evalua- tion software from www.u-blox.com/u-center. 2. Connect the unit to a PC. Options: • Connect via USB port. The USB driver installs automatically when the device is connected to the PC;...
- Page 2 Interfaces u-center installation EVK-F9T can be used to evaluate all interfaces • Internet connection is required. available on the u-blox F9 timing modules. • Supported Windows operating systems are The evaluation unit provides a standard USB Windows 7 and onwards (x86 and x64).
Need help?
Do you have a question about the EVK-F9T and is the answer not in the manual?
Questions and answers