
Related Manuals for HD Flow3 Super Mini HD-SM300

Summary of Contents for HD Flow3 Super Mini HD-SM300
- Page 1 User Manual and Installation Guide WIRELESS AV MULTI-DISPLAY SYSTEM HD-SM300 ® R E ADY www.hdflow.co.kr ver 1.0...
-
Page 2: Table Of Contents
............9 IR Extender Installation (Optional) ............................10 Connecting The Receiver To The Display Device .........................10 Powering-Up HD FLOW3 Super mini Wireless AV Multi Display System ................10 Input And Output Selection ..............................10 Multicast Mode - Pairing Additional Receiver(s) With The Transmitter ..................11 Tips ......................................11... -
Page 3: Safety Precautions
SAFETY PRECAUTIONS Keep the product away from Keep the product out of reach of external heat sources such as children. heaters or stoves. If there is any unusual sound, Keep the battery of remote control smoke or odor coming from the out of reach of children. -
Page 4: Introduction
Receiver to a display device, instant high definition digital audio and video can be placed into in any commercial or residential setting. HD FLOW3 Super mini Wireless AV Multi Display System transmits through walls and floors to allow the components to be neatly tucked away in an AV rack or media cabinet, and is the ideal solution for quick and easy installation where running cable is cost prohibitive or simply not an option. -
Page 5: Product Specifications
PRODUCT SPECIFICATIONS HD-SM300 3x HDMI up to 1080p60 Video Input 1x HDMI pass-thru output (pass-thru port mirrors HDMI 1) (Transmitter) Video Output 1x HDMI up to 1080p60 (Receiver) H.264 Baseline Profile Encoding H.264 Baseline, Main, High Profile Decoding IEEE 802.11n Wireless Connection 2 CH PCM, 48kHz, 16 Bit Audio... -
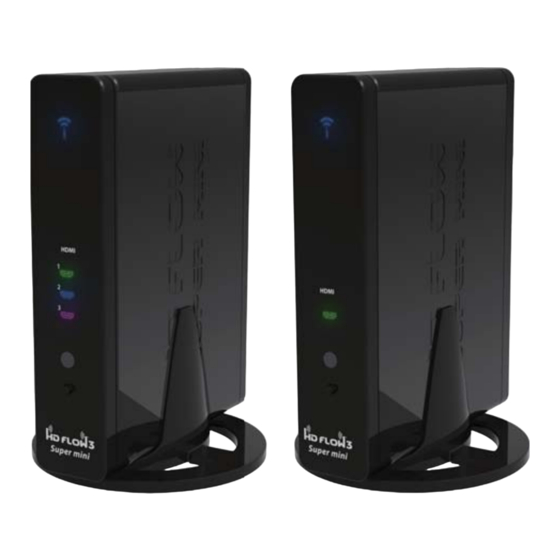
Page 6: Transmitter Front
Transmitter Front Power/Link Indicator Light • Blinking indicator light - Establishing link between the Transmitter and the Receiver. • Solid indicator light - Link between the Transmitter and Receiver has been established and is ready for signal transmission. HDMI 1 •... -
Page 7: Receiver Front
Receiver Front Power/Link Indicator Light • Blinking indicator light - Establishing link between the Transmitter and the Receiver. • Solid indicator light - Link between the Transmitter and Receiver has been established and is ready for signal transmission. HDMI • The HDMI indicator light will be illuminated when the HDMI port is selected for video output. -
Page 8: Remote Control
Remote Control POWER ON Button • Turns the Transmitter and Receiver power ON POWER POWER POWER OFF Button • Turns the Transmitter and Receiver power OFF INFO/OK* - Displays the following information on the screen: SCAN MENU / BACK • Transmitter - WiFi IP and Source Resolution. Note: The Transmitter unit’s information will only be displayed if the connection between the Transmitter unit INFO... -
Page 9: Installation And Operation
Before starting the installation, please ensure that all source components (Blu-ray player, cable box, etc.) and the display equipment (TV, display, projector, etc.) are turned off. For initial setup of your HD FLOW3 Super mini system complete steps A, B, C, D, E and F in order. A) Connecting Source Components To The Transmitter HDMI Media Source •... -
Page 10: Ir Extender Installation (Optional)
Button for one second on the unit and release. At this time the output Indicator Light will become solid and the HD FLOW3 Super mini logo will appear on the display device if there is no source providing content. The HD FLOW3 Super mini logo is only displayed when the receiver is working with the display, but no content is coming from the transmitter. -
Page 11: Multicast Mode - Pairing Additional Receiver(S) With The Transmitter
720p). If the HD FLOW3 Super mini logo nor the video content are being displayed, verify that the output selection on the Receiver and input selection of the display are correct. -
Page 12: Factory Reset
1. Make sure the HD FLOW3 Super mini System is up and running. 2. Using the HD FLOW3 Super mini remote supplied, point it at the Receiver IR window. Press the Info/OK button. In the list of information there will be stated “Firmware Version:”... -
Page 13: Compliance Statements
COMPLIANCE STATEMENTS FCC Compliance This equipment has been tested and found to comply with the limits for a Class B digital device, pursuant to part 15 of the FCC Rules. These limits are designed to provide reasonable protection against harmful interference in a residential installation. This equipment generates, uses, and can radiate radio frequency energy and, if not installed and used in accordance with the instruction manual, may cause harmful interference to radio communications. -
Page 14: Warranty
1 YEAR LIMITED WARRANTY The HD FLOW3 offers the highest quality components and technology available. The product is warranted to be free from defects in material and workmanship, given normal use and care, for 1 Year from the original purchase date with proof of purchase. - Page 15 WIRELESS AV MULTI-DISPLAY SYSTEM www.hdflow.co.kr I DO IT Co., Ltd. #637, Smart-Hub Industry-University Convergence Center, 237 Sangidaehak-ro, Siheung-si, Gyeonggi-do, Korea Tel : +82 (0)31 8041 1500 Fax : +82 (0)31 8041 1550 E-mail : sales@hdflow.com I DO IT France 6-8 Rue de la Closerie ZAC Du Clos Aux Pois 91090 LISSES Cedex FRANCE Tel : +33 (0)1 64 97 52 28 Fax : +33 (0)1 64 97 52 35 E-mail : sales@i-do-it.fr...
Need help?
Do you have a question about the Super Mini HD-SM300 and is the answer not in the manual?
Questions and answers