
Related Manuals for Daikin Siesta ATXD35A5V1B


Summary of Contents for Daikin Siesta ATXD35A5V1B
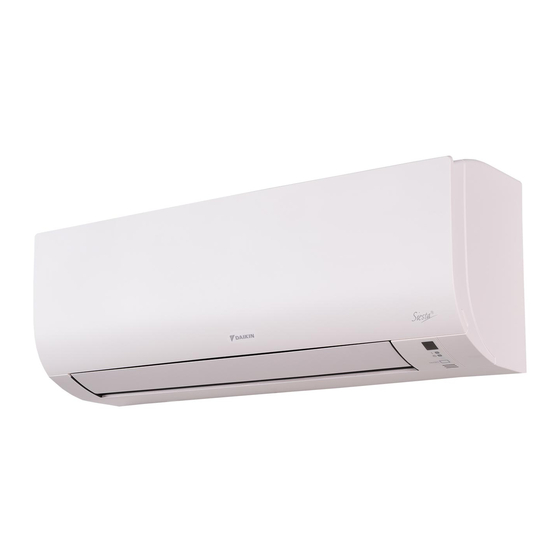
- Page 1 Installation manual R32 Split series Installation manual ATXD25A5V1B English R32 Split series ATXD35A5V1B...
- Page 2 4P718540-1...
-
Page 3: Table Of Contents
Daikin website (publicly accessible). To pass the pipes through the wall hole........12 ▪ The full set of latest technical data is available on the Daikin To fix the unit on the mounting plate ......... 12 Business Portal (authentication required). - Page 4 2 Specific installer safety instructions Unit installation (see "5 Unit installation" [ 4 6]) CAUTION Do NOT open the valves before flaring is complete. This WARNING would cause refrigerant gas leakage. Installation shall be done by an installer, the choice of materials and installation shall comply with the applicable DANGER: RISK OF EXPLOSION legislation.
-
Page 5: About The Box
3 About the box Commissioning (see "10 Commissioning" [ 4 13]) WARNING ▪ If the power supply has a missing or wrong N-phase, DANGER: RISK OF ELECTROCUTION equipment might break down. ▪ Establish proper earthing. Do NOT earth the unit to a DANGER: RISK OF BURNING/SCALDING utility pipe, surge absorber, or telephone earth. -
Page 6: Operation Range
5 Unit installation ▪ Drainage. Make sure condensation water can be evacuated properly. ▪ Wall insulation. When conditions in the wall exceed 30°C and a relative humidity of 80%, or when fresh air is inducted into the wall, then additional insulation is required (minimum 10 mm thickness, polyethylene foam). -
Page 7: To Re-Install The Front Panel
5 Unit installation 5.2.2 To re-install the front panel 1 Attach the front panel. Align the shafts with the slots and push them all the way in. 2 Close the front panel slowly; press at both sides and at the centre. -
Page 8: To Drill A Wall Hole
5 Unit installation Through-the-wall hole Ø65 mm NOTICE Drain hose position Position for the tape measure at symbol " " Do NOT use nippers to remove the pipe port cover, as this Gas pipe end would damage the front grille. Liquid pipe end 5.3.4 To provide drainage... -
Page 9: Piping Installation
6 Piping installation 4 Attach the drain hose to the refrigerant piping bottom side using adhesive vinyl tape. To connect the piping on right side, right-back, or right-bottom INFORMATION Left-side piping The factory default is right-side piping. For left-side piping, Left-back piping Left-bottom piping remove the piping from the right side and install it on the... -
Page 10: Refrigerant Piping Insulation
6 Piping installation 2 Insulate the refrigerant piping, interconnection cable and drain 6.1.2 Refrigerant piping insulation hose on the indoor unit as follows: ▪ Use polyethylene foam as insulation material: ▪ with a heat transfer rate between 0.041 and 0.052 W/mK (0.035 and 0.045 kcal/mh°C) ▪... -
Page 11: Electrical Installation
7 Electrical installation ▪ Check for leaks again. To connect the electrical wiring to ▪ Perform vacuum drying again. the indoor unit WARNING Electrical installation Provide adequate measures to prevent that the unit can be used as a shelter by small animals. Small animals that DANGER: RISK OF ELECTROCUTION make contact with electrical parts can cause malfunctions, smoke or fire. -
Page 12: Finishing The Indoor Unit Installation
8 Finishing the indoor unit installation Finishing the indoor unit 2 Pass the drain hose and refrigerant piping through the wall hole and seal the gap with a putty. installation To fix the unit on the mounting To insulate the drain piping, plate refrigerant piping and 1 Set the indoor unit on the mounting plate hooks. -
Page 13: Commissioning
10 Commissioning 2 Close the unit. INFORMATION 3 Power up the unit. In case you could NOT complete the setting in time, turn the power supply off and wait at least 1 minute before You read the complete installation instructions, as turning the power supply back on. -
Page 14: Disposal
11 Disposal 1 Press , and simultaneously. 2 Press 3 Select 4 Press 5 Press to switch the system on. Result: Test run operation will stop automatically after about 30 minutes. 6 To stop operation, press INFORMATION Some of the functions CANNOT be used in the test run operation mode. -
Page 15: Technical Data
▪ A subset of the latest technical data is available on the regional Light emitting diode (service Daikin website (publicly accessible). monitor green) ▪ The full set of latest technical data is available on the Daikin HIGH VOLTAGE High voltage Business Portal (authentication required). - Page 16 12 Technical data Symbol Meaning Terminal Terminal strip (block) Electronic expansion valve coil Y*R, Y*S Reversing solenoid valve coil Ferrite core ZF, Z*F Noise filter Installation manual ATXD25+35A5V1B R32 Split series 3P650253-14Q – 2022.12...
- Page 20 DAIKIN ISITMA VE SOĞUTMA SİSTEMLERİ SAN.TİC. A.Ş. Gülsuyu Mahallesi, Fevzi Çakmak Caddesi, Burçak Sokak, No:20, 34848 Maltepe İSTANBUL / TÜRKİYE Tel: 0216 453 27 00 Faks: 0216 671 06 00 Çağrı Merkezi: 444 999 0 Web: www.daikin.com.tr 3P650253-14Q 2022.12 Verantwortung für Energie und Umwelt...
Need help?
Do you have a question about the Siesta ATXD35A5V1B and is the answer not in the manual?
Questions and answers