Table of Contents
Advertisement
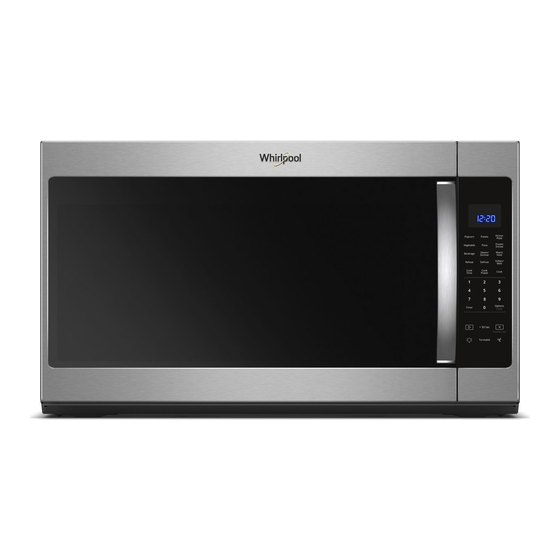
MICROWAVE HOOD COMBINATION
This product is suitable for use above electric or gas cooking products up to and including 36" (91.4 cm) wide. See the "Installation
Requirements" section for further notes.
These installation instructions cover different models. The appearance of your particular model may differ slightly from the illustration
in these installation instructions.
MICROWAVE HOOD COMBINATION SAFETY
INSTALLATION INSTRUCTIONS
Table of Contents
MICROWAVE HOOD COMBINATION SAFETY ............................1
INSTALLATION REQUIREMENTS .................................................2
Tools and Parts ............................................................................2
Separate cardboard template ......................................................2
Location Requirements ................................................................2
Product Dimensions .....................................................................3
Electrical Requirements ...............................................................3
INSTALLATION INSTRUCTIONS ...................................................4
Remove Mounting Plate ...............................................................4
Rotate Blower Motor ....................................................................4
Locate Wall Stud(s) ......................................................................7
Mark Rear Wall .............................................................................7
Drill Holes in Rear Wall .................................................................8
Attach Mounting Plate to Wall .....................................................8
Prepare Upper Cabinet ................................................................9
(for wall venting only) ..................................................................10
Install the Microwave Oven ........................................................10
Complete Installation .................................................................11
VENTING DESIGN SPECIFICATIONS ........................................12
ASSISTANCE ................................................................................14
Replacement Parts .....................................................................14
Accessories ................................................................................14
W11496338A
Advertisement
Table of Contents

Related Manuals for Whirlpool WMH53521HZ


Summary of Contents for Whirlpool WMH53521HZ
-
Page 1: Table Of Contents
MICROWAVE HOOD COMBINATION INSTALLATION INSTRUCTIONS This product is suitable for use above electric or gas cooking products up to and including 36" (91.4 cm) wide. See the “Installation Requirements” section for further notes. These installation instructions cover different models. The appearance of your particular model may differ slightly from the illustration in these installation instructions. -
Page 2: Installation Requirements
INSTALLATION REQUIREMENTS Tools and Parts Separate cardboard template Tools Needed The wall template and upper cabinet template is embedded in the backside of the carton box. They are used as a rear wall Gather the required tools and parts before starting installation. template and upper cabinet template. -
Page 3: Product Dimensions
15" (38.1 cm), use the bump out mounting kit replacing the I bar mounting plate from the wall. The bump out mounting kit (part # W11185746) is not provided but can be purchased from GROUNDING INSTRUCTIONS Whirlpool. 12" DEEPER 14" 14" DEEPER 15" For all cord connected appliances: The microwave oven must be grounded. -
Page 4: Installation Instructions
INSTALLATION INSTRUCTIONS 3. Remove two blower screws attaching blower motor to the Remove Mounting Plate microwave oven, and set aside. Depending on your model, the mounting plate may be in the foam packaging, or it may be attached to the back of the microwave oven. - Page 5 6. Using diagonal wire cutting pliers, gently snip out the 10. Reattach the two blower screws into the recessed holes in rectangular damper vent covers at the perforations. the back of the microwave. A. Diagonal wire cutting pliers B. Rectangular damper vent cover 7.
- Page 6 13. Secure damper plate with two screws removed in Step 1. 8. Reconnect the blower motor wire into the connector. 9. Reattach the two blower screws into the recessed holes in the back of the microwave. 10. Check to make sure the two screws are secured properly in the blower motor screw holes, so that the motor cannot move.
-
Page 7: Locate Wall Stud(S)
Locate Wall Stud(s) NOTE: If no wall studs exist within the cabinet opening, do not 1. Using a stud fi nder, locate the edges of the wall stud(s) within install the microwave oven. the opening. See illustrations in “Possible Wall Stud Confi gurations.” 2. -
Page 8: Drill Holes In Rear Wall
3. Holding the cardboard template in place, mark both holes Drill Holes in Rear Wall in the lower corners and draw a horizontal line across the bottom edge of the cardboard template. These represent the In addition to being installed on at least one wall stud, the mounting plate’s end holes and bottom edge. -
Page 9: Prepare Upper Cabinet
4. Push the two bolts with toggle nuts through the drywall, and Prepare Upper Cabinet fi nger tighten the bolts to make sure toggle nuts have opened against drywall. 1. Disconnect power to outlet. 2. Remove all contents from upper cabinet. 3. -
Page 10: Install Damper Assembly (For Wall Venting Only)
3. Make sure the microwave oven door is closed and taped Install Damper Assembly shut. (for wall venting only) 1. Check that damper blade moves freely and opens fully. 2. Position the damper assembly on the back of the microwave oven so that the damper blade hinge is at the top, and the damper blade opens away from the microwave oven. -
Page 11: Complete Installation
■ Overtightening bolts may warp the top of the microwave 2. Connect vent to damper assembly. oven. To avoid warping, wood fi ller blocks (installer to provide) may be added. The blocks must be the same thickness as the space between the upper cabinet bottom and the microwave oven. -
Page 12: Venting Design Specifications
VENTING DESIGN SPECIFICATIONS This section is intended for architectural designer and builder/ Rectangular-to-Round Transition contractor reference only. NOTE: The minimum 3" (7.6 cm) clearance must exist between NOTES: the top of the microwave oven and the rectangular-to-round transition piece so that the damper can open freely and fully. ■... - Page 13 Recommended Vent Length ⁄ " x 10" (8.3 x 25.4 cm) rectangular or 6" (15.2 cm) round 6" (15.2 cm) vent system = 73 ft (22.2 m) total vent should be used. The total length of the vent system including straight vent, elbow(s), transitions and wall or roof caps must not exceed 6 ft (1.8 m) the equivalent of 140 ft (42.7 m) for either type of vent.
-
Page 14: Assistance
ASSISTANCE Call your authorized dealer or service center. When you call, you Accessories will need the microwave oven model number and serial number. Both numbers can be found on the model and serial number Filler Panel Kits are available from your dealer to use when plate, which is located behind the microwave oven door on the installing this microwave oven in a 36"... - Page 15 Notes...
- Page 16 W11496338A SP PN W11496340 ©2020 All rights reserved. 11/20...
Need help?
Do you have a question about the WMH53521HZ and is the answer not in the manual?
Questions and answers