Advertisement
Quick Links
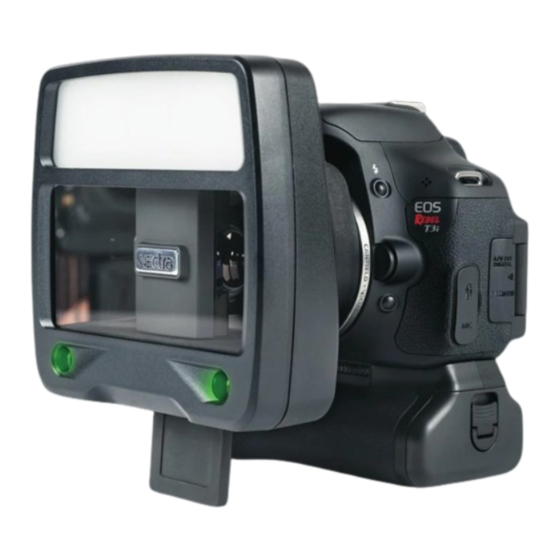
Capturing Images with H1 Tethered to Computer
(VECTRA H1 camera connected to the computer)
1. START THE VECTRA SYSTEM & SOFTWARE
VECTRA H1 Tethered Capture
1 Turn on the computer.
2 Double-click the
desktop to open the software.
3 Connect the VECTRA H1 camera to the computer
with the supplied USB cable.
4 Rotate the power switch
(top of the camera) to ON.
5 The mode dial should
M
be set to
when the
camera is on.
The first time you use the VECTRA software, check to
make sure H1 is selected as the capture system:
1 Click the
set up
of the screen.
2 Select the
Capture
displayed.
3 Click close.
Q U I C K R E F E R E N C E G U I D E
QUICK REFERENCE GUIDE
VECTRA icon on the Windows
button in the lower right corner
tab and make sure
VECTRA H1
is
1
Advertisement

Summary of Contents for Vectra Fitness H1
- Page 1 1 Turn on the computer. 2 Double-click the VECTRA icon on the Windows desktop to open the software. 3 Connect the VECTRA H1 camera to the computer with the supplied USB cable. 4 Rotate the power switch (top of the camera) to ON.
- Page 2 Capturing Images with H1 Tethered to Computer 2. FIND OR CREATE A PATIENT CHART (see VECTRA H1 User Guide Chapter 2 for more details) 1 Click the look up patient button in the upper right corner of the VECTRA home screen.
- Page 3 2. Find or Create a Patient Chart Turn the H1 camera off, then on. new capture is still unavailable, restart the VECTRA software and try again. 3. CAPTURE 3D IMAGES FOR STITCHING Consistent patient positioning is the most important aspect of capturing medical images. Follow consistent methods to ensure consistent patient positioning.
- Page 4 Capturing Images with H1 Tethered to Computer • Center the target area in the left side of the split screen in the LCD. Aim the ranging lights toward the middle of the field of interest at a representative area of focus (i.e., not at the tip of the nose, since it’s closer than the rest of the face).
- Page 5 2 2 2 2 " (30cm) ranging lights at mid face live preview during right view capture captured 3D image VECTRA H1 Tethered Capture Q U I C K R E F E R E N C E G U I D E...
- Page 6 Capturing Images with H1 Tethered to Computer THE PATIENT SHOULD REMAIN COMPLETELY STILL THROUGHOUT THE 3 IMAGE CAPTURES. capture 2: FRONT 1 Stand directly in front of the patient. 2 Hold the camera level with the patient’s nose. 3 Aim the green dots between the upper lip and nose, at the mid-line of the patient’s face.
- Page 7 1 1 2 2 2 2 2 (30cm) ranging lights at mid face live preview during left view capture captured 3D image VECTRA H1 Tethered Capture Q U I C K R E F E R E N C E G U I D E...
- Page 8 Capturing Images with H1 Tethered to Computer 4. STITCHING After the third image is captured, VECTRA software automatically processes the images and stitches them together into a single 3D image. The individual captures are displayed while they are being processed.
- Page 9 Each of the 3 captures requires its own set of landmarks. VECTRA H1 Tethered Capture Q U I C K R E F E R E N C E G U I D E...
- Page 10 Capturing Images with H1 Tethered to Computer 2 Repeat until each of the requested landmarks has been placed. If you wish to change the position of a landmark, position the tip of the cursor arrow over it. The cursor changes to an open hand when it’s close...
- Page 11 technical support 1.800.815.4330 phone (USA): +1.973.276.0336 phone: techsupport@canfieldsci.com 253 Passaic Avenue, Fairfield, NJ 07004-2524 USA • fax +1.973.276.0339 • www.canfieldsci.com 3D SOLUTIONS • FACIAL IMAGING & ANALYSIS • IMAGING SOFT WARE • PHOTOGRAPHY • RESEARCH SYSTEMS & SERVICES • TRAINING VECTRA and Mirror are registered trademarks of Canfield Scientific, Inc.