Advertisement
ACCESSORIES
Please read this manual guide carefully before usage, and safe keep it during the validity of the product for viewing at any time.
PARTS INCLUDED IN SET:

FUNCTION INTRODUCTION
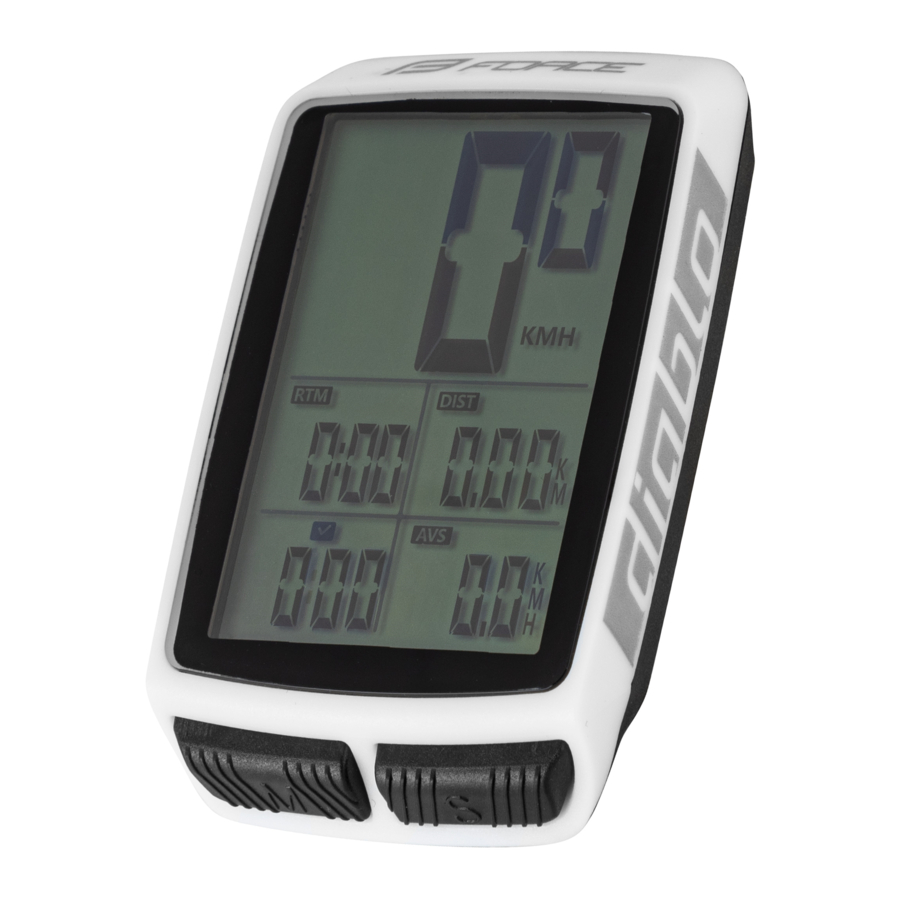
| RTM | trip time | CLOCK |
| DIST | trip distance | ACTUAL SPEED |
| AVS | average speed | LED BACKLIGHT |
| TTM | total trip time | SPEED COMPARSION |
| ODO | total trip distance | AUTO ON/OFF |
| MXS | maximum speed |
Possible to set up KMH or MPH units.
Possible to set up 12 or 24 mode of clock.
INSTALLING INSTRUCTION
Location of computer and accessories:

Battery installation
Insert coin into the gap of the battery cover, then counterclockwise rotate to open battery cover, mount battery and cover it up.

Please use CR2032 battery, battery anode (+) side is up, toward battery cover.
Bracket installation on handlebars
Place round self-adhesive pad from bottom side of holder. Mount the holder on handlebars and tight with rubber O-ring. For mounting holder on the stem change the position of holder like on the picture bellow.

Installation of the computer into bracket
Switch computer in position by 45° left.
Then insert in bracket and fix by rotating clokwise so computer is in same position with bracket.

Transmitter installation
Fix the transmitter on the same side of the front fork as the computer bracket. If the bracket is mounted on the stem, you can fix the
transmitter on both side of the fork.
Please follow max. distance between transmitter and computer 60cm in range 30°. Max. distance between the transmitter and magnet is 5 mm.

 Notes:
- The distance between transmitter and magnet should be less than 5mm, try to adjust the location of magnet within this scope.
- Keep min. distance - magnet and transmitter can not touch during the ride!
- Place the transmitter on the side with sign "sensor" closer to the magnet (on the inner side)
Magnet installation
Position the magnet on the wire closest to the fork at the same height as the sensor. Secure the threaded contact.
The cable must be inserted into the speci ed groove. Check that signal transmission is running smoothly.

AUTO ON/ OFF
Computer automatically enters standby mode after 4 minutes when it does not measure speed (KMH). Again it starts automatically after 10 seconds of pressing the button or movement - measuring speed.

OPERATION INSTRUCTION
Please measure wheel circumference before setting circumference. There are two measuring methods.
- Record marked size on wheel, refer to following table to find the perimeter.
- Make a mark point on wheel, cycle the bicycle, when the marker point rolls one circle, the distance cycled is the wheel circumference (Unit: MM)
- For accurate measurement seat on bicycle while measuring (reccomended instalation in 2 people)


Display backlight (EL)
For activation of backlight mode přes both buttons M+S (MODE+SET) in the same time. Display shows "LIGHT ON" and lights for 10 seconds. When the backlight is on evreytime you press any button – lights for 10 seconds. For deactivation of backlight mode press both M+S buttons in same time again. Display shows "LIGHT OFF" and function is locked.
")

You have two options how to enter the settings
- Settings menu opens automatically when the battery is insert and you can set up all values.
- You can enter the setting mode by press and hold "M" button for 3 seconds. Then you can set up all values.
To choose an option press "S" button. To con rm value press "M" button.

Unit setting (KMH / MPH)

Wheel size

Total riding distance

Total riding time

12/24 setting

Clock setting
Data display mode

FUNCTIONS
Riding time (RTM)
Indicates riding time since last data reset.
Trip distance (DST)
Indicates the distance travelled since the last data reset.
Average speed (AVS)
It is calculated from the measured km/h and total riding time since last data reset.
Total riding time (TTM)
Indicates the total riding time it can be set in the SET UP mode.
Total distance (ODO)
Indicates the total number of travelled km. It can be set in SET UP mode.
Maximum speed (MXS)
Indicates the maximum measured speed since the last data reset.
Speed comparsion
An arrow in upper right corner indicate when you are riding faster or slower than your average speed.
To reset the measured data, press the SET button for 3 seconds.
A RESET warning will appear, which will blink twice.
Data is erased to 0.

NOTE
Always pay attention to the road and traffic while riding.
Check regularly the distance between sensor and magnets.
Wireless interference may occur near: smart phones, computers, Power banks, lights, other wireless devices, high voltage sources, railroad crossings etc.
Always dismount the computer while cleaning the bicycle and storage outside (protect from rain and snow). Battery capacity can be reduced to approximately 70-80% after 300-500 charging cycles. Battery capacity decreases at lower temperature. Do not expose the computer to a high temperature of + 40°C (hot place in the car), low temperatures below 0°C, high humidity and direct sunlight. Store in a cool, dry place, keep away from children, heat source and inflammable material. Protect from fire and inflammable substances.
Do not submerge in water.
Computer is water-resistant, it can be used in light rain.
During heavy rain, it´s recommended to store in a dry place.
Do not clean with water or aggressive cleaners. Do not disassemble or otherwise modify the computer, battery and accessories.
Dispose the computer and battery ecologically according to valid regulations. Always follow applicable traffic laws in the country where you use the product.
TROUBLE SHOOTING
| Problems | Reasons | Solution |
| Display slowly update | Climate temperature is low | Place it in normal temperature |
| No display, dark or badly readable. |
|
|
| No speed display of faulty display |
|
|
| Malfunction display | Set up again referring to setup manual |
SPECIFICATIONS
Speed sensor: non-contact type magnetic sensor
Wireless data transmission: coded 125KHZ low-frequency transmission
Battery type: Lithium polymer 301535/ 120 mAh (0,45Wh)/ 4.2V
Charging: with Micro USB 2.0 cable with battery and charging status indicator, charging time 1-2h
Computer weight with holder: 38g, battery weight: 10g Wheel circumference unit: mm
Operating temperature: 0˚ C – 40˚ C, IP protection: IPX6
Material: plastic, length 65mm, width 40mm, height 17mm
| Measured data Current speed Maximum speed Average speed Trip distance A Trip distance B Total distance Elapsed time Clock time | Meausuring range 1.0KM/H--99.9KM/H(MPH) 1.0KM/H--99.9KM/H(MPH) 1.0KM/H--99.9KM/H(MPH) 0.1-99999.9KM(MILE) 0.1-99999.9KM(MILE) 1-999999KM(MILE) 0:00.00-99H:59M:59S 0:00-23:59 |
WARRANTY
Warranty does not apply to damage due to high and low temperatures, physical damage resulting from abuse, improper repair, improper fit, alternations of the fixture or improper use. Supplier does not accept any liability for injuries or other damage resulting from improper use of this product under any circumstances. Specifications and designs may be changed without prior notice. The current version of the manual and declaration of conformity can be found on the website www.FORCE.BIKE

Documents / Resources
References
Download manual
Here you can download full pdf version of manual, it may contain additional safety instructions, warranty information, FCC rules, etc.
Download Force DIABLO - Wireless Bicycle Computer with 11 Functions Manual
Advertisement


Need help?
Do you have a question about the DIABLO and is the answer not in the manual?
Questions and answers