Advertisement
Quick Links
Advertisement

Related Manuals for Alpine HEMLOCK ALP400 Series


Summary of Contents for Alpine HEMLOCK ALP400 Series
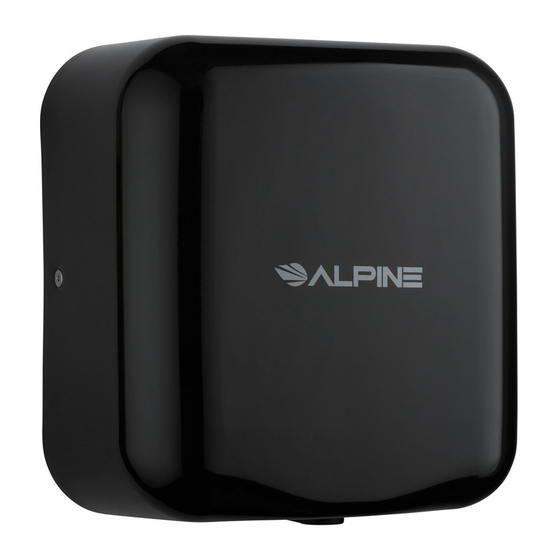
- Page 1 HEMLOCK HAND DRYER ALP400-SERIES USER G UIDE...
- Page 2 Thank you for your purchase. Alpine maintains a strong practice of ongoing development of products and commercial research. Combining commitment to the customer, design innovation and skilled, dedicated workforces, they have produced a range of products that are an essential part of every commercial facility. Every...
-
Page 3: Table Of Contents
Table of Contents Safety Instructions Cleaning/Maintenance Installation Guide Troubleshooting Maintenance Diagrams Notes Warranty... -
Page 4: Safety Instructions
The instructions in this manual and the installation guide must be followed completely. Failure to do so may result in incorrect operation, damage to property and/or personal injury. Alpine Industries will not be held liable for any damage to property or personal injury, or any loss of business or revenue, if you, your staff, your installer or service engineers have not followed the instructions given in this manual and the installation guide. -
Page 5: Cleaning/Maintenance
• Gently wash cover and air inlet holes using a soft cloth, lukewarm water, and a nonabrasive cleaner. Inside • Alpine recommends regularly checking and cleaning the insides of your machine to ensure proper performance. • Use a soft dry cloth or brush to gently remove dust from parts and inlet holes. -
Page 6: Installation Guide
Installation Guide WARNING • For proper electrical connections, check your local building codes. • If hardwired, unit must be installed by a qualified, licensed electrician. Pre Installation Wiring 1. Ensure that the electrical supply corresponds to that shown on the rating sticker of unit. - Page 7 Installation Guide Installing the Hand Dryer Unit CAUTION • Your hand dryer should be located indoors. • To reduce the risk of fire or electric shock, do not expose the internal mechanisms/components of this unit to moisture. If hardwired, disconnect power source of electricity previously brought to the hand dryer location.
- Page 8 Installation Guide Installing the Hand Dryer Unit (Continued) Hold the template (supplied) against bare wall. • Make sure that the line of template representing bottom of dryer is horizontal. • Mark location of screws. Remove shipping security screw located at center top of back-plate. Use wretch (supplied) to remove the two mounting screws located at the side of the cover and lift cover up from base plate.
-
Page 9: Troubleshooting
Troubleshooting Dryer Will Not Turn On: 1. Check power to the unit and connections. Verify dryer is receiving the correct voltage at the Terminal Block (check dryer label on the outside bottom of the cover). 2. Adjust the sensor range (refer to wiring diagram sheet). 3. - Page 10 Troubleshooting Dryer Does Not Shut Off 1. It may be mounted too close to a counter or object and has gone into lockout. a. If relocating appliance is not possible, adjust the range of the Sensor. b. Turn off the power to the dryer then turn the range adjustment on the program board counterclockwise towards low to decrease the sensor's range (refer to wiring diagram sheet).
- Page 11 Troubleshooting Dryer Blows Only Cold Air 1. Check the heat setting on the control (if supplied). 2. Check for loose connections to the Heating Element (refer to wiring diagram sheet). 3. Replace the Heating Element. Dryer Has Loss of Air Volume 1.
-
Page 12: Maintenance
Maintenance Removing Hand Dryer From The Wall 1. It is recommended to take the hand dryer from wall ONLY when you need to replace a new motor or two side cover fix brackets. 2. Remove and retain 2 side security hex cover screws with a Allen key, then remove the cover. - Page 13 Maintenance Replacing Brackets 1. Remove the grounding wire fixed on bracket by loosening the screw. a. Be sure not to lose the screw and two gaskets. 2. Loosen the two bracket fixed screws from the hand dryer's base back. 3. Replace the bracket(s) with the new one(s). a.
- Page 14 Maintenance Replace Sensor/Program Board 1. Remove the nozzle by loosening the nozzle screw. a. Be sure not to lose it. 2. Remove the sensor from its housing and disconnect it from the program board and main board. a. The melt adhesive is only for safe transportation and you do no need to use it when replacing the sensor.
- Page 15 Maintenance Replace Main Circuit Board 1. Disconnect all the wires from the circuit board. 2. Unscrew the 3 screws and remove the main board. 3. Connect the new main board. 4. Reconnect all the wires (see Diagram on page 1). Main board...
- Page 16 Maintenance Replace LED 1. Remove the nozzle by loosening the nozzle screw. a. Be sure not to lose it. 2. Remove the LED from LED housing and disconnect it from the main board. a. It is recommended to use a slotted screw driver to push the lock out a little then push the LED down lightly.
- Page 17 Maintenance Replace Heat Element 1. Disconnect two heating element wires from the Main Board. 2. Loosen the 4 screws on the heat element holder then pull it out. a. Be sure not to lose screws and the air seal rubber gasket. 3.
- Page 18 Maintenance Replace Filter or HEPA Filter (If Supplied) 1. If it is a normal air filter: a. Pull is straight out b. Then, replace it with a new one. 2. If it is a HEPA air filter: a. Remove air inlet right cover by loosening the 4 screws. b.
- Page 19 Maintenance Replace Motor 1. Disconnect the motor wire from the motor to the Main Board. 2. Move the air inlet right cover by loosening 4 screws. a. Be sure not to lose them. 3. Move the motor fix bracket and motor fix rubber ring by loosening 4 screws. a.
-
Page 20: Diagrams
Diagrams... - Page 21 Diagrams...
- Page 22 Diagrams Black Motor Heat...
-
Page 23: Notes
Notes... - Page 24 Notes...
-
Page 25: Warranty
Warranty Adir Corp (the “Company” or “Tiger Companies”) warrants to the purchaser that the product will be free from defects in workmanship and materials for a period of 5 years from the date of purchase. The warranty period is not extended if we repair, replace, exchange, or provide a refund for the product (as determined in our sole discretion). - Page 26 ALP400-SERIES © 2023 Alpine Industries alpineindustries.com...
Need help?
Do you have a question about the HEMLOCK ALP400 Series and is the answer not in the manual?
Questions and answers