Onkyo TX-8522 Instruction Manual
Stereo receiver using xm satellite radio
Hide thumbs
Also See for TX-8522:
- Brochure & specs (8 pages) ,
- Instruction manual (36 pages) ,
- Service manual (53 pages)
Table of Contents
Advertisement
Quick Links
TX-8522_XMsection.book 1 ページ 2006年5月2日 火曜日 午後1時41分
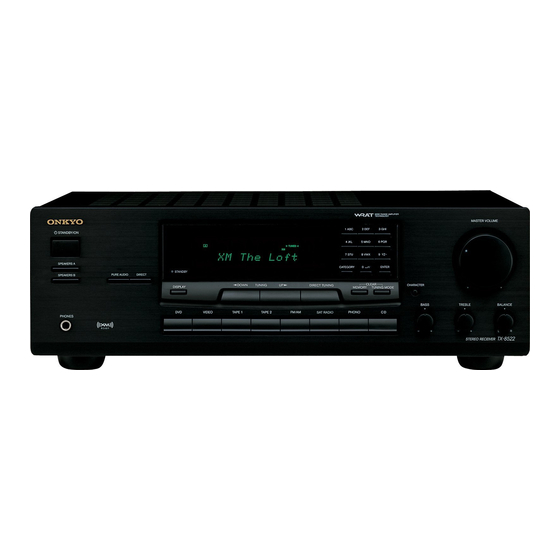
Stereo Receiver
TX-8522
Using XM Satellite Radio
Instruction Manual
Thank you for purchasing an Onkyo Stereo Receiver.
Please read this manual thoroughly before making XM
Radio connections.
Following the instructions in this manual will enable
you to obtain optimum performance and listening
enjoyment from your new Stereo Receiver.
Please retain this manual for future reference.
Contents
Introduction .................................... 2
System ............................................ 2
Selecting XM Satellite Radio......... 3
......................................................... 3
Selecting XM Radio Channels ...... 4
Presetting XM Channels................ 5
......................................................... 6
System ............................................ 7
XM Radio Messages ...................... 7
E
n
Advertisement
Table of Contents

Related Manuals for Onkyo TX-8522


Summary of Contents for Onkyo TX-8522
-
Page 1: Table Of Contents
Stereo Receiver TX-8522 Using XM Satellite Radio Instruction Manual Thank you for purchasing an Onkyo Stereo Receiver. Please read this manual thoroughly before making XM Radio connections. Following the instructions in this manual will enable you to obtain optimum performance and listening enjoyment from your new Stereo Receiver. -
Page 2: Introduction
TX-8522_XMsection.book 2 ページ 2006年5月2日 火曜日 午後1時41分 Introduction Important XM Radio Information To receive XM Radio on this receiver you need to purchase an optional XM Passport System and subscribe to XM’s paid programming. Please note that XM is currently only licensed to provide service to the contiguous 48 United States (not available in Alaska and Hawaii) and portions of Canada. -
Page 3: Selecting Xm Satellite Radio
Before you can use XM Satellite Radio, you must first sign up for an account. You’ll need a major credit card and your XM Satellite Radio ID, which you can get from the receiver, as explained below, or from the Passport System package and itself. Press the [DIRECT TUNING] button. -
Page 4: Selecting Xm Radio Channels
Number buttons ENTER DIRECT TUNING RETURN ENTER ■ Channel Search Mode/Category Search Mode Selecting an XM radio channel on the receiver: Press the [TUNING MODE] button to select “Channel Search” or “Category Search” mode. indicators are Press the [CATEGORY] button repeatedly to select a category. -
Page 5: Presetting Xm Channels
The MEMORY indicator appears and the preset number flashes. While the MEMORY indicator is displayed (about 8 seconds), use the number buttons on the receiver to select a preset from 1 through 40. Press the [MEMORY] button again to store the station or channel. -
Page 6: Displaying Xm Radio Information
TX-8522_XMsection.book 6 ページ 2006年5月2日 火曜日 午後1時41分 DISPLAY Displaying XM Radio Information Press the [DISPLAY] button repeatedly to cycle through the Receiver available information. DISPLAY Remote controller DISPLAY The following information can be displayed: Channel name Channel number & preset number Category Artist... -
Page 7: Positioning The Xm Passport System
The signal is too weak. Check the XM Passport System connection and reposition it for the best reception. The receiver is tuning or decoding audio or text data. Please wait. The XM channel you selected is not currently broadcasting. Select another channel. - Page 8 ONKYO U.S.A. CORPORATION 18 Park Way, Upper Saddle River, N.J. 07458, U.S.A. Tel: 201-785-2600 Fax: 201-785-2650 http://www.us.onkyo.com/ SN 29344288 (C) Copyright 2006 ONKYO CORPORATION Japan. All rights reserved. HOMEPAGE http://www.onkyo.com/ D0605-1 * 2 9 3 4 4 2 8 8 *...
Need help?
Do you have a question about the TX-8522 and is the answer not in the manual?
Questions and answers