Advertisement
Quick Links
Advertisement

Related Manuals for CHAT BOARD DYNAMIC WOOD ACOUSTIC FULL COVERAGE

Summary of Contents for CHAT BOARD DYNAMIC WOOD ACOUSTIC FULL COVERAGE
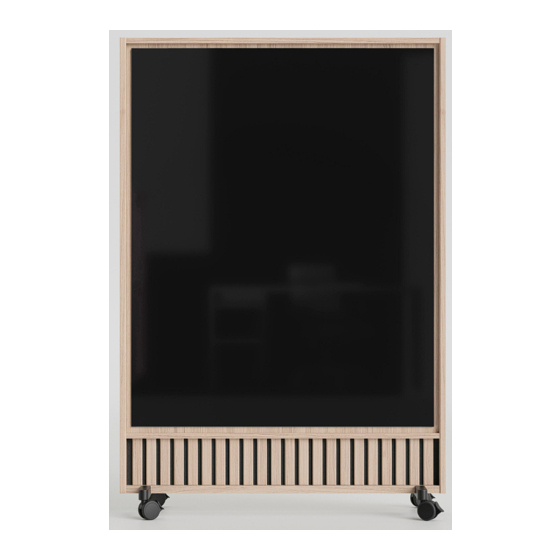
- Page 1 ASSEMBLY INSTRUCTIONS DYNAMIC WOOD ACOUSTIC FULL COVERAGE DESIGN BY CLAUS BRANDT JAKOBSEN...
-
Page 2: Get Started
GET STARTED Please note that assembling Dynamic is a job for at least two people... - Page 3 PARTS 1 x solid wood frame 2 x powder coated aluminium feet 4 x caster wheels 4 x steel pins 1 x metal track 3 x mounting magnets (with washers) 1 x back panel with solid wood lamellas 1 x front panel with solid wood lamellas 1 x glass board on a steel frame...
- Page 4 INCLUDED SCREWS, BOLTS ETC. 4 x M8 x 70 mm bolts - for mounting the feet to the frame 4 x M8 hexagon nuts - for mounting the feet to the frame 8 x spring washers - for mounting the feet to the frame 4 x M4 x 60 mm screws - for mounting the large lamella panel to the frame (top and middle)
- Page 5 Start by assembling the wheels and steel pins , before attaching these to the aluminium feet Then, place the wooden frame on an elevated, flat surface, such as a large table. Mount the feet (now with wheels) to the bottom, using the provided bolts , nuts and spring washers...
- Page 6 Making sure that the front of the frame is facing up, lay down the metal track at the top of the frame. It is important that this is perfectly centred. Fasten the metal track to four of the pre-drilled holes indicated here, using 4 x screws.
- Page 7 Carefully lift the frame off the surface and place in an upright position.
- Page 8 Fasten the large lamella back panel onto the back, using 2 x screws at the top of the frame (going in from the other side, through the metal track as indicated below). Use 2 of the same screws through the centre beam of the frame. TIP Use the plastic distancers to ensure that the lamellas don’t touch the bottom of the frame.
- Page 9 Mount the smaller lamella front panel , using the plastic distancers as guides to ensure that it is perfect- ly centred within the lower part of the frame, both horizontally and vertically. TIP The velcro system means that this can be easily redone if needed. Finally, mount the glass board onto the front of the frame, by simply suspending it from the installed metal track and pushing it...
- Page 10 CHAT BOARD ® designed & manufactured T. +45 4484 5144 by CHAT BOARD A/S F. +45 4484 5688 Tempovej 10 C info@chat-board.dk DK-2750 Ballerup www.chat-board.dk VAT no. DK 15806230...