Advertisement
Introduction
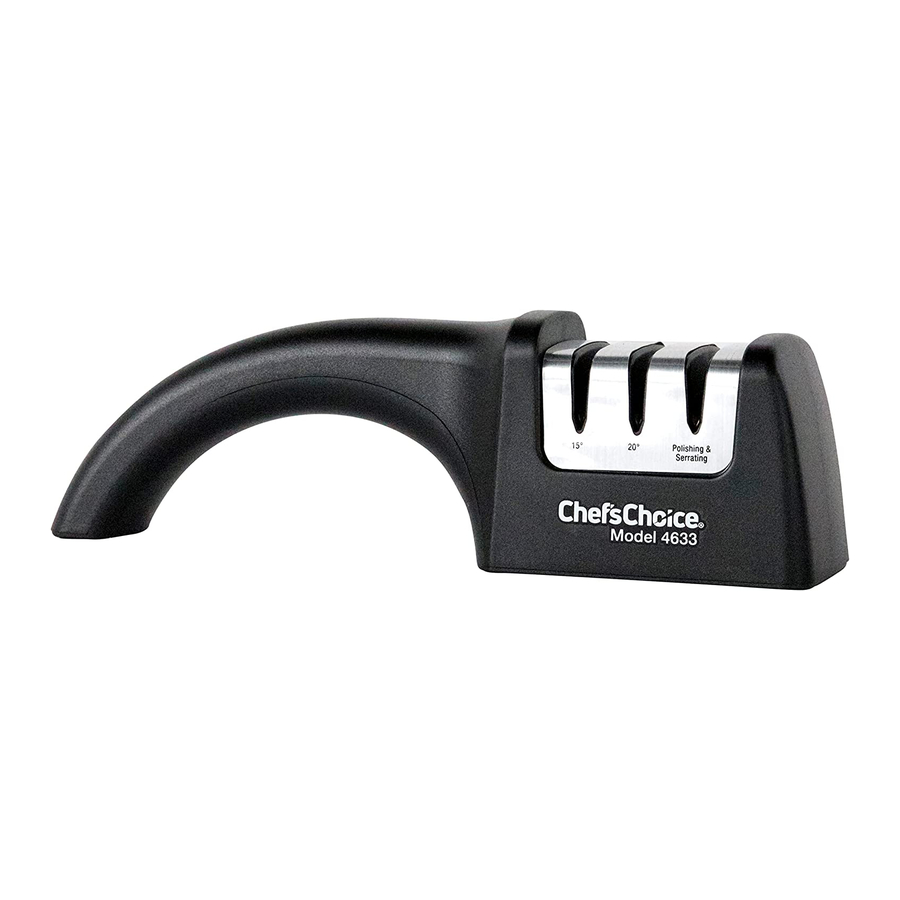
The Chef'sChoice® Diamond Hone® Model 4633 is a unique three stage diamond sharpener that is ideal for creating a razor sharp edge on 15° Asian double-faceted blades and all popular European or American style 20° knives. It can also be used for sporting, pocket and serrated blades. This novel three stage design, using 100% diamond abrasives, features a two step sharpening process for placing a razor-sharp longer lasting edge on your knives. If your knife is a 15° Asian blade it is sharpened fully in the Asian Stage and then the edge is microhoned and polished to razor quality in the "Polishing & Serrated" Stage. To sharpen a 20° Euro/American style blade, it is sharpened first in "Euro/Amer" Stage and then honed and micro polished in the "Polishing & Serrated" Stage. The sharpener can be used either left or right handed.
Both sides of the knife edge are simultaneously shaped and sharpened. This construction ensures that the edges are well formed and very sharp every time. The abrasives consist of selected 100% diamond crystals embedded on unique interdigitating steel support plates. The Model 4633 consistently outperforms conventional sharpeners that use less efficient abrasives and lack any control of the sharpening angle. Diamonds, the hardest known material, are extremely durable. Straight-edge knives sharpened on the Model 4633 will be "shaving sharp" with a mild "bite" that helps them cut effortlessly through tomatoes, other vegetables and fruits. It makes cutting and slicing a pleasure and removes the drudgery of working with dull knives. This sharpener creates a double-beveled longer-lasting arch-shaped edge which is stronger than conventional "V-shaped" or hollow ground edges. This unique arch structure ensures a sharper edge that will stay sharp longer.
Serrated knives sharpen quickly in Model 4633 using only the stage marked "Polishing & Serrated". The special diamonds in that stage create razor-sharp "micro-blades" along the dominant teeth enhancing the cutting action and reducing the sawing and tearing action otherwise typical of serrated blades. Even new "factoryfresh" serrated knives frequently have poorly formed, dull saw-teeth that can benefit from sharpening in the Model 4633. The Model 4633 restores dull teeth to better-than-new condition. The cutting effectiveness of the serrations depends almost entirely on the sharpness of the points (edges) of the teeth. It is not necessary to sharpen the sides and bottoms of the scallops between the teeth, since in general, they are not doing the cutting.
To Sharpen Asian Santoku or Other 15° Double-Faceted Edge Blades
Sharpening
(Use Stage marked "Asian")
Place the sharpener on a secure level surface. Clean the knife well before sharpening. Hold the sharpener handle with left hand (if right handed) keeping index finger and thumb behind the partitioning wall of sharpening section. Position knife blade with other hand in the slot marked "Asian". Center the blade (left and right) in the slot so that the face of the blade does not touch either side wall of the slot. Slide the blade repeatedly forward and back toward you along its full length. Apply only modest downward pressure as it is sharpened. (Avoid excessive downward pressure on blade that might damage the sharpening elements.) Unless the blade is very dull or never sharpened before at 15°, twenty-five (25) back and forth full strokes will likely suffice. Otherwise continue sharpening (back and forth strokes) until the knife is sharp enough to cut paper well or slice easily thru a tomato. If the knife is very dull or the factory edge is larger than 15°, one hundred or more full strokes may be needed the first time to fully reset the angle and sharpen in the "Asian" Stage. This completes the sharpening step. Proceed to the next step, Honing/Polishing.
Honing/Polishing (Use Stage marked "Polishing & Serrated")
(Do not use Stage marked "Euro/Amer" for Asian Santoku or Other 15° Blades)
Move the knife to Stage marked "Polishing & Serrated" and continue with back and forth strokes using just enough downward pressure to insure steady and consistent contact with the sharpening surfaces. Keep the blade centered left and right, avoiding contact with the sides of the slot. Make about 25 light full strokes in this Stage and again test the blade sharpness using a sheet of paper or a tomato. When fully finished the knife should cut easily and smoothly. Make additional strokes if necessary.
You should now have a very sharp and durable edge. Note: this sharpener is not designed to sharpen single sided (single faceted) traditional Japanese blades or scissors of any style. To re-sharpen the Asian (15°) style edge, repeat steps in the Sharpening and Honing/Polishing sections on the previous page.
To Sharpen All 20° Euro/American Knives
Follow the general procedures described above, but sharpen first in Stage marked "Euro/Amer" and you should use only Stages marked "Euro/Amer" and "Polishing & Serrated" as follows:
Sharpening (Use Stage 2.)
Position the blade in the Stage marked "Euro/Amer". Center the blade (left and right) in the slot so that the face of the blade does not touch either side wall of the slot. Slide the blade repeatedly forward and back toward you along its full length. Apply only modest downward pressure as it is sharpened. (Avoid excessive downward pressure on blade that might damage the sharpening elements.) Unless the blade is very dull, twenty-five (25) back and forth full strokes will likely suffice. Otherwise continue sharpening (back and forth strokes) until the knife is sharp enough to cut paper well or slice easily thru a tomato. If the knife is very dull, one hundred or more full strokes may be needed the first time to fully sharpen in this Stage. This completes the first sharpening step. Proceed to Honing/Polishing. Honing/Polishing (Use Stage marked "Polishing & Serrated")
To hone the edge, move the knife to Stage marked "Polishing & Serrated" and continue with back and forth strokes using just enough downward pressure to insure steady and consistent contact with the sharpening surfaces. Keep the blade centered left and right, avoiding contact with the sides of the slot. Make about 25 light but full strokes in this Stage and again test the blade sharpness using a sheet of paper or a tomato. Make more strokes in this Stage if necessary to achieve an edge that cuts easily and smoothly. You should now have a very sharp and durable edge.
You will be able to re-sharpen the 20° Euro/American knives 5-10 times using only the "Polishing & Serrated" Stage. When that process becomes too slow, re-sharpen first in the "Euro/Amer" Stage as described in the preceding paragraph.
To Sharpen Serrated Blades
Serrated knives should be sharpened in the "Polishing & Serrated" Stage. Generally 25 back-and-forth strokes in this Stage should be sufficient.
If the serrated blade is heavily damaged start sharpening in the "Euro/Amer" Stage. Make about 25 full back and forth strokes, then examine the edge to confirm that metal is being removed on both sides of the cutting teeth. Continue with additional strokes as needed to sharpen the teeth. Finish sharpening in this Stage where the teeth will be further refined. Because serrated knives perform much like a saw, the cut will not be as smooth as that of a plain blade.
Keep fingers clear of blade at all times. No sharpening oils or water are necessary with this diamond abrasive sharpener. This sharpener is for household use only.
Limited Warranty:
Used with normal care, this EdgeCraft product, designed for hand use only, is guaranteed against defective material and workmanship for a period of 1 year from the date of purchase ("Warranty Period"). We will repair or replace, at our option, any product or part that is defective in material or workmanship without charge if the product is returned to us postage prepaid, with dated proof of purchase, within the Warranty Period. This Limited Warranty does not cover replacement or abrasive pads necessitated by use of the product or product damage resulting from misuse.
ALL IMPLIED WARRANTIES, INCLUDING IMPLIED WARRANTIES OF MERCHANT-ABILITY AND FITNESS FOR A PARTICULAR PURPOSE, ARE LIMITED TO THE WARRANTY PERIOD. EDGECRAFT CORPORATION SHALL NOT BE LIABLE FOR ANY INCIDENTAL OR CONSEQUENTIAL DAMAGES. Some States do not allow limitations on how long an implied warranty lasts and some States do not allow the exclusion or limitation of incidental or consequential damages, so the above limitations or exclusions may not apply to you. This Limited Warranty gives you specific legal rights, and you may also have other rights which vary from state to state. This warranty applies only to normal household use of this sharpener and is void for industrial or commercial use.
ENGINEERED AND ASSEMBLED IN THE USA!
by the makers of the acclaimed
Chef'sChoice® Diamond Hone® Knife Sharpeners, sold worldwide.
EdgeCraft Corporation
825 Southwood Road
Avondale, PA 19311 USA
(800)342-3255 (610)268-0500
This product may be covered by one or more EdgeCraft patents and/or patents pending as marked on the product. Chef'sChoice® EdgeCrafter®, EdgeCraft® and Diamond Hone® are trademarks of the EdgeCraft Corporation.
© 2012 EdgeCraft Corporation
www.chefschoice.com

Documents / Resources
References

Download manual
Here you can download full pdf version of manual, it may contain additional safety instructions, warranty information, FCC rules, etc.
Download Chef's Choice Diamond Hone 4633 Knife Sharpener Manual
Advertisement


Need help?
Do you have a question about the Diamond Hone 4633 and is the answer not in the manual?
Questions and answers