
Related Manuals for Wattsaving US10

Summary of Contents for Wattsaving US10
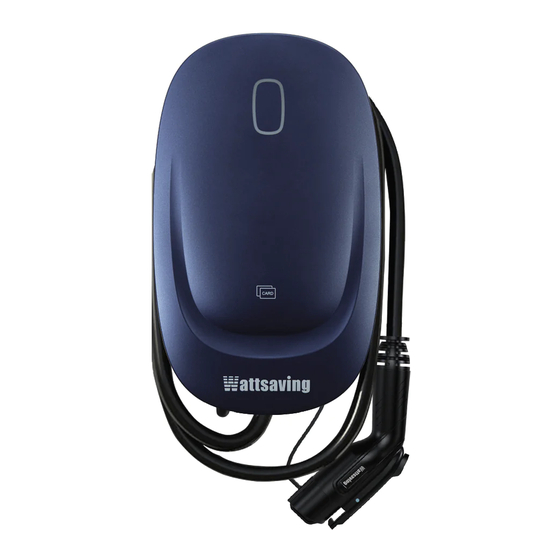
- Page 1 9.6kW AC EV Charger User Manual Model US10 Congratulation on your new EV charger. Read this manual carefully before use and keep it for future reference.
-
Page 2: Table Of Contents
Table of Contents 1. Specifications ................3 2. Packing List ..............4 3. Product Overview ..............5 4. NEMA Plug-in Outlet ..........6 5. Installation ..............6 5.1 Charging Station Installation ..........6 5.2 Connector Holster Installation ........9 6.Charging Operation ............... 10 6.1 Plug-and-Charge Mode (Default) ........10 6.2 RFID Mode ................11 7. -
Page 3: Specifications
1 Specifications Item Description Model US10 Dimension (H x W x D) 13" x 7.9" x 4.6" (331 x 201 x 116 mm) Weight 14.6 lbs. (6.6 kg) Storage Temperature -40 to 176 ° F (-40 to 80 ° C) Operating Temperature -22 to 131 °... -
Page 4: Packing List
2 Packing List Charging Connector Station (with Holster Connector) Wall Anchor Wall Dock (7 pcs) Type B Screw Type A Screw (M4 x 30 mm) (M4 x 12 mm) (7 pcs) (1 pcs) Product Quick User Manual Guide RFID Card R F I D CARD (2 pcs) -
Page 5: Product Overview
3 Product Overview ① ③ ② ④ ⑤ ① Led Indicator ② RFID Reader (Interrogator) ③ RESET BUTTON ④ Connector Holster ⑤ J1772 Connector... -
Page 6: Nema Plug-In Outlet
4 NEMA Plug-in Outlet This section introduces how to install a NEMA outlet if you do not have one already. WARNING Switch off the circuit breaker of the electrical outlet before installing your charger. IMPORTANT When installing a NEMA 14-50 outlet, ensure that the ground pin is facing up as shown per the diagram. -
Page 7: Charging Station Installation
Find the wall stud nearest to the NEMA outlet and draw a vertical line. Plug the NEMA cable into the outlet, and position the charger centered on the vertical line. Ensure that the NEMA cable has a slight curve and is not stretched. Mark a horizontal line at the bottom of the charger. - Page 8 5.1.2 Drill 4 holes and insert wall anchors into the mounting holes. Attach the wall dock to the mounting location by screwing 4 Type B Screws (M4 x 30 mm) into the mounting holes then tighten them. 5.1.3 Attach the charger to the wall dock by inserting the mounting screws (D) on the back of the charger into the wall dock mounting holes (C).
-
Page 9: Connector Holster Installation
5.1.4 Screw the Type A Screw (M4 x 12 mm) into the hole at the side of the charger and tighten the screw to secure the charger. 5.2 Connector Holster Installation 5.2.1 Place the holster wall dock on the wall and keep it level, and mark the 3 mounting holes (M4), then remove the holster wall dock. -
Page 10: Charging Operation
5.2.2 Drill 3 holes and insert 3 wall anchors into the mounting holes. Place the holster wall dock, then screw and tighten 3 Type B Screws (M4 x 30mm) into the mounting holes. 6 Charging Operation 6.1 Plug-and-Charge Mode (Default) When the charging station is on standby, plug in the connector to your EV, and the LED will turn blue from purple. -
Page 11: Rfid Mode
6.2 RFID Mode 6.2.1 How to the Enable the RFID Cards A) When the charging station is on standby, press the RESET button and hold till the LED turns orange from purple. B) Place the RFID card into the RFID Reader (Interrogator) within 15 seconds and wait till the LED turns back to purple. -
Page 12: Troubleshooting
7 LED Indicator Description Led Indicator Standby Solid Purple Connector Plug in Solid Blue Charging Flashing Green Fully Charged Solid Green RFID Card Setting Solid Orange Fault Flashing RED 8 Troubleshooting LED Status Problems Solutions 1. Immediately turn off the leakage/over- current protection switches in the power distribution box. - Page 13 If the voltage exceeds 265Vac for a The red light flashes slowly short time,wait for the power gird to re- for 3 times and quickly for 2 Input Overvoltage store itself to the normal voltage range. times, alternately cycle. Contact local power grid company if the voltage fault persists.
-
Page 14: Safety Warning
For your own safety and the safety of others, and to prevent damage to the device and vehicles upon which it is used, it is important for all Wattsaving users to read and follow this manual and safety instructions during installation, operation, and maintenance. -
Page 15: Warranty
If a valid claim is made during the applicable period, Wattsaving, at its option, will either (1) replace the product, or (2) exchange the product with a product that is of equal value. - Page 16 SHENZHEN WATTSAVING ELECTRICAL TECHNOLOGY CO.,LTD support@wattsaving.com Made in China...
Need help?
Do you have a question about the US10 and is the answer not in the manual?
Questions and answers