Epson WorkForce 845 Start Here
C11cb92201 all-in-one printer
Hide thumbs
Also See for WorkForce 845:
- User manual (322 pages) ,
- Quick manual (92 pages) ,
- Specifications (2 pages)
Advertisement
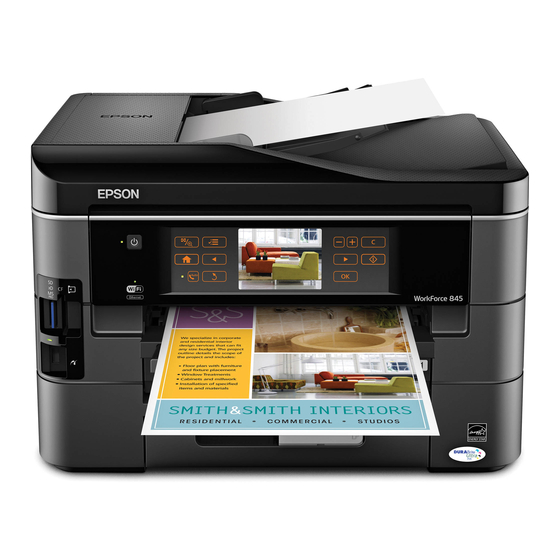
WorkForce
845
®
Start Here
Read these instructions before using your product.
1
Unpack
Caution:
Do not open ink cartridge packages until you are ready to
install the ink. Cartridges are vacuum packed to maintain reliability.
Remove all protective materials.
Caution:
Do not remove the plastic
strip shown. It is part of the Automatic
Document Feeder.
2
Turn on
1
Connect the power cord to the back of the printer and to an
electrical outlet.
Caution:
Do not connect to your computer yet.
2
Squeeze the release bar underneath to raise the control
panel. Then press the
*412191300*
*412191300*
On button.
Note:
If you want to lower the control panel, squeeze the
release bar underneath.
Caution:
To avoid damaging the printer, always squeeze the
release bar to lower the control panel. Don't try to push it down
without releasing it.
3
Select settings
1
Select your language and country.
Touch the screen to select the desired option.
2
Select Summer if Daylight Saving Time is in effect
(spring through summer); otherwise, select Winter.
3
Select the date format.
4
Use the numeric keypad to set the date, then press OK.
5
Select 12h (
/
) or 24h.
AM
PM
6
Use the numeric keypad to set the time.
7
Press OK when done.
Note:
You can change the date and time settings using the product's
control panel. For more information, see the online User's Guide.
4
Install ink cartridges
1
Raise the scanner unit.
2
Open the cartridge cover.
3
Shake the ink cartridges gently 4 or 5 times, then
unpack them.
Advertisement

Subscribe to Our Youtube Channel
Related Manuals for Epson WorkForce 845


Summary of Contents for Epson WorkForce 845
-
Page 1: Install Ink Cartridges
WorkForce ® Start Here Read these instructions before using your product. Unpack Caution: Do not open ink cartridge packages until you are ready to install the ink. Cartridges are vacuum packed to maintain reliability. Remove all protective materials. Caution: Do not remove the plastic strip shown. -
Page 2: Load Paper
Remove only the yellow tape from each cartridge. Caution: Don’t remove any other seals or the cartridges may leak. Insert the cartridges in the holder for each color. Press each cartridge down until it clicks. Close the cartridge cover. Press down until it clicks. Then lower the scanner unit. -
Page 3: Install Software
Install software Note: If your computer does not have a CD/DVD drive, you can download the software from the Epson website (see “Epson technical support”). Caution: Be sure to close your other programs, including any screen savers and virus protection programs, before beginning this software installation. - Page 4 Excellence is a trademark of Epson America, Inc. General Notice: Other product names used herein are for identifi cation purposes only and may be trademarks of their respective owners. Epson disclaims any and all rights in those marks. This information is subject to change without notice.
Need help?
Do you have a question about the WorkForce 845 and is the answer not in the manual?
Questions and answers