Advertisement
Quick Links
Advertisement

Related Manuals for Edmonds Bradford SolarXVENT

Summary of Contents for Edmonds Bradford SolarXVENT
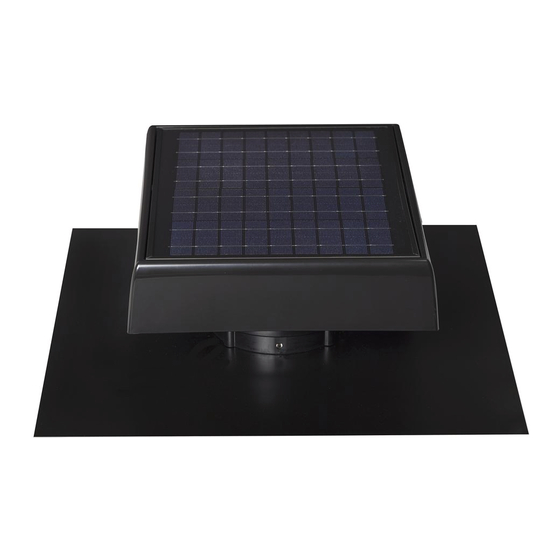
- Page 1 Product Manual...
- Page 2 Item Checklist & Additional Tools Required For Installation Included Parts: Qty: SolarXVENT Fixing Strap Additional Parts & Tools Required (Not Supplied) Soft Rubber Hammer Caulking Gun Silicone Sealant Angle grinder with cutting disc (Tile roof only) Screw/Nail for fastening Fixing Strap (Tile roof only) Knife (Sarked roof only) Foil Tape (Sarked roof only) Marker Pen...
- Page 4 Warnings and Important Notices WARNING: Do not proceed with the installation until you have read the entire instructions, including these warnings. INSTALL AT YOUR OWN RISK The installation of this product may be dangerous and includes the potential of death, personal injury or property damage. Please be aware of the following before installing this product.
-
Page 5: Warnings And Important Notices
Warnings and Important Notices • When installing eave vents be careful to determine that the eave cladding material does not contain Asbestos. If it does or you cannot determine the make up, then the eave vent can only be installed using correct asbestos handling procedures by a person trained and/or licensed to handle asbestos. - Page 6 Installation - Tiled Roof STEP 1 Select a suitable position for the ventilator on the roof no higher than the third row of tiles down from the ridge. Take care to check that there are no obstructions below the tile such as a rafter. The location should not be frequently shaded and should be north...
- Page 7 Installation - Tiled Roof STEP 3 Remove a single complete tile as required. Cut this tile and return the lower portion to the roof. Allow an opening of approximately 200mm. This replaced tile portion will allow for an easier weather proof installation If a complete tile is removed, then care must be taken to dress the flashing to ensure a weather tight installation.
- Page 8 Installation - Tiled Roof STEP 5 Fit the ventilator into place and ensure surrounding tiles are fitted securely. Ensure fan is positioned over the opening in the tiles. STEP 6 Fold and form the front edge of the flashing to seal against the tiles below.
- Page 9 Installation - Tiled Roof STEP 7 To assist with weather- proofing a bead of silicone sealant can be applied between the tiles and the side and front edges of the flashing. To apply, lift the formed flashing and run a bead 3-4mm in from the edge of the flashing edge on the roof sheeting.
- Page 10 Installation - Metal Roof Note: Ridge capping screws may need to be removed whilst performing installation. Upon completion, return the fixing screws to the previous positions STEP 9 Select a suitable position for the ventilator. Mark Centre Slip the top edge of the flashing under the ridge cap and mark position.
- Page 11 Installation - Metal Roof STEP 11 Return the SolarXVENT to the roof, positioning it over the cutout. Ensure that the top of the flashing is slipped under the ridge capping. Turn up the top edge of the flashing before slipping under ridge capping.
- Page 12 Installation - Metal Roof STEP 13 To assist with weather- proofing a bead of silicone sealant can be applied between the sheeting and the side and front edges of the flashing. To apply, lift the formed flashing and run a bead 3-4mm in from the edge of the flashing edge on the roof sheeting.
-
Page 13: Faq And Troubleshooting
FAQ & Troubleshooting Do I need an electrician to install SolarXVENT? No, the product generates all the power it need through the inbuilt solar panel. Is the roof orientation important for the SolarXVENT? Yes, to maximise the amount of solar energy that the SolarXVENT can collect and use, the SolarXVENT should be installed on a northern facing roof which is not shaded by trees. -
Page 14: Contact Details
Contact Details General Enquiries and Support 1300 858 674 Email: sales@edmonds.com.au Website: bradfordventilation.com.au Technical Ventilation Enquiries +61 2 8824 0444 October 2021 I-061... - Page 15 bradfordventilation.com.au...
Need help?
Do you have a question about the Bradford SolarXVENT and is the answer not in the manual?
Questions and answers