Dometic FreshJet 4 Series Installation Manual
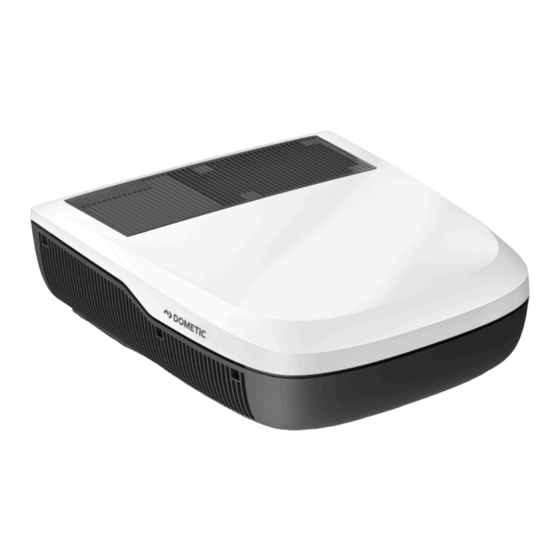
Roof air conditioner
Hide thumbs
Also See for FreshJet 4 Series:
- Operating manual (28 pages) ,
- Installation manual (28 pages) ,
- Installation and operation manual (28 pages)

Related Manuals for Dometic FreshJet 4 Series


Summary of Contents for Dometic FreshJet 4 Series
- Page 1 CLIMATE CONTROL Dometic FreshJet Series 4, FreshJet Series 7 Roof Air Conditioner Installation manual..........3...
- Page 2 Copyright © 2023 Dometic Group. The visual appearance of the contents of this manual is protected by copyright and design law. The underlying technical design and the products contained herein may be protected by design, patent or be patent pending. The trademarks mentioned in this manual belong to Dometic Sweden AB. All rights are reserved.
-
Page 3: Table Of Contents
This product manual, including the instructions, guidelines, and warnings, and related documentation, may be subject to changes and updates. For up-to-date product information, please visit documents.dometic.com. -
Page 4: Target Groups
• Repair of the appliance may only be carried out by qualified personnel who are familiar with the risks involved and the relevant regulations. Inadequate repairs may cause serious hazards. For repair ser- vice, contact the service center in your country (see dometic.com/dealer). • The appliance shall be installed in accordance with national electrical and mechanical installation regulations. -
Page 5: Scope Of Delivery
Dometic FreshJet Series 4, FreshJet Series 7 NOTICE! Damage hazard • The appliance shall be stored so as to prevent mechanical damage from occurring. • Before installation, check whether any vehicle components could be damaged by the installation of the appliance (such as lamps, cupboards, doors). The vehicle manufacturer may have already pro- vided points where the opening for the installation of the appliance can be made without any risk of weakening the construction or cutting power cables. -
Page 6: Accessories
• Alterations to the product without express permission from the manufacturer • Use for purposes other than those described in this manual Dometic reserves the right to change product appearance and product specifications. 8 List of models The models are differentiated between fixed-speed and inverter models. -
Page 7: Explanations Of Symbols On The Appliance
Dometic FreshJet Series 4, FreshJet Series 7 • FreshJet 4-Series: Fixed-speed • FreshJet 7-Series: Inverter The following table shows which function applies to a specific model: Feature is available Feature is upgradable FJX4333EEH FJX7337IHP FJX7457IHP Automatic Cooling Heating Ventilation Dehumification... -
Page 8: Installation
Dometic FreshJet Series 4, FreshJet Series 7 11 Installation DANGER! Electrocution hazard • The electrical power supply in the RV must be connected by a qualified electrician who has demon- strated skill and knowledge related to the construction and operation of electrical equipment and installations and has received safety training to identify and avoid the hazards involved. - Page 9 Dometic FreshJet Series 4, FreshJet Series 7 Find more information on roof air conditioners in the operating manual, such as the technical description or the controls, see documents.dometic.com/?object_id=75095. Choose your way of installing the roof air conditioner: • Make a new opening. In this case the opening must be reinforced by an appropriate frame.
- Page 10 Dometic FreshJet Series 4, FreshJet Series 7 Making a new opening 2. Select an area at the center on the roof between two longitudinal supports. 4 Series 89,5 89,5 109,5 109,5 7 Series 1090...
- Page 11 Dometic FreshJet Series 4, FreshJet Series 7 3. Mark the position and size of the opening (400 × 400 mm). 4. Drill out the corners (A). NOTICE! Damage hazard Ensure that no electrical power cables are damaged. Check where the electrical cables are located.
- Page 12 Dometic FreshJet Series 4, FreshJet Series 7 7. If needed, remove the foam according to the width of your reinforcing rails (not in scope of delivery) (A). 8. Fit the reinforcing rails (B). Installing in an existing opening 9. Remove all screws and fixtures of the existing roof hatch or air conditioner.
- Page 13 Dometic FreshJet Series 4, FreshJet Series 7 16. Make an opening on one side in order to feed through the power supply cable. 17. Feed the power supply cable through the opening into the vehicle interior. Installing the roof top unit 18.
- Page 14 Dometic FreshJet Series 4, FreshJet Series 7 20. Fit the roof frame into the roof opening. 21. Li the roof top unit onto the roof of the vehicle. Observe the direction of travel. 22. Position the roof top unit into the roof frame and align into the roof frame's groove. To align into the roof frame's groove use the corners at the front of the roof frame.
- Page 15 Dometic FreshJet Series 4, FreshJet Series 7 24. Connect the communication cable. a) Pull out the filter slightly to create a gap for the communication cable (4). b) Feed the communication cable through the gap and locate the wire in the opening.
- Page 16 Dometic FreshJet Series 4, FreshJet Series 7 28. Push the filter back fully in. 29. Clip the center cover to the ADB. CLICK 30. Ask the vehicle manufacturer if a technical inspection is required after fitting an roof air conditioner and whether the height entered in the vehicle documents needs to be altered: •...
-
Page 17: Wiring Diagrams
Dometic FreshJet Series 4, FreshJet Series 7 12 Wiring diagrams FJX4333EEH FJX4333 FJX7337IHP, FJX7457IHP 13 Disposal Place the packaging material in the appropriate recycling waste bins, wherever possible. Consult a local recycling center or specialist dealer for details about how to dispose of the product in accordance with... -
Page 18: Technical Data
Dometic FreshJet Series 4, FreshJet Series 7 Protect the environment! Do not dispose of any batteries with general household waste. Return defective or used batteries to your retailer or dispose of them at collection points. 14 Technical data FreshJet FJX4333EEH ... - Page 19 Dometic FreshJet Series 4, FreshJet Series 7 FreshJet FJX4333EEH FreshJet FJX7337IHP FreshJet FJX7457IHP Cooling capacity based on 2200 W 2910 W 3400 W ISO 5151: Heating capacity based on ISO 1000 W 2692 W 2903 W 5151: AC Input voltage: 220 V …...
Need help?
Do you have a question about the FreshJet 4 Series and is the answer not in the manual?
Questions and answers