Advertisement
Quick Links
Advertisement

Related Manuals for Alpine ALP423 Series


Summary of Contents for Alpine ALP423 Series
- Page 1 STAINLESS STEEL SOAP DISPENSER ALP423-SERIES USER GUIDE...
- Page 2 THANK YOU FOR YOUR PURCHASE. Known in the industry for excellent products, Alpine Industries is a manufacturer of innovative, solution-based products for the commercial and institutional markets worldwide. Combining commitment to the customer, design innovation and skilled, dedicated workforces, they have produced a range of products that are an essential part of every commercial facility.
-
Page 3: Table Of Contents
Table of Contents Parts and Hardware Installation Maintenance Instructions Limited Warranty Disclaimer... -
Page 4: Parts And Hardware
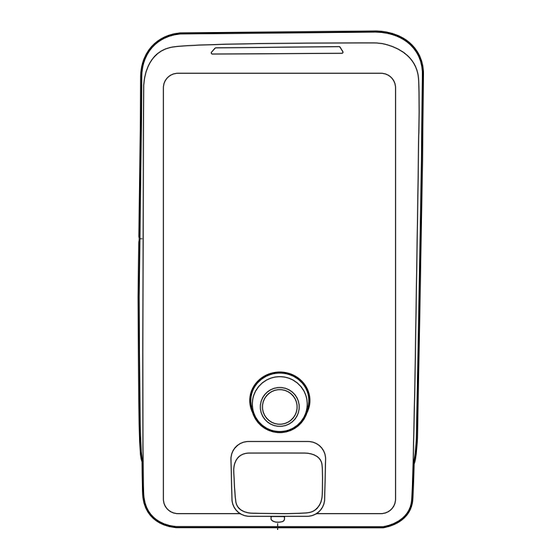
Parts and Hardware A. Dispenser B. Spout C. Filler Door... - Page 5 Parts and Hardware 1. Mounting Plate 2. Screw (x3) 4. Key 3. Plastic Anchors (x3) Tools Required (But Not Included): • Screwdriver • Pencil • Drill • Drill Bit...
-
Page 6: Installation
Installation STEP 1: A. Locate the Dispenser (A) and ensure the Spout (B) is over the vanity: B. Position the Dispenser (A) where you want to mount it. C. Allow a minimum of 5” clearance between the top of the Dispenser (A) and the bottom of your projected site. - Page 7 Installation STEP 2: A. Place the Mounting Plate (1) against the wall and mark the holes with a pencil where the Screws (2) will go. B. Drill three holes and place the three Plastic Anchors (3) in them. C. Mount the Mounting Plate (1) in a vertical position, with the wide part of the “V”...
- Page 8 Installation STEP 3: A. Insert a screwdriver through the Filler Door (C) from the front of the tank. B. Loosen the screw inside the tank; do not fully remove. C. Slide the Dispenser (A) into the Mounting Plate (1). D. Position the Dispenser (A) against the wall, over the Mounting Plate (1) and slide it down.
-
Page 9: Maintenance Instructions
Installation STEP 4: A. Tighten the screw and close the Filler Door (C). Maintenance Instructions • To fill the Dispenser (A), open the Filler Door (C), and fill the Dispenser (A) with soap. • The Dispenser (A) can dispense liquid soaps, lotions and detergents. •... -
Page 10: Limited Warranty
Limited Warranty 1. Alpine Industries (the company) warrants to the purchaser that the product will be free from defects in workmanship and materials for a period of one (1) year from the date of purchase. 2. These warranties are not assignable or transferable to any other person. -
Page 11: Disclaimer
IF ANY REMEDY FAILS ITS ESSENTIAL PURPOSE. If any provision of this Agreement is declared invalid or unenforceable, the remaining provisions of this Agreement will remain in effect. Alpine Industries has the right to modify these terms and conditions at any time. - Page 12 ALP423-SERIES 27 Selvage Street • Irvington, NJ • 07111 • © 2021 Alpine Industries. alpineindustries.com...
Need help?
Do you have a question about the ALP423 Series and is the answer not in the manual?
Questions and answers