Electrolux RH36PC60GS Installation, Use & Care Manual
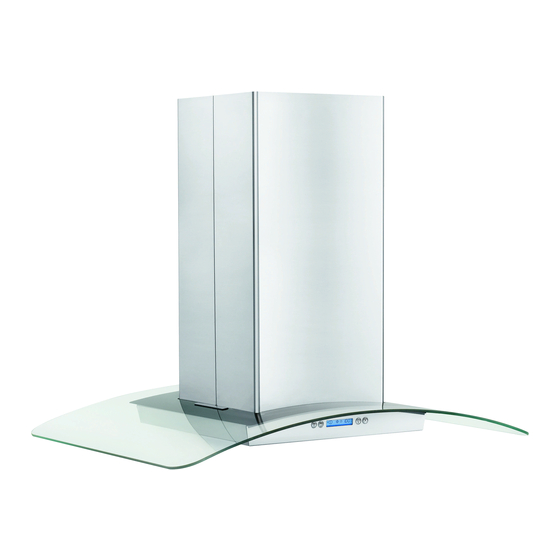
36” and 42” island range hood
Hide thumbs
Also See for RH36PC60GS:
- Parts catalog (4 pages) ,
- Product specifications (2 pages) ,
- Design manual (164 pages)

Related Manuals for Electrolux RH36PC60GS


Summary of Contents for Electrolux RH36PC60GS
- Page 1 Installation, Use & Care Guide 36” and 42” Island Range Hood Guia de Instalación, Uso y Cuidado 36” y 42” Campana extractora Guide d’installation, utilisation et d’entretien 36” et 42” Hotte aspirante EI36PC60GS + EI42PC60GS 316488523...
-
Page 2: Table Of Contents
Keep a r Keep a r ecor Purchase date Electrolux model number Electrolux serial number (see picture for location) Questions? For toll-free telephone support in the U.S. and Canada: 1-877-4ELECTROLUX (1-877-435-3287) 1-877-4ELECTROLUX (1-877-435-3287) 1-877-4ELECTROLUX (1-877-435-3287) 1-877-4ELECTROLUX (1-877-435-3287) 1-877-4ELECTROLUX (1-877-435-3287) -
Page 3: Important Safety Instructions Important Safety Instructions
Important Safety Instructions Read all instructions befor Read all instructions befor Read all instructions before using this e using this e using this e using this Read all instructions befor Read all instructions befor e using this appliance. appliance. appliance. appliance. -
Page 4: Read And Save These Instructions
Important safety Instructions 4 4 4 4 4 READ AND SAVE THESE INSTRUCTIONS Important safety Instructions FOR GENERAL VENTILATING USE ONLY. DO NOT USE TO EXHAUST HAZARDOUS OR EXPLOSIVE MATERI- ALS OR VAPORS. TO REDUCE THE RISK OF FIRE, ELECTRIC SHOCK, OR INJURY TO PERSONS, OBSERVE THE FOL- LOWING: A. -
Page 5: Important
Important safety Instructions - Electrical & Installation READ AND SAVE THESE INSTRUCTIONS Electrical & Installation requirements Electrical requir Electrical r Electrical r equir equir equirements ements ements ements Electrical r Electrical r equir ements IMPORT T T T T ANT IMPOR IMPOR IMPOR... -
Page 6: List Of Materials List Of Materials
List of Materials 6 6 6 6 6 List of Materials Parts included in your hood Parts included in your hood Parts included in your hood Parts included in your hood Parts included in your hood • Hood structure assembly with blower, transition. •... -
Page 7: Installing The Hood Installing The Hood
Installing the hood • • • • • For the most efficient air flow exhaust, use a straight run or as few elbows as possible. Vent unit to outside of building, only. • • • • • On avarage 2 to 3 hours are necessary to com- plete installation (without considering cut to be done on wall and or on cabinet, installation of ducts , conduit and electrical connections to the... -
Page 8: Installing Preparation
Installing the hood 8 8 8 8 8 Installing pr Installing preparation Installing pr Installing pr Installing pr eparation eparation eparation eparation • The vent hood should be on site before final framing and wall finishing. This will help to accurately locate the duct work and electrical service. -
Page 9: Ceiling Support Structures
Ceiling Support Structur Ceiling Support Structures Ceiling Support Structur Ceiling Support Structur Ceiling Support Structur • This vent hood is heavy. ‘Adequate structure and support must be provided in all types of installations. • At the hood location, install 2"x 4" cross framing between ceiling joists as shown. - Page 10 Installing the hood Instal the grease filter and turn power on at service panel. Check operation of the hood. IMPORTANT: If the hood doesn’t switch ON, before calling for service, check if the internal General ON/ OFF Pushb-utton Switch is switched ON. Frontside of the hood General ON/OFF Push button Switch...
-
Page 11: Ceiling Ducting
Ceiling ducting Ceiling ducting Ceiling ducting Ceiling ducting Ceiling ducting • Use the template previously installed to prepare a 8-½” hole in the ceiling for ductwork. Making the electrical connections Electrical Shock Hazard Warning: Turn off power at the service panel before wiring this unit. -
Page 12: Connecting The Ductwork
Installing the hood Connecting the ductwork Connecting the ductwork Connecting the ductwork Connecting the ductwork Connecting the ductwork • Install ductwork, making connections in the direction of airflow as illustrated. • Push duct over the exhaust outlet. • Wrap all duct joints and the flange connections with duct tape for an airtight seal. -
Page 13: Featur
Features 1. 1. 1. 1. 1. Blower and light controls 2. 2. 2. 2. 2. Lamp housings 3. 3. 3. 3. 3. Grease filter Handle 4. 4. 4. 4. 4. Grease filter 5. 5. 5. 5. 5. Canopy 6. 6. 6. 6. 6. Duct covers 7. -
Page 14: Ol Buttons
Control buttons Control buttons This hood is equipped with an electronic motor and lamp control. The control is able to set 4 different fan speeds, turn ON/OFF light and has a timer function. In the following drawing are described the main key functions. -
Page 15: Special Functions Special Functions
Special functions Special functions Special functions Special functions Special functions Clock pr Clock pr ogramming ogramming Clock pr Clock pr Clock programming ogramming ogramming • The clock can be reprogrammed at any time except during an active timed function. • The clock can be displayed in a twelve hour format and valid clock times are from 1:00 to 12:59. •... -
Page 16: For Best Results
For Best results For Best r For Best r For Best r For Best r esults esults esults esults • Continuous use of the fan system while cooking helps keep the kitchen comfortable and less humid. • It also reduces cooking odors and soiling moisture that create a frequent need for cleaning. •... -
Page 17: Care And Cleaning Car Car E And Cleaning E And Cleaning
Care and cleaning The efficiency of the range hood system depends on the cleanliness of the intake and filters. The frequency of cleaning depends on the amount and type of cooking. • Do not use the ventilating system without the filters in place or with grease-laden filters or surfaces. -
Page 18: Optional Charcoal Filters
Care and cleaning Optional Charcoal Filters Optional Char Optional Char Optional Char Optional Char coal Filters coal Filters coal Filters coal Filters If the model is not vented to the outside, the air will be recirculated through disposable charcoal filters that help remove smoke and odors. -
Page 19: Warranty Information
ARRANTY In the U.S.A., In the U.S.A., In the U.S.A., your appliance is warranted by Electrolux Home Products North America, a division of White In the U.S.A., In the U.S.A., Consolidated Industries, Inc. We authorize no person to change or add to any of our obligations under this warranty.
Need help?
Do you have a question about the RH36PC60GS and is the answer not in the manual?
Questions and answers