
Related Manuals for Verkada CM41


Summary of Contents for Verkada CM41
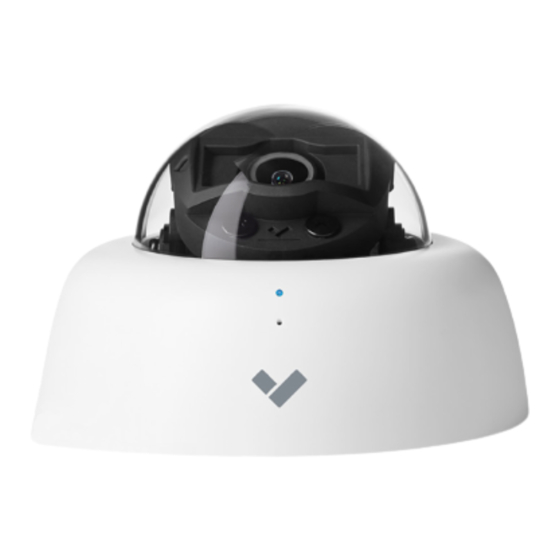
- Page 1 Install Guide CM41 Indoor Mini Dome Camera Verkada Inc. 405 E 4th Ave, San Mateo, CA 94401 All specifications are subject to change without notice sales@verkada.com Copyright © Verkada Inc. All rights reserved.
-
Page 2: Document Details
(V1.0 first published 2020203) Firmware Firmware version can be verified on Verkada Command command.verkada.com. Verkada Inc. 405 E 4th Ave, San Mateo, CA 94401 All specifications are subject to change without notice sales@verkada.com Copyright © Verkada Inc. All rights reserved. - Page 3 ● A Cat5 or Cat6 Ethernet cable with a 0.2-0.25 inch outside diameter (5-6.5mm) Verkada Inc. 405 E 4th Ave, San Mateo, CA 94401 All specifications are subject to change without notice sales@verkada.com Copyright © Verkada Inc. All rights reserved.
-
Page 4: Regular Operation
Camera is not able reach the router. Verkada endpoints are not reachable after boot up. Verkada Inc. 405 E 4th Ave, San Mateo, CA 94401 All specifications are subject to change without notice sales@verkada.com Copyright © Verkada Inc. All rights reserved. - Page 5 A green LED on the Ethernet port will indicate the camera is active. Go to www.verkada.com/start Verkada Inc. 405 E 4th Ave, San Mateo, CA 94401 All specifications are subject to change without notice sales@verkada.com Copyright © Verkada Inc. All rights reserved.
- Page 6 When placing the mount plate, take care to orient it such that your camera’s target is situated within the “Camera Pan Angle”. Verkada Inc. 405 E 4th Ave, San Mateo, CA 94401 All specifications are subject to change without notice sales@verkada.com...
- Page 7 Use the mount plate to mark holes for mounting screws. Verkada Inc. 405 E 4th Ave, San Mateo, CA 94401 All specifications are subject to change without notice sales@verkada.com Copyright © Verkada Inc. All rights reserved.
- Page 8 Behind the ceiling tile, place washers and wing nuts on each screw and hand-tighten. Verkada Inc. 405 E 4th Ave, San Mateo, CA 94401 All specifications are subject to change without notice sales@verkada.com Copyright © Verkada Inc. All rights reserved.
- Page 9 Be sure the magnets have pulled the cover flush against the mounting surface. Verkada Inc. 405 E 4th Ave, San Mateo, CA 94401 All specifications are subject to change without notice sales@verkada.com Copyright © Verkada Inc. All rights reserved.
- Page 10 Please contact certified dealers for power adapters. To reduce potential safety issues, only use the PoE adapter provided with the product, a replacement PoE adapter provided by Verkada, or a PoE adapter purchased as an accessory from Verkada. Adapter Verkada Inc. 405 E 4th Ave, San Mateo, CA 94401 All specifications are subject to change without notice sales@verkada.com...
- Page 11 Appendix Support Thank you for purchasing this Verkada product. If for any reason you're experiencing issues or need assistance, please contact our 24/7 Technical Support Team immediately. Sincerely, The Verkada Team verkada.com/support Verkada Inc. 405 E 4th Ave, San Mateo, CA 94401 All specifications are subject to change without notice sales@verkada.com...
Need help?
Do you have a question about the CM41 and is the answer not in the manual?
Questions and answers