
Related Manuals for Numark HDX


Summary of Contents for Numark HDX
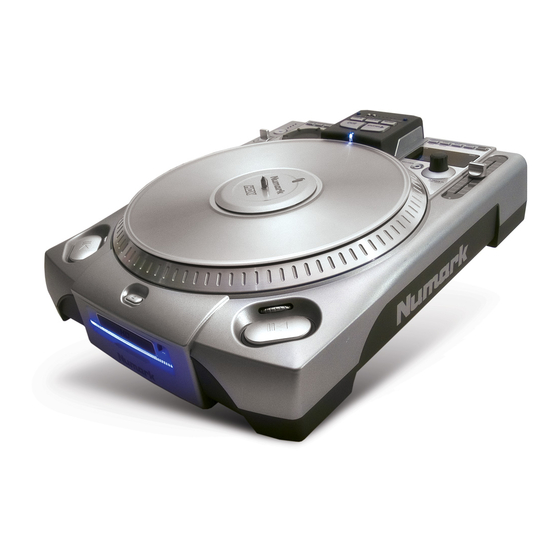
- Page 1 PROFESSIONAL HD/CD/MP3 PLAYER Quick Start Owner’s Manual BOX CONTENTS • HD/CD Player • Platter Assembly • Wrench • Power Cable • Audio Cable • Fader Start Cable • USB Cable • Keyboard...
- Page 2 When turning off, always reverse this operation by, • turning off amplifiers • mixer • Finally, turn off any audio sources. ALWAYS USE THE HDX’S POWER SWITCH TO POWER OFF THE UNIT. DO NOT SWITCH THE POWER OFF EXTERNALLY (FOR EXAMPLE, BY USING A POWER STRIP SWITCH).
- Page 3 Power Switch - Always shut down before removing or installing a drive caddy. The HDX has a “soft power down” which will allow the hard drive to spin down before the power turns off completely, so it is important that the unit is always powered off using this button first before disconnecting the main...
- Page 4 Typically, it is recommended that the HDX is powered on before amplifiers and off after amplifiers to avoid an audio spike to be sent through your equipment. Slot Load CD Drive – Designed to play commercially available CD and properly burned CDR and CDRW discs.
- Page 5 Reverse/Bleep Switch Audio Reverse – Changes the direction of the platter and the music until it is returned to the upright center position. Bleep – Temporarily reverses the music from buffer while the unit continues forward motion. When the toggle is released the unit resumes playing from the point where the song would be normally if it had not been reversed.
- Page 6 Menu – Pressing this button will allow you to use the track knob to navigate through the various menu options on the HDX. Pressing the track select knob like a button will choose the selected menu item. Many options will be stored and retained on unit power off. See the section “Navigating the Menu” later in this manual for an in depth description of the menu options.
- Page 7 Reloop - Repeats play or “stutters” (if repeatedly tapped) from the “loop in” point. previously been set, it plays and repeats that loop, until the loop is released by pressing the LOOP OUT button. Smart Loop – Allows the Beatkeeper™ and loop buttons to work together to create loops that are synchronized to the beat.
- Page 8 Removable Hard Drive Caddy. - This is where the HDX hard drive is stored. It should never be removed until the power has been turned off. By default, the hard drive caddy is locked in place with a single screw to prevent the drive from being removed.
- Page 9 HDX Link - This option port is unused as of the writing of this manual but may be used for future expansion. MIDI IN Connector – This port is for receiving MIDI (Musical Instrument Digital Interface) signals from other MIDI devices such as CD players, keyboards, or drum machines.
-
Page 10: Basic Operation
Items that are currently available will be indicated with a check mark while unavailable items will show an X next to them. In the image above, no CD was loaded into the HDX, so the CD option is shown with an X next to it. - Page 11 In addition to being a full featured CD player, the HDX also has a removable 80 gigabyte hard drive for storage and playback of thousands of audio files. ALWAYS USE THE POWER SWITCH ON THE HDX TO TURN THE UNIT OFF! Never turn off the HDX by unplugging it or by using an external power switch (such as on a power strip).
- Page 12 At this point you should adjust the level of your output device to achieve the proper recording level as indicated on the meter shown on the HDX display. Ideally, the meter should reach the word MAX without actually touching it. If MAX lights up, the signal is too loud and could cause distortion in the final recording.
-
Page 13: Navigating The Menu
Rip/Rec Options Navigating the menu system of the HDX is done by turning the track knob to scroll up and down, and by pressing down on the knob to choose a menu option or to enter a sub-menu. In addition to using the track knob to navigate, you can also use an attached keyboard to navigate the menu system and to enter text. -
Page 14: Playback Options
Rip/Rec Options Start Recording Selecting this menu option will allow you to use the HDX to record line level audio via the rear panel audio inputs. Keep in mind that if you want to record audio from a turntable or microphone, you will need to use a preamp or DJ mixer to boost the signal to line level. - Page 15 Delete Protect Enabling delete protect will allow you to place the HDX into a protected mode so that no files may be deleted without first entering in a password. You will be prompted to enter a 4 character password.
-
Page 16: Utility Features
Installing a New Hard Drive You may want to use a different hard drive with your HDX, or have the ability to swap drives in and out of the unit. When inserting a new hard drive for the first time, follow this procedure: Get the latest firmware update CD from the Numark website at www.numark.com. - Page 17 After doing this, turn the HDX off, reconnect it to your computer via USB and try to copy the audio data back to the HDX from your computer.
-
Page 18: Midi Specifications
MIDI clock signal. Connect a MIDI cable from the external device’s MIDI OUT jack to the HDX’s MIDI IN jack. Then turn on INTERLOCK on the HDX by pressing the MENU button, selecting “Playback Options”, then “Interlock”. Make sure you select “On” and press down on the track knob to select it. - Page 19 If you use the “Single” and “Menu” key combination described above you must do it on the HDX that is not in Interlock mode. If you use the menu to turn Interlock on, it does not matter which HDX you do this on but you must press Select once you’ve turned on Interlock, even if “ON”...
-
Page 20: Troubleshooting
Do not pull the plug out of of the wall or use any external outlet strips to turn the unit off. If the information on the hard drive appears to be corrupted, the best way to try to fix it is to connect the HDX to a computer, back up the audio files to your computer and reformat the HDX drive using the process described on the “Utility Features”... -
Page 21: General Public License
ANY CONSEQUENTIAL OR INCIDENTAL DAMAGES OR FOR ANY LOST PROFITS OR LOST REVENUES. General Public License Parts of the software provided with the Numark HDX are covered by the GNU (http://www.gnu.org) General Public License and the Lesser General Public License. Under the terms of the license we are required to provide the source code for these components. -
Page 22: Specifications
TYPE: Internal transformer with voltage selector switch, internal switching power supply CONNECTOR: Standard IEC VOLTAGE: AC 115V/230V ~ 50-60Hz CONSUMPTION: 40W CD PLAYER TYPE: IDE slot-load, 8X minimum speed MEDIA: CD, CD-R, CD-RW, MP3 CD HARD DRIVE TYPE: 2.5-inch x 9.5mm IDE laptop hard drive, ATA-6, 8192kB data buffer, 4200RPM minimum...
Need help?
Do you have a question about the HDX and is the answer not in the manual?
Questions and answers