Advertisement
DARKROOM AUTOMATION
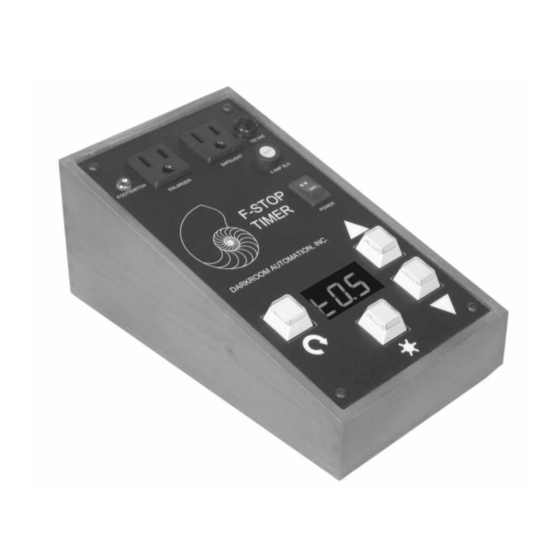
f-STOP TIMERS
A QUICK GUIDE TO BASIC
OPERATIONS
This guide supplements the Instruction Manual.
It quickly demonstrates the use of the basic features of Darkroom Automation's
f
-Stop timers.
It does not cover the advanced memory, split grade, setup and seconds mode
features of the Memory f-Stop Timer.
Advertisement
Table of Contents

Related Manuals for DARKROOM AUTOMATION f-STOP TIMERS

Summary of Contents for DARKROOM AUTOMATION f-STOP TIMERS
- Page 1 A QUICK GUIDE TO BASIC OPERATIONS This guide supplements the Instruction Manual. It quickly demonstrates the use of the basic features of Darkroom Automation’s -Stop timers. It does not cover the advanced memory, split grade, setup and seconds mode features of the Memory f-Stop Timer.
- Page 2 Contents Copyright 2007, 2021 Release 1.03 - 3 Novem ber 2021, Add flashing at end of test strip DARKROOM AUTOMATION 1412 Dorsh Road Cleveland Ohio 44121-3840 http://www.darkroomautomation.com 216.956.5795...
- Page 3 Base Exposure The mode key advances the exposure type - shown in the first display character: ‘d’ for dodge, ‘b’ for burn, ‘p’ for progressive burn, ‘t’ for test strips, ‘m’ for memory mode. Types may not appear if a required previous exposure has not been made or option enabled.
- Page 4 Dodging: A Single Dodge Set the base exposure in stops. DO NOT EXPOSE. The dodge exposures made below will add up to make the base exposure. Advance to dodging with the mode key - the display will show ‘d’ in the first character. Use the raise and lower keys to set the desired dodge in stops.
- Page 5 Dodging: Multiple Dodges Set the base exposure in stops. DO NOT EXPOSE. The dodge exposures made below will add up to make the base exposure. Advance to dodging and set the shortest dodge exposure. Insert all dodgers and expose. Set the next longest dodge exposure. Remove the dodger for the exposure just made, leaving the remaining dodger(s) in place.
- Page 6 Burning Make a base exposure or dodge/finish exposure. Advance to burn - the display will show a ‘b’. Set the number of stops to burn. Insert the burning card and make the exposure. Repeat as needed: set burn exposure; expose. Burns can be made in any order.
- Page 7 After all the progressive burns are completed press the mode key. The timer will ask if you want to reset the current progressive sequence and make another. If you are done just press the mode key one more time for a new print. Advance to burn if you want a new base burn.
- Page 8 Make an exposure with the strip covered. At the end of the exposure the timer will flash the total exposure given to the last strip. Advance the card and make the next exposure. Continue making strip exposures as needed. Press the mode key when you are done.
Need help?
Do you have a question about the f-STOP TIMERS and is the answer not in the manual?
Questions and answers