Table of Contents
Advertisement
Advertisement
Table of Contents

Related Manuals for Risco RP432DOR

Summary of Contents for Risco RP432DOR
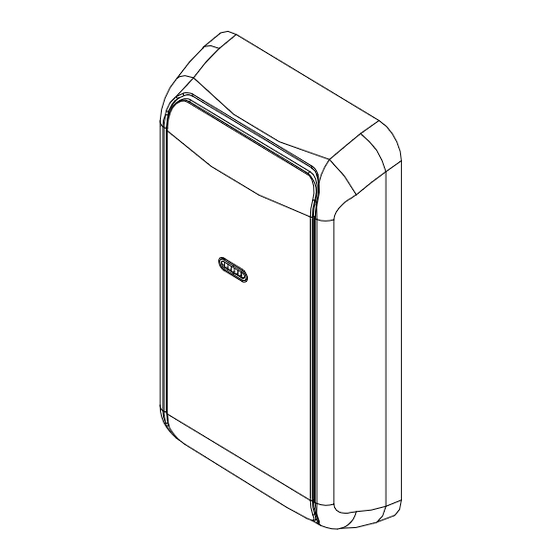
- Page 1 Door Opener Reader Model: RP432DOR Installation and Programming Guide...
-
Page 2: Table Of Contents
Adding / Deleting Tags from a Door Reader ..............14 To add a new proximity tag from a reader ..............14 To delete a proximity tag from a reader ..............15 UKCA and CE Red Compliance Statement ..............16 RISCO Group Limited Warranty ..................16... -
Page 3: Introduction
1. Introduction Important Notes This guide is intended for installers that are familiar with the RISCO LightSYS Plus programming, either from a keypad or the Configuration Software. This guide provides additional information on RISCO’s new bus device, the Door Opener Reader. For additional info regarding the... -
Page 4: Technical Specifications
Technical Specifications • Input Power: 13V +/- 10% • Current consumption: 60mA Max • Transmit Frequency: 13.56MHz • Power Output: 60 dBμA/m Max • Main Panel Connection: 4-wire BUS RS-485, up to 300m from the Main Panel • Reading Distance: Up to 2. 5 cm •... -
Page 5: Installting The Door Opener Reader
4mm each. 4. Secure the reader to the surface using the supplied screws (see Figure 2). Figure 2 5. Route the cable to the RISCO Bus and wire according to the Wiring section. Replace the cover. Wiring The Door Opener reader is connected to the Main Panel BUS. -
Page 6: Connecting Electric Door Locks
NOTE: It is recommended to use RISCO Group’s power supply, as it is connected to the BUS and automatically checked by the security system. Then if there is a problem, the system sends out an alert. -
Page 7: Programming The Door Opener Reader
3. Programming the Door Opener Reader This chapter provides detailed instructions for programming the Door Opener Reader and includes the following sections: 1. Adding a new reader 2. Define utility output for electric door lock 3. Define door alarm parameters 4. -
Page 8: Define Door Open Relay For Electric Door Lock
➢ UO Door Relay: Select a single utility output that will be used to control the door next to the reader. This output should be connected to an electric door lock. ➢ REX (Request to Exit) Input: Specifies the zone “UO/REX TRIG” (push button) that will activate the output connected to the door. -
Page 9: Define Request To Exit Zone
Define Request to Exit Zone Next to each door you can connect a Request to Exit Device. Request to Exit devices enable users to exit from a locked door. This can be a passive infrared unit, a request to exit switch (REX), or any other form of dry contact. During the Reader definition process, select a single zone that will be used as Request to Exit feature. -
Page 10: Configure Users For Door Control
NOTES: 1. Following “Door Open Too long” and “Door forced open”, the sound of the keypad’s buzzer and the siren is set according to the System Sound definition: Tamper Sound at Disarm Define the time duration for the door to remain open from the Installer Programming Menu [1][1][1][9] Door Open Too Long (DOTL): A timer that defines how long (in seconds) the door can remain open before the alarm notification is triggered. -
Page 11: Configure Time Schedule For Reader Operation
Configure Time Schedule for Reader Operation For high security reasons, you can define time schedule that disables selected users to use selected doors during 1- or 2-time intervals per day. By default, users do not have any limitation. When the schedule is activated, users will not have access to the door or use the reader to perform Arm / Disarm at the specific time interval. -
Page 12: Using The Door Opener Reader
4. Using the Door Opener Reader The Door Opener Reader can be used to allow entering/exiting doors and for arming/disarming the security system Entering / Exiting Doors Doors that are assigned with Door Opener readers can be entered/exited by all users with proximity tags that are assigned with their security user codes. -
Page 13: Arming / Disarming The System
Arming / Disarming the system The system can be armed/disarmed using a door reader by any user that is approved for system Arm / Disarm. NOTE: A user defined with authority level UO Control cannot Arm / Disarm the system from a reader. To arm/disarm the system using proximity tags, the following criteria must be met: •... -
Page 14: Adding / Deleting Tags From A Door Reader
Adding / Deleting Tags from a Door Reader The LightSYS Plus has the capability of adding a proximity tag to each user code. With the new BUS reader, adding and deleting a proximity tag can also be done from a proximity reader and a keypad, as well as from a keypad. To add a new proximity tag from a reader From a keypad, press and enter your code followed by... -
Page 15: To Delete A Proximity Tag From A Reader
NOTES: Once a proximity tag is recognized, it will operate from all keypads and readers for Arm / Disarm operation, and it will also operate for opening doors in all readers assigned with the user code. The programmed proximity tag has the same permissions that are defined for the specified user code To delete a proximity tag from a reader From a keypad, press... -
Page 16: Ukca And Ce Red Compliance Statement
RISCO, for a period of (i) 24 months from the date of delivery of the Product (the “Warranty Period”). This Limited Warranty covers the Product only within the country where the Product was originally purchased and only covers Products purchased as new. - Page 17 Product (with or without the RISCO brand), including, but not limited to system software, as well as P2P services or any other service made available by RISCO in relation to the Product, are not covered under this Limited Warranty.
- Page 18 Contacting RISCO Group RISCO Group is committed to customer service and product support. You can contact us through our website www.riscogroup.com or via the following RISCO branches: Belgium (Benelux) Israel United Kingdom Tel: +32-2522-7622 Tel: +972-3-963-7777 Tel: +44-(0)-161-655-5500 support-be@riscogroup.com support@riscogroup.com support-uk@riscogroup.com...
Need help?
Do you have a question about the RP432DOR and is the answer not in the manual?
Questions and answers