Table of Contents
Advertisement
Quick Links
Tools Needed
Heavy product A minimum of 1 people are
required to lift this product.
1 person estimated build time 1 hour.
Helpline
If you have any problem with this product or
require any replacement parts,please contact the
customer Helpline on 0333 777 8999
Regrettably self assembly items can not be returned once assembly is part or fully completed, unless the
items are found to be faulty. Should you need to return the unassembled product, please repack in its
original packaging.
Important
.
We suggest you spend a short time reading this leaflet and then follow the simple step-by-step instructions.
Carefully check that you have all the parts before beginning assembly.
.
Keep fittings out of children's reach and keep children well away from the construction area.
.
We recommend that the packaging is used to protect the surfaces during assembly.
Product Information
.
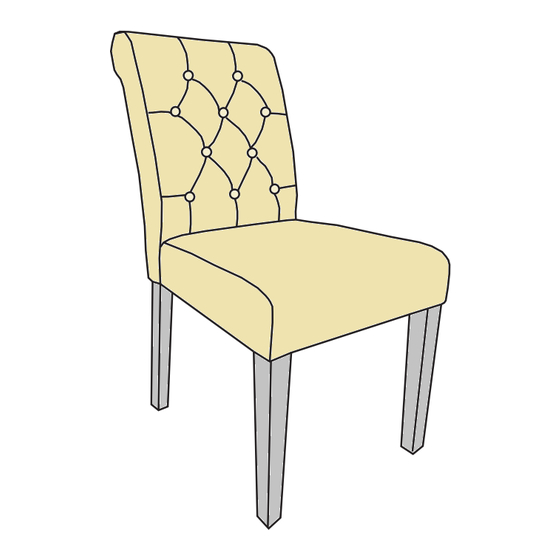
Upholstered chair,with solid rubber wood legs.
.
Made in China.
Care Instructions
.
For general cleaning periodically dust with a soft cloth.
.
Do not place the furniture where it be exposed to direct and prolonged periods of sunlight or a direct heat
source such as a radiator.
.
This product is not suitable for a conservatory.
.
All assembly fixings should always be tightened properly and periodcally check all fixings and tighten if
necessary.
WESTCOTT CHAIR
Assembly Instruction
Assembly Instructions
Please keep these instructions for future reference.
- 1 -
Advertisement
Table of Contents

Subscribe to Our Youtube Channel
Related Manuals for Next WESTCOTT CHAIR


Summary of Contents for Next WESTCOTT CHAIR
- Page 1 WESTCOTT CHAIR Assembly Instruction Tools Needed Assembly Instructions Please keep these instructions for future reference. Heavy product A minimum of 1 people are required to lift this product. 1 person estimated build time 1 hour. Helpline If you have any problem with this product or...
- Page 2 Fixings Fittings M8x90 M8*50 C*9pcs D*9pcs B*5pcs A* 4pcs E*2pcs H*1pc G*1pc F*1pc Step One Unpack the black cloth of seat bottom to find the hardware and legs. Step Two Please do not fully tighten the bolts until the chair is fully assembled. Do not tighten - 2 -...
- Page 3 Step Three Please do not fully tighten the bolts until the chair is fully assembled. Do not tighten Step Four Please do not fully tighten the bolts until the chair is fully assembled. Do not tighten - 3 -...
- Page 4 Step Five Place the chair onto a flat surface and level the seat frame.once the chair is level tighten the bolts. Step Six Attach the base cloth over the seat frame as shown. - 4 -...
- Page 5 PLEASE KEEP THIS CARE GUIDE FOR FUTURE REFERENCE Next Retail Ltd, Desford Road, Enderby, Leicester, LE19 4AT. - 5 -...
Need help?
Do you have a question about the WESTCOTT CHAIR and is the answer not in the manual?
Questions and answers