Advertisement
Table of Contents
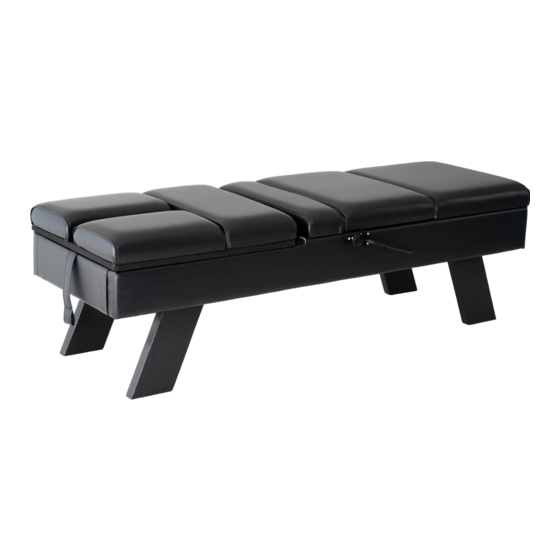
PETTIBON ASSEMBLY INSTRUCTIONS
1. Warranty, Return Policy & Table Maintenance
2. Table Assembly Instructions
3. Trouble Shooting
CONTACT INFORMATION:
Website: sunchirotable.com
Phone: (863) 414-2893
Email: admin@sunchirotable.com
Our Facility:
Sun Chiro Table
4226 Commercial Dr
Sebring, FL 33870
Facility Hours:
8am to 4pm, Monday—Friday
Please contact us if you have any questions – our online customer support is always available!
THESE INSTRUCTIONS ARE CURRENT AS OF JANUARY 2023.
Vinyl Cleaning
& Disinfecting
Guide
1
Table
Maintenance
Log
1
Advertisement
Table of Contents

Related Manuals for Sun Chiro Table PETTIBON


Summary of Contents for Sun Chiro Table PETTIBON
- Page 1 Vinyl Cleaning Table & Disinfecting Maintenance Guide PETTIBON ASSEMBLY INSTRUCTIONS 1. Warranty, Return Policy & Table Maintenance 2. Table Assembly Instructions 3. Trouble Shooting CONTACT INFORMATION: Website: sunchirotable.com Phone: (863) 414-2893 Email: admin@sunchirotable.com Our Facility: Sun Chiro Table 4226 Commercial Dr...
-
Page 2: Warranty
WARRANTY: • All Standard Line Tables carry a one-year warranty on materials and workmanship (upholstery is warranted for workmanship only). • Prestige Line and Contemporary Tables carry a two-year warranty on materials and workmanship (upholstery is warranted for workmanship only). •... - Page 3 2016 LEG BOLT UPGRADE If your table was purchased after 2016, please read the following before assembly: Please note that your new table uses 12 three inch 5/16 hex bolts and washers for attaching your legs. Your table has been fully assembled prior to shipment. The bolts will start easily if the following steps are followed: 1.
-
Page 4: Pre-Assembly
Not all tables will have all parts depending on model. Shown are: 1. Cocking Rod 2. Tension Rod 3. Hinge Pins (No Pettibon) 4. Headpiece retention pin (Not Pettibon) 5. Headpiece attachment bolts (Not Pettibon) 6. Leg bolts... -
Page 5: Assembling The Table
ASSEMBLING THE TABLE Attaching the Legs: Begin with the body of the table upside down to attach the legs. This is best done by laying the frame body of the table upside down on the plastic that your table was wrapped in to protect it during the assembly process. - Page 6 Handle-Activated Drop Instructions, Please Read First If your model has handle-activated drops, continue with the drop installation below. Get the cocking rods and the tension rods. Begin by lifting the drop section. Insert the cocking rod and gently push it under the drop mechanism and then push the rod down into place within the slot. HANDLE COCKING: As seen to the left the cocking arm is inserted, pushed under the cocking block lift arm and...
- Page 7 Kick-Activated Drop Instructions, Please Read First 1. You will have been provided an appropriate number of kick drop pedals with your table. Each pedal is attached to a down rod. That down rod has a 5/8 inch nut on it and a single lock nut above it.
- Page 8 Finally, complete the installation by holding the foot pedal straight out from the table and tightening the nut and lock washer completely. You may find it to be easier if a helper holds the pedal straight while you tighten the nut. Make sure to tighten the nut until the lock washer is full compressed.
-
Page 9: Troubleshooting
Final Assembly and Leveling Preferably with the assistance of a helper, turn the table over onto its legs. Place the table in the position you intend to use it in. If you recall, we did not completely tighten the legs. This was intentional. Now that we have the table in position you will want to make sure that the legs are flat on the floor and the table does not wobble.
Need help?
Do you have a question about the PETTIBON and is the answer not in the manual?
Questions and answers