Advertisement
STYLE SELECTIONS is a trademark or registered
trademark of LF, LLC. All rights reserved.
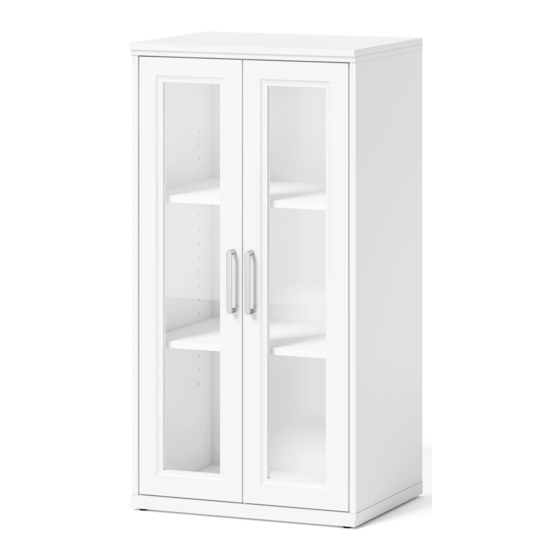
SHELF STORAGE WITH DOORS
ATTACH YOUR RECEIPT HERE
Serial Number
Purchase Date
Call customer service at 1-877-888-8225,8 a.m. - 8 p.m., EST, Monday - Sunday.
ITEM #5120856
MODEL #LWSGDS
1
PACKAGE CONTENTS
A
G
E
C
F
PART
DESCRIPTION
QUANTITY
A
Top panel
1
B
Stretcher
1
C
Side panel left
1
D
Side panel right
1
HOW TO ADJUST THE EUROPEAN ADJUSTABLE HINGES ON DOORS
Shipping may cause doors to go out of alignment. If you find that the doors need to be adjusted
slightly, turn the appropriate screw, as illustrated.
1. TO ADJUST DOOR FORWARD OR BACKWARD.
2. TO ADJUST DOOR TO RIGHT OR TO LEFT.
3. TO ADJUST DOOR UP OR DOWN.
3
1
B
H
H
E
D
PART
DESCRIPTION
QUANTITY
E
Adjustable shelf
F
Bottom panel
G
Back panel
H
Door
2
2
2
1
1
2
Advertisement
Table of Contents

Related Manuals for LF Style selections LWSGDS


Summary of Contents for LF Style selections LWSGDS
- Page 1 PACKAGE CONTENTS STYLE SELECTIONS is a trademark or registered trademark of LF, LLC. All rights reserved. PART DESCRIPTION QUANTITY PART DESCRIPTION QUANTITY Top panel Adjustable shelf Stretcher Bottom panel Side panel left Back panel Side panel right Door HOW TO ADJUST THE EUROPEAN ADJUSTABLE HINGES ON DOORS Shipping may cause doors to go out of alignment.
- Page 2 CAM LOCK SYSTEM OPERATION HARDWARE CONTENTS (not shown actual size) 5/32” x 25 mm Handle Door hinge M4 x 15 mm Bolt Screw Qty. 4 Qty. 2 Qty. 4 Qty. 24 1. Screw the Cam Bolt into the pre-drilled small holes on the panel. Connect both panels together; making sure the Cam Bolt goes into the pre-drilled hole at the end of the panel with the Cam Lock.
-
Page 3: Safety Information
ASSEMBLY INSTRUCTIONS SAFETY INFORMATION 1. Attach door stoppers (OO) to top panel (A) and bottom Please read and understand this entire manual before attempting to assemble, operate or install panel (F) using M3.5 x 13 mm screws (PP). Screw cam the product. - Page 4 ASSEMBLY INSTRUCTIONS ASSEMBLY INSTRUCTIONS 4. Insert the wood dowels (CC) into the holes pre-drilled 7. Pick up both doors (H) and fasten the hinge bases on bottom edge of assembled frame. Position the bottom onto the side panels with the M4 x 15 mm screws (MM). DO NOT fully tighten the screws.
-
Page 5: Care And Maintenance
ASSEMBLY INSTRUCTIONS ASSEMBLY INSTRUCTIONS 10. Set the shelf pins (NN) at your desired height at the 12. Adjust floor levelers to level the unit against the wall same level. Tilt and install adjustable shelves (E) in place. where desired. Using stretcher (B) as a template, mark Plug the plastic covers (II) onto the visible cams locks to one mounting holes location on the wall. -
Page 6: Replacement Parts List
REPLACEMENT PARTS LIST REPLACEMENT PARTS LIST For replacement parts, call our customer service department at 1-877-888-8225,8 a.m. - 8 p.m., EST, For replacement parts, call our customer service department at 1-877-888-8225,8 a.m. - 8 p.m., EST, Monday - Sunday. Monday - Sunday. PART DESCRIPTION PART #...
Need help?
Do you have a question about the Style selections LWSGDS and is the answer not in the manual?
Questions and answers