Advertisement
Heated Blanket, Mattress Pad and Comforter Setup
- Place the heated blanket/mattress pad on the bed with the label at the foot of the bed facing upward.
- Connect the cord into the module at the bottom of the heated blanket/ mattress pad until the plastic hinges click into place.
![]()
Cord must be COMPLETELY CONNECTED. A risk of fire could result from a loose connection. - Run the control cord on the floor under the bed. Do not sandwich cord between the mattress and box spring. Avoid any tangling or pinching.
- Plug power cord into a 110-120 volt wall outlet.
![]()
Do not use with generator power or inverter.
Control Placement:
- Dual Control for heated blanket or mattress pad – place primary control (label on back of control) on the right side of the bed.

STEP 1 Place on bed with label at foot of bed facing out
STEP 2 Connect the Control Cord connector and module securely
STEP 3 Run Control Cord under the bed
STEP 4 Plug Power Cord into wall

- Single Control for heated blanket or mattress pad – the control can be placed on either side of the bed.

STEP 1 Place on bed with label at foot of bed facing out
STEP 2 Connect the Control Cord connector and module securely
STEP 3 Run Control Cord under the bed
STEP 4 Plug Power Cord into wall

For questions or support, please visit www.sunbeambedding.com.
Control Chart
OneSet™ | Easy Set™ Pro | SleekSet™ | SelectTouch™ | Prime Style™ II | Elite Style™ II | |
| Style # (Single Control) | Y85 | S85A | Z85 | P85A | AA85 Throw | T85B Throw |
| Style # (Dual Control) | Y85KQ | S85KQA | Z85KQ | P85KQA | ||
| Backlit Display |  | | ||||
| Ambient Temperature Compensation | | |||||
| Auto-Off | 10 hour | 10 hour*(S85A, S85KQA)* | 10 hour | Select | 3 hour | 3 hour |
| Warming Settings | 5 | 10 | 10 | 20 | 3 | 3 |
| Preheat | | | ||||
| Easy Grip | | | |
* S85KQA only
If your controller does not appear on the chart, please visit our website for more information.
Control Features
(for all controllers)
Auto-Off Feature:

The "Auto-Off" feature is designed for conservation of energy by automatically turning your blanket or mattress pad off after 10 hours of continuous use (3 hours for throws).
For Dual Controls:
Each control operates independently and will turn off 10 hours after the control is turned "On".
Auto-Off Select* Feature (selected models only):
Some models with the "Auto-Off" feature (see control chart) offer an "Auto-Off Select" button that can disable the "Auto-Off" feature so the heated product will not automatically turn off.
Controls with the "Auto-Off Select" feature have the "Auto-Off" active as the default so the heated product will automatically turn off after 10 hours.
To disable the "Auto-Off", press the "Auto-Off Select" button. The word "StayOn" will appear in the digital display to indicate the "Auto-Off" feature is deactivated and the heated product will NOT automatically turn off after 10 hours. The heated product will remain on until the product is manually turned off by pressing the "On/Off" button.
To activate auto-off, press the "Auto-Off Select" button. The word "AutoOff" will appear in the digital display to indicate the "Auto-Off" feature is activated and the heated product will automatically turn off after 10 hours.
Note: After a power outage, the "Auto-Off" feature automatically resets the timer.
To restart all heated products after a power failure:
Press the power button and the heated product will begin to warm.
Preheat Feature (selected models only):
The preheat function will heat the bed for a period of 30 minutes and the control will return to its original setting.
- To use the preheat feature, simply turn on the warming product by pressing the "On/Off" button and then press the "Preheat" button. The display will show "PH" while the function is activated.
- To reset the preheat feature, simply turn off the control by pressing the "On/Off" button and then turn it back on by pressing the "On/Off" button.
Using Your Control:
- To turn the control on, press the "On/Off" button.
Note: For SelectTouch™ and SleekSet™ controls, the backlit display light will reset itself by flashing "88" and then will return to the previous setting and will begin to warm. - Note: For OneSet™ control, press the button to turn on to the lowest heat setting. Repeat pressing the button to scroll to desired heat setting (5 total). To turn off, scroll through heat settings until all LED indicator lights turn off.
- Adjust the warming setting to your personal comfort by rotating the top knob left or right for Easy Set™ controls.
- Note: For SelectTouch™ controls, press the large left button with the "-" sign to lower the heat setting and the large right button with the "+" sign to increase your heat setting.
- Note: For SleekSet™ controls press the upper button with the up arrow to increase your heat setting and the lower button with the down arrow to lower the heat setting
- To turn the heated blanket/mattress pad OFF, press the "On/Off" button.

ALWAYS turn the heated blanket/mattress pad "OFF" when not in use.
Heated Throw Setup
When setting up your heated throw, be sure to follow the steps below in order.
- Locate the heated throw's information label near the module.
- Connect the cord into the module at the bottom of the heated throw until the plastic hinges click into place.
![]()
Cord must be COMPLETELY CONNECTED. A risk of fire could result from a loose connection. - Plug the [heated throw] power cord into a 110-120 volt wall outlet.
Do not plug main power cord into the wall outlet until you have completely set up your heated product per the instructions.
- Disconnect power cord from wall before detaching control from heated product.
- Always make sure cords and controls are NOT trapped or pinched between bed slats, mattress, springs, against wall, foot board or bed frame, or between furniture, walls or chairs.
- Do not wrap control in throw when in use.
- Do not use with generator power.
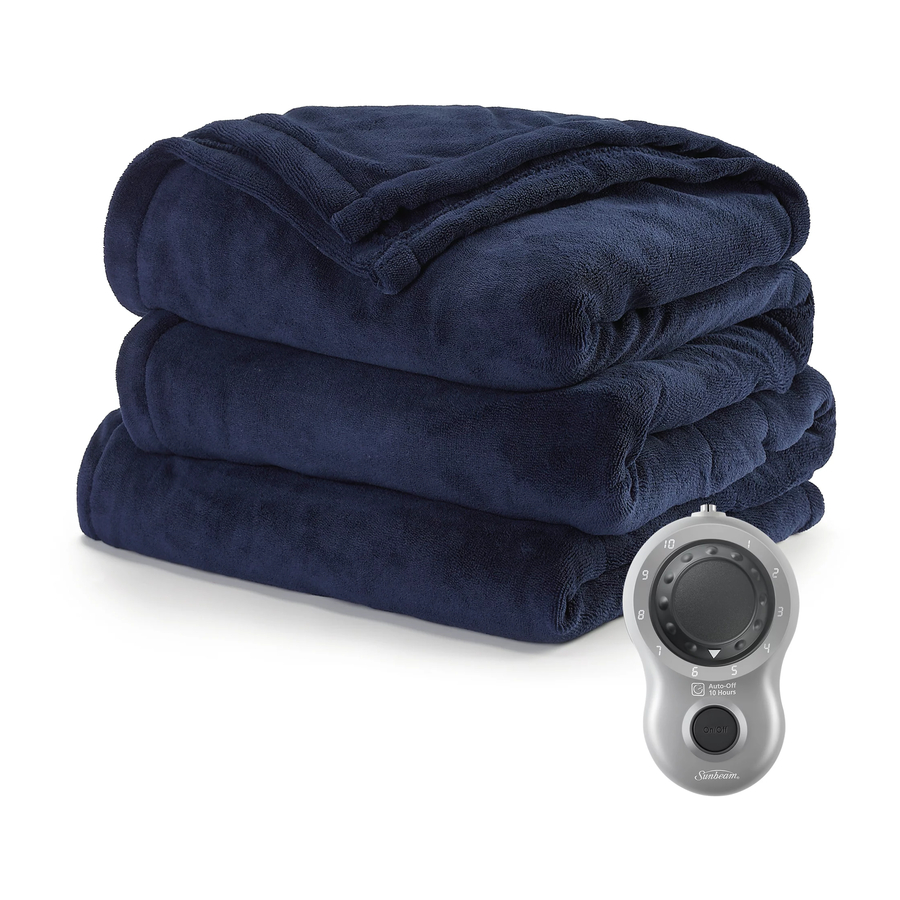
Using Your Heated throw Control:


- To turn on the throw press the button in the middle of the control. The indicator light will glow, depending on which setting the heated throw is set, and the heated throw will begin to warm.
![]()
ALWAYS turn the heated throw "OFF" and disconnect the power cord from the outlet when not in use. - To turn the heated throw OFF press the button through the different settings until the temperature setting lights are not glowing.
Care and Cleaning OF YOUR HEATED BEDDING PRODUCT
Do not dry clean. Do not use bleach. Do not use wringer. Do not iron. Do not immerse control or cord in water or other liquids. Do not use mothballs or sprays of any kind. Do not reconnect the heated product until it is completely dry.
We recommend washing before initial use.
Before Washing or Storing Your Heated Bedding Product
- Disconnect power cord from wall BEFORE detaching control cord from the heated product.
- Ensure that no cords are still connected and none of the wires have worn through the fabric.
- Carefully follow all washing instructions or your heated product may shrink and possibly cause a fire hazard.
Washing Instructions
- Machine wash in cold water, gentle cycle or hand wash.
![]()
Do not use commercial dryers or the dryers at your local laundromat. They get too hot and would damage the wiring of the heated product. - Tumble dry low, delicate cycle.
- Remove the blanket/mattress pad/throw while still damp and gently stretch to its original size.
- Drape the heated product over a clothesline or a shower rod. DO NOT use clothespins
- Heated product must be COMPLETELY dry before reconnecting the power plug or control plug.
Hang to Dry
- While still damp, gently stretch the blanket/mattress pad/throw back to its original size.
- Drape the heated product over a clothesline or hang over a shower rod. DO NOT use clothespins.
- Heated product must be COMPLETELY dry before reconnecting the power plug or control plug.
Frequently Asked Questions
ABOUT YOUR HEATED BEDDING PRODUCT
Q Who should NOT use the heated blanket, heated mattress pad or heated throw?
A The following people should NOT use the heated blanket, heated mattress pad or warming throw:
- An infant
- A child
- An incapacitated or immobile person
- A paraplegic
- A quadriplegic
- A diabetic
- Anyone insensitive to heat such as a person with poor blood circulation
- Anyone who cannot clearly understand the instructions and/or operate the controls
Q What do I do if my pet chews the cord, I lose my control or the control does not operate properly?
A P lease stop using the heated product immediately. Call our Consumer Service number listed under How to Obtain Warranty Service and ask for instructions on how and where to send the heated product.
Q My control feels warm to the touch. Is this a problem?
A N o. The control will feel warm to the touch when functioning properly.
Q My heated blanket/heated mattress pad/heated throw doesn't heat properly.
A Y our heated product is not a heating pad. It will not feel hot to the touch when laid out flat in a normal manner. Try the following fold test to see if it is operating properly:

- Fold the heated blanket, heated mattress pad or warming throw 3 times over.
- Make sure the control cord is connected to the module and then plug the power cord into an outlet.
- Turn on your heated product, then turn the control to the highest setting and wait 5 to 7 minutes.
- Put your hand between the folds and you should feel the blanket/ mattress pad/throw warming up.
DO NOT continue the test for more than 7 minutes. DO NOT attempt to make any internal adjustments to this appliance. If you have tried all of the solutions above and the heated product still doesn't work, stop using it immediately, disconnect the power cord and contact Consumer Care.
Q What does "F1" or "F2" mean on my Electronic Digital Control?
A The digital controls are designed to notify you in the event that a problem has been discovered by flashing "F1" or "F2" on the display.
 Models: SelectTouch™ and SleekSet™
Follow reset instructions below.
 Models: SelectTouch™ and SleekSet™
Follow reset instructions below.
Reset Instructions
- Follow the instructions on the flag tag attached to the control cord to reset control.
- Check the blanket/mattress pad for visual damage.
- If no visual damage is found, unplug the system from wall outlet.
- Check that the control is well-connected to the module.

Ensure the Control Cord connector and module are securely fastened by inserting until hooks are in locked position.
- Plug the power cord into the wall outlet.
- Set the control to "On".
- If the system does not operate after 2 or 3 times trying to reset, disconnect the power cord and contact Consumer Care.

Q What does a flashing light mean on my OneSet™, Easy Set™, Prime Style™ AO or Elite Style™ control?
A T hese controls are designed to notify you in the event that a problem has been discovered by flashing the light on the control. Follow instructions on the flag tag to reset control. First, check the heated product for visual damage. If no visual damage is found, unplug the system from wall outlet. Check that the control is well-connected to the module. Plug the power cord into the wall outlet and turn the control On. If the product still does not operate after 2 or 3 times trying to reset, disconnect the power cord and contact Consumer Care.

Documents / ResourcesDownload manual
Here you can download full pdf version of manual, it may contain additional safety instructions, warranty information, FCC rules, etc.
Advertisement


Need help?
Do you have a question about the Heated Bedding and is the answer not in the manual?
Questions and answers