Advertisement
SPECIFICATIONS
- Product Name: Dash Cam
- Product Model: Z40
- Size: 81x61x33mm
- Input: 5V
- Storage: TF card storage, maximum support 128GB, cycle recording
- Wi-Fi: Wi-Fi/2.4GHz
- G-Sensor: Built-in 3 Gyro sensor, motion locking, adjustable sensitivity via App
- RAM: 2Gb
PACKAGE CONTENTS

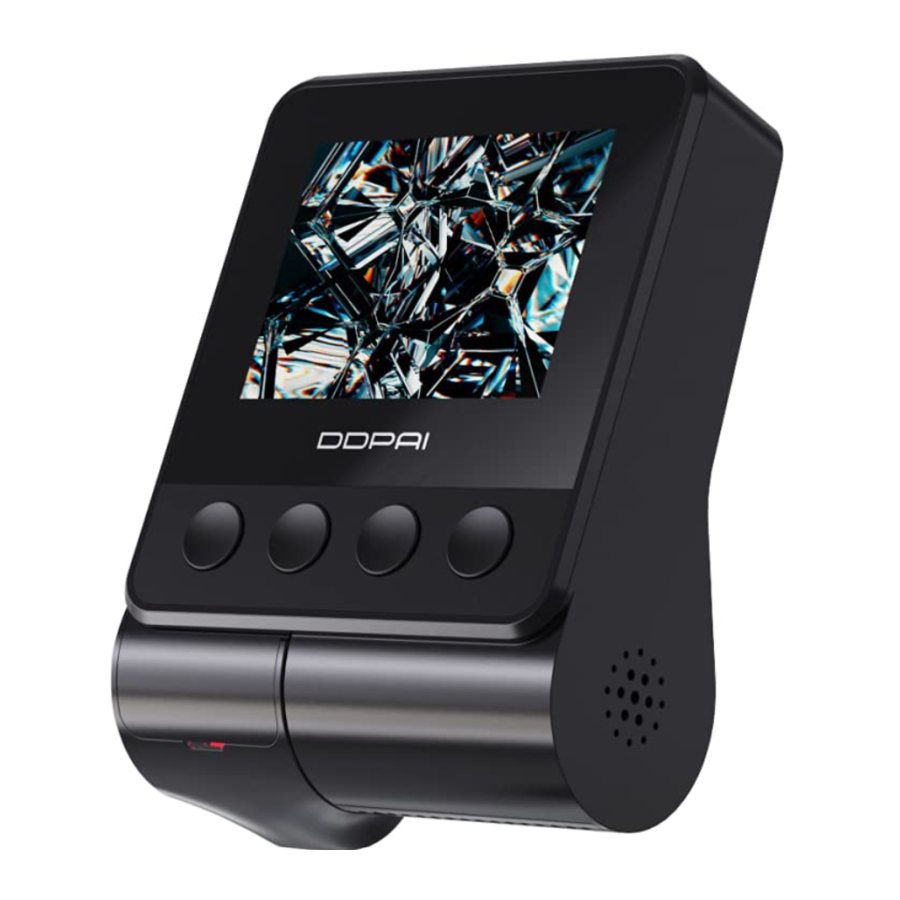
PRODUCT OVERVIEW

|
|
|
|
|
|
|

| Button Description | Function Description |
| Click the button to enter the settings selection. |
| Click the button to turn on/off recording. |
| Click the button to open the album. |
| Click the button to turn on/off the screen. |
| Reset: Long press 6s to reset. |
LED INDICATOR INSTRUCTION
| Product status | Indicator status |
| Working fine | Blue light is always on |
| Incident video/emergency video/photo video | Purple light flashs quickly |
| Abnormal status/upgrading | Red light flashs quickly |
| USB data transmission mode | Green light is always on |
| Test pattern | White light is always on |
| Parking monitoring | Red light is always on |
INSTALLATION
- Clean an area on the windshield where you wish the Dash Cam to be installed, this assists in adhesion.
- Open the protection cover of TF card slot, insert the memory card into the slot, pay attention to the front and back sides, and close the protection cover after completion.

- Remove the protective film from the back of the bracket, attach the adhesive side of the mount on the windshield where it has an unobstructed view of the road but does not interfere with the driver's view. As shown below.

- Use the installation tool to lift the edges of the windshield/molding and tuck in the power cable. Connect the Dash Cam to the car charger (plugged into cigarette lighter socket) and power cable.

- After the car starts, the Dash Cam powers up and starts recording.


APP INSTRUCTION
Install DDPAI App
Scan the QR code to download the "DDPAI" App.
iOS


Android


Pair Smart Phone to Dash Cam
- Keep the Dash Cam and mobile phone within 2.5meters.
- Launch DDPAI App, tap on "Device > Connect new devices".
- Choose your DDPAI Dash Cam from the network list(For Android system, App will start to search Dash
Cam network automatically. For iOS phone: turn on WLAN from "Settings ->WLAN"). The Dash Cam's default SSID (or Wi-Fi name) is DDPAI_Z40_XXXX. - Enter the password
(the default password is '1234567890'). - Enter DDPAI App, wait a few seconds until the preview screen show.
Preview
- Open the DDPAI App, and add your Dash Cam.
- Select "Device > Entering" tab, this will bring you to the preview page.


Rotate your smart phone or press expand  icon, turn the preview screen to landscape mode.
Playback
Tap and left/right drag timeline bar at the screen bottom to create the starting point of the recording you wish to preview, then tap on thumbnail when you have made your selection, or wait for 5 sec for buffering, now you can watch the history recording.

Download Video Files
- Tap and left/right drag timeline bar at the screen bottom to create the starting point of the recording you wish to download, then tap on thumbnail when you have made your selection, or wait for 5 sec for buffering, to enter the download start screen.
- Tap on
![]() from preview screen to enter the download interface.
from preview screen to enter the download interface. - After the video has finished downloading, click "Complete".
 from preview screen to enter the download interface.
CAUTION
- The product's optimal temperature range is -20°C — 70°C.
- Install the device near the rear-view mirror to obtain the best open-field view. Do NOT install the Dash Cam in a location that will obstruct your required driving view.
- Dash Cam with built-in eMMC card: Featuring high efficiency, stability and durable. The dash cam should be formatted via App or PC regualarly to extend its lifespan.
- Dash Cam with external memory card: Support brand Class 10 micro SD card up to 128GB Max. The dash cam should be formatted before using and it can be formatted via App or PC regualarly to extend its lifespan.
- Do not use any cardboard, paper towel, or napkins to clean the lens.
- Do not attempt to repair, dismantle, or modify the Dash Camera hardware by yourself.
- Do not install the product in an environment with high humidity, or combustible gases or liquids.
- Drawings for illustration purpose only. Actual product may vary due to product enhancement.
CONTACT
![]() www.ddpai.com
www.ddpai.com
![]() feedback@ddpai.com
feedback@ddpai.com
 DDPAI Technology Co., Ltd
 Floor 12, Yihua finance building, Software
Park, Yuehai Sub district, Nanshan district,
Shenzhen
For more information and FAQs, Please scan the QR code:


Documents / Resources
References
Download manual
Here you can download full pdf version of manual, it may contain additional safety instructions, warranty information, FCC rules, etc.
Advertisement


Need help?
Do you have a question about the Z40 and is the answer not in the manual?
Questions and answers