Table of Contents
Advertisement
Quick Links
Advertisement
Table of Contents

Subscribe to Our Youtube Channel
Related Manuals for Vicoustic VicBooth

Summary of Contents for Vicoustic VicBooth
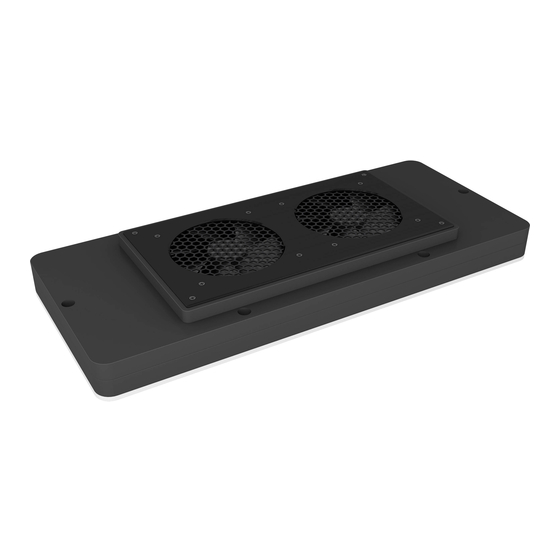
- Page 1 Installation Manual Ventilation Unit...
- Page 2 Material Needed Included Ventilation unit | 1 uni. Insulation Seal | 1 uni. USB extension cable (0.3m) | 1 uni. USB extension cable (3m) | 1 uni. USB power adapter | 1 uni. Remote control electrical outlet | 1 uni. Fixing screws | 6 uni.
- Page 3 Start by placing the Insulation seal on the ceiling of the VicBooth. Place the Ventilation unit aligned with the Insulation seal and the fixing holes.
- Page 4 Fix the Ventilation unit using the included screws (P) and a 6mm Phillips Screwdriver. Step’ s Material Screwdriver...
- Page 5 Connect the included USB extension. Step’ s Material Connect the Remote Control Electrical Outlet and the USB power adapter to a wall socket. You can switch the fan ON and OFF from inside the cabin using the remote control. Step’ s Material...
- Page 6 The switches should always be set to high.
- Page 7 Up to two ventilators can share the same USB power source and must have their inline speed controller set to high to prevent overload. In case the ventilators are going to be installed too far away from each other, you can use the 0.30m USB extension to connect them to each other.
- Page 8 Rua Quinta do Bom Retiro Nº 16, Armazém 9 2820-690 Charneca da Caparica, Portugal T (+351) 212 964 100 Info and Sales E sales@vicoustic.com www.vicoustic.com © Vicoustic, 2021 | V3 No parts of this document might be copied and/or published without written consent of Vicoustic.
Need help?
Do you have a question about the VicBooth and is the answer not in the manual?
Questions and answers