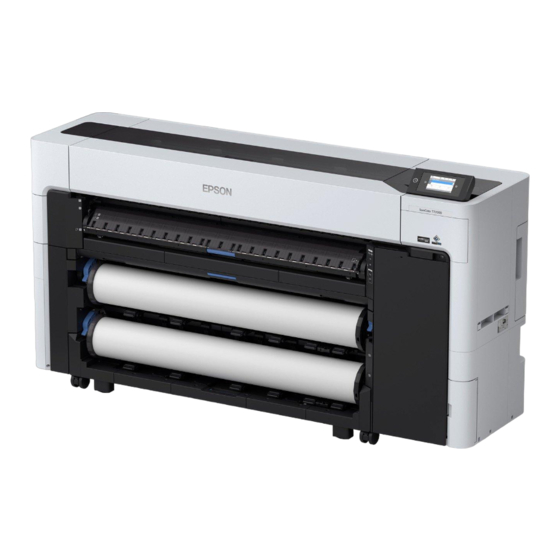
Epson SureColor SC-P8500D Series Manual
Hide thumbs
Also See for SureColor SC-P8500D Series:
- User manual (210 pages) ,
- General information manual (19 pages) ,
- Setup manual (18 pages)
Advertisement
Quick Links
2-inch Core/3-inch Core
When using a 2-inch core
When using a 3-inch core
Remove the core adapters from
the media edge guide on both
sides.
Attach the core adapters to
the media edge guide on both
sides.
Loading the Roll Paper on the Spindle
1
2
Insert the spindle with the roll paper
facing the direction shown in the
illustration.
Attach the media edge guides so that
there are no gaps between them and
the roll paper.
CMP0347-00 EN
© 2021 Seiko Epson Corporation
Advertisement

Summary of Contents for Epson SureColor SC-P8500D Series
- Page 1 Attach the media edge guides so that there are no gaps between them and When using a 3-inch core the roll paper. Attach the core adapters to the media edge guide on both sides. CMP0347-00 EN © 2021 Seiko Epson Corporation...
-
Page 2: Loading Roll
Loading Roll 1 Removing Roll 1 Set the paper support to the Lower the spindle lock lever. Eject the roll paper. Remove the spindle. position shown in the illustration. Place the spindle into the grooves Raise the spindle lock lever. with the black media edge guide on the right. - Page 3 Loading Roll 2 Set the paper support to the position Pull out the roll2 unit. Return the roll2 unit. shown in the illustration. Place the spindle into the grooves with Raise the spindle lock lever. Lower the spindle lock lever. the black media edge guide on the right.
- Page 4 Removing Roll 2 Place the spindle into the grooves Eject the roll paper. Pull out the roll2 unit. Lower the spindle lock lever. with the black media edge guide on the right. Raise the spindle lock lever. Remove the spindle. Return the roll2 unit.
- Page 5 Loading Cut Sheets/Poster Board (Front) Loading Cut Sheets/Poster Board (Back) Align the paper with the Go to the rear of the printer, align Make sure there is enough space at the Make sure there is enough space at the alignment position on the right the paper with the alignment front/back of the printer.
-
Page 6: Replacing Ink Cartridges
Replacing Ink Cartridges Replacing Maintenance Box Shake the ink cartridge for 10 Place your finger into the gap and Carefully insert the new Open the maintenance box cover. seconds 30 times horizontally in remove the ink cartridge. Maintenance Box. approximately 10 cm movements as shown in the illustration.


