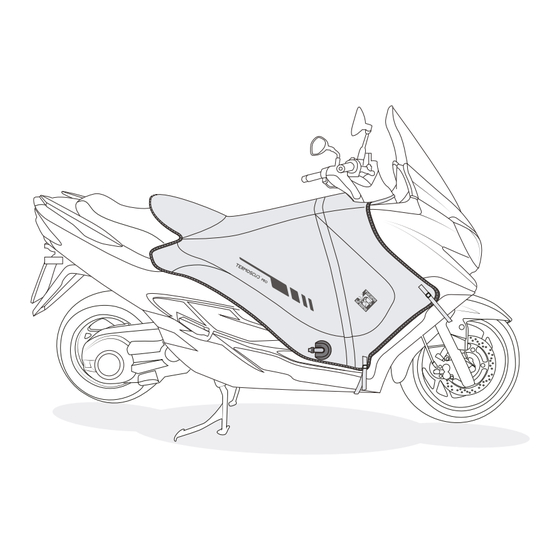
Tucano Urbano Termoscud Pro Instruction Manual
For suzuki burgman 400 2018
Hide thumbs
Also See for Termoscud Pro:
- Instruction manual (42 pages) ,
- User manual (38 pages) ,
- User manual (38 pages)
Advertisement
Quick Links
Advertisement

Summary of Contents for Tucano Urbano Termoscud Pro
- Page 1 ISTRUZIONI DI MONTAGGIO Instruction manual Suzuki Burgman 400 > 2018 R188 PRO...
- Page 2 STEP F STEP G Le foto e i disegni sono puramente indicativi. Tucano Urbano si riserva il diritto di modificare o migliorare il prodotto in qualsiasi momento, senza preavviso e senza obblighi di dover applicare tali modifiche su prodotti già venduti.
- Page 3 Stendere Termoscud® sulla sella con i nastri 1 e 6 in avanti. Unfold Termoscud® on the scooter’s seat with straps 1 and 6 forward. 3bis 3bis R188 PRO...
- Page 4 Rimuovere le viti dello scooter nei punti 3. Montare su questi fori il profilo rigido usando la vite (A) attraverso i distanziatori (B e C) forniti in dotazione. Remove the scooter’s screws at point 3. Align hole on the frame and fix to the footrest through the bushings (B and C) by means of supplied screws (A).
- Page 5 Agganciare i moschettoni dei nastri 1 al bordo della carrozzeria vicino allo sterzo. Fasten the hooks of straps 1 to the edge of the bodywork. Fissare Termoscud® da entrambi i lati, utilizzando le viti dello scooter all’interno del cassetto portaoggetti, facendole passare attraverso il foro sul nastro 6.
- Page 6 Attaccare i ganci dei nastri 3 bis al bordo della carrozzeria all’interno del vano ruota. Hook the straps 3 bis in place to the edge of the bodywork behind the front wheel. 3bis Fissare Termoscud® sul profilo rigido tramite il velcro sul punto 3.
- Page 7 Agganciare i moschettoni dei nastri 2 al bordo inferiore della carrozzeria, sotto la pedana. Fasten the hooks of straps 2 to the edge of the bodywork, under the footboard. Collegare i due lembi del nastro X utilizzando l’aggancio a baionetta, facendo passare il nastro sul retro dello scudo.
- Page 8 Tucano Urbano S.r.l. Via Dell’Annunciata, 21 20121 Milano - Italy...


Need help?
Do you have a question about the Termoscud Pro and is the answer not in the manual?
Questions and answers