Advertisement
Quick Links
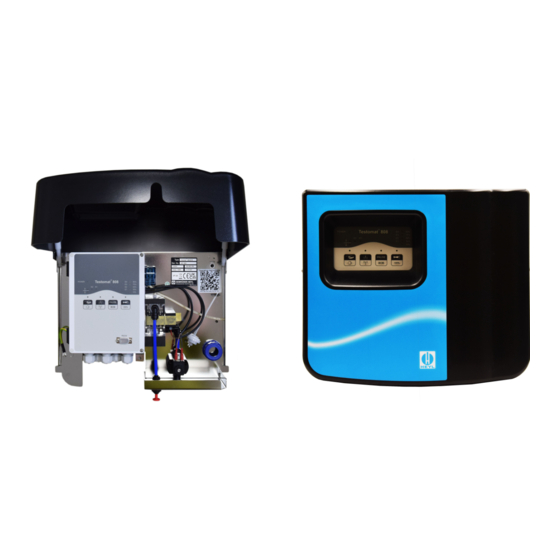
Austausch Pumpenkopf beim Testomat
Replacing the pump head in Testomat
Wartungsintervall des Pumpenkopfes
Wir empfehlen, den Pumpenkopf nach 2 Jahren zu tauschen, da
Die Abbildungen sind
die Leistung des Pumpenkopfes durch Verschleiß nachlassen
exemplarisch. Die Farben von
kann. Tauschen Sie ihn in jedem Fall, wenn die Wartungsmeldung
Schläuchen, Pumpenköpfen
„Pumpenkopf wechseln" angezeigt wird.
und Kabeln können abweichen.
The illustrations are exemplary.
Wechsel des Pumpenkopfes
The colours of hoses, pump
heads and cables may vary.
Zum Ausbauen des Pumpenkopfes gehen Sie folgendermaßen
vor:
1
2
3
Installieren Sie den neuen Pumpenkopf wie folgt:
Verdrehschutz
Achten Sie bei der Installation auf den Verdrehschutz an der
Verdrehschutz /
Motorwelle und am Pumpenkopf! Die Bohrung und die Welle
Anti-twist guard
haben jeweils eine gerade Fläche und passen daher nur in einer
Stellung zusammen.
Wechsel mit Umrüstset (ältere Geräte)
Zum Austausch bei älteren Geräten (bis Gerätenummer
256601) benötigen Sie den Umrüstsatz für den Pumpenkopf
Testomat
Inhalt Umrüstsatz Pumpenkopf
4
A: Schrauben M3x20, M3x25
5
B: Wellenverlängerung
C: Abstandsplatte
D: Pumpenkopf mit Schläuchen
1,5 mm Innensechskantschlüssel
Gehen Sie wie oben beschrieben, bis Schritt 7 vor und führen
dann die nachfolgenden Schritte aus:
6
Schalten Sie das Gerät aus.
Ziehen Sie die Schläuche von den Schlauchverbindern (1), (2)
ab.
Lösen Sie die beiden Schrauben (3) am Pumpenkopf und
ziehen Sie den Pumpenkopf von der Motorwelle ab
Schalten Sie das Gerät ein.
Drücken Sie die Taste Pause, um das Gerät in Standby zu
schalten.
Drücken Sie die Taste Hand für 2 Sek., um den Motor zu
starten.
Drücken Sie die Taste Hand erneut, um die Welle zu stoppen,
wenn die abgeflachte Seite nach vorne zeigt. Sollte die Welle
noch nicht in einer passenden Position stehen, wiederholen Sie
den Vorgang.
Schieben Sie den neuen Pumpenkopf auf die Welle.
Beachten Sie dabei den Verdrehschutz
Drehen Sie die Schrauben (3) ein.
Verbinden Sie den langen Schlauch wieder mit der
Indikatorflasche und den kurzen Schlauch mit der
Messkammer.
Entlüften Sie die Indikatorleitungen bevor Sie weitere Analysen
durchführen.
Drücken Sie die Taste Hand für 2 Sek.
®
808 (Art.-Nr. 40363)
A
Stecken Sie die Wellenverlängerung mit dem Gewindestift (4)
nach vorne zeigend auf die Welle.
Schrauben Sie den Gewindestift (4) mit einem 1,5 mm
Innensechskantschlüssel fest.
Schieben Sie die Adapterplatte (5) über die
Wellenverlängerung.
Schieben Sie den neuen Pumpenkopf auf die
Wellenverlängerung.
Beachten Sie dabei den Verdrehschutz!
Drehen Sie die Schraube M3x20 hinten oben und die Schraube
M3x25 vorne oben ein (6).
Fahren Sie mit den Schritten 10 bis 12 wie oben beschrieben
fort.
®
808
®
808
Maintenance interval for the pump head
We recommend replacing the pump head after 2 years as the
performance of the pump head can decrease due to wear-and-
tear. Always replace the pump head if the maintenance message
"Replace pump head" is displayed.
Changing the pump head
To replace the pump head, proceed as follows:
.
Install the new pump head as follows:
Anti-twist guard
Please observe the anti-twist guard on the motor shaft and the
pump head during installation! The drill hole and the shaft each
have a flat surface and only fit together in one position.
Changing with conversion kit (older devices
To replace older devices (up to device number 256601) you
need the pump head conversion kit for Testomat
No. 40363)
Content Conversion kit pump head
D
B
C
A: screws M3x20, M3x25
B: shaft extension
C: adapter plate
D: pump head with hoses
1.5 mm hexagon socket wrench
Proceed as described above until step 7 and then carry out the
following steps:
Switch off the instrument.
Pull the hoses off the hose connectors (1), (2).
Loosen the two screws (3) at the pump head and pull the pump
head off the motor shaft.
Switch on the device.
Press the Pause key to set the device to standby.
Press the Hand key for 2 sec to start the motor.
Press the Hand key again, to stop the motor, when the flat side
of the motor shaft points forward.
If the motor shaft stops in a wrong position, start and stop the
motor again.
Push the new pump head onto the shaft.
Be aware of the anti-twist guard!
Screw in the screws (3).
Connect the long hose to the indicator bottle (2) and the short
hose to the measuring chamber. (1)
Bleed the indicator lines before carrying out further analyses.
Press the Hand Key for 2 sec.
Push the shaft extension onto the shaft with the grub screw
pointing forwards.
Screw the grub screw (4) with a 1.5 mm hexagon socket
wrench tight.
Slide the adapter plate (5) over the shaft extension.
Push the new pump head onto the shaft extension.
Be aware of the anti-twist guard!
Screw in screw M3x20 at the rear top and screw M3x25 at the
front top (6).
Continue with steps 10 to 12 as described above.
®
808 (Art.-
Advertisement

Related Manuals for Heyl Neomeris Testomat 808

Summary of Contents for Heyl Neomeris Testomat 808
- Page 1 ® Austausch Pumpenkopf beim Testomat ® Replacing the pump head in Testomat Wartungsintervall des Pumpenkopfes Maintenance interval for the pump head Wir empfehlen, den Pumpenkopf nach 2 Jahren zu tauschen, da We recommend replacing the pump head after 2 years as the Die Abbildungen sind die Leistung des Pumpenkopfes durch Verschleiß...
- Page 2 Quitting pump head maintenance message Quittieren der Wartungsmeldung Pumpenkopf After maintenance quit the pump head maintenance Mit dem Quittieren der Wartungsmeldung setzen Sie gleichzeitig message and reset the counter of the pump head. den Zähler für den Pumpenkopf zurück. Zum Quittieren der Meldung schalten Sie das Gerät aus. Switch off the instrument to acknowledge the message.
Need help?
Do you have a question about the Testomat 808 and is the answer not in the manual?
Questions and answers