Subscribe to Our Youtube Channel
Summary of Contents for Cete Automotive BLE
- Page 1 Installation Expansion Kit - Active Sound Gateway BLE Audi SQ7 Cete Automotive GmbH - Elmshorner Straße 33 - 25358 Horst - info@Active-Sound.eu...
-
Page 2: Table Of Contents
6. Removing the covers 6. Removing the covers 7. Electronic Montage 7. Electronic Montage 8. Alternative installation method 8. Alternative installation method 8. Alternative installation method 8. Alternative installation method Cete Automotive GmbH - Elmshorner Straße 33 - 25358 Horst - info@Active-Sound.eu... -
Page 3: Disclaimer
The use of con- tent takes place at the user‘s own risk. Therefore we - the Cete Automotive GmbH - assume no liability and responsibility for damages and defects, which arise from operation or incorrect handling and maintenance. -
Page 4: General Remarks
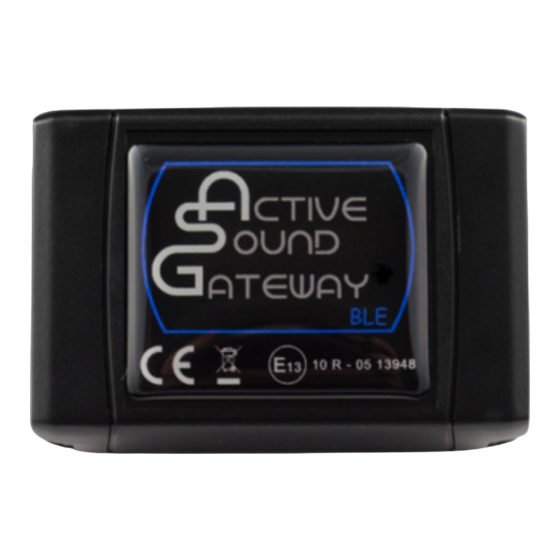
5. General remarks Please note, that the Active Sound Gateway BLE is a vehicle requiring official approval product. Please register this product as soon as possible. The Images and Content shown in this installation guide only serve as a help for you. Please remove the covers according to the repair manual tof he respective manufacturer. -
Page 5: Removing The Covers
Remove the bottom cover of the reartrunk. Step 3) In the following steps you will be shown, how to remove the individual parts, to expose the control unit. Step 4) Remove the board tools. Cete Automotive GmbH - Elmshorner Straße 33 - 25358 Horst - info@Active-Sound.eu... -
Page 6: Removing The Covers
Remove the luggage compartment cover. Step 7) Remove the shown rail. Loosen all the necessary screws. Step 8) View of the left side of the reartrunk without the rail. Cete Automotive GmbH - Elmshorner Straße 33 - 25358 Horst - info@Active-Sound.eu... -
Page 7: Removing The Covers
The cover is fixed by retaining clips. Loosen the cover from the frame. Step 11) Remove the screw show in the picture. Step 12) Now remove the operating element. Cete Automotive GmbH - Elmshorner Straße 33 - 25358 Horst - info@Active-Sound.eu... -
Page 8: Removing The Covers
In the next step you have to remove the fuse box. Step 16) The fusebox only has to be lifted out. Take care of the connected cables. Cete Automotive GmbH - Elmshorner Straße 33 - 25358 Horst - info@Active-Sound.eu... -
Page 9: Electronic Montage
Locate the control unit. Step 19) Remove the plug from the control unit. Step 20) Lay the cable of the control unit to the original wire on the left side, Cete Automotive GmbH - Elmshorner Straße 33 - 25358 Horst - info@Active-Sound.eu... -
Page 10: Electronic Montage
We recommend to remove the whole side cover to install the expansion kit. First you have to follow the steps 1 to 10 on page 3 to 5. The follow-up procedure you can find on the following pages. Cete Automotive GmbH - Elmshorner Straße 33 - 25358 Horst - info@Active-Sound.eu... -
Page 11: Alternative Installation Method
Step 22) Remove the shown aplifier. Therefore loosen all necessary screws. Step 23) Remove the shown screws. Step 24) Remove the shown screw. Step 25) Remove the shown screw. Cete Automotive GmbH - Elmshorner Straße 33 - 25358 Horst - info@Active-Sound.eu... -
Page 12: Alternative Installation Method
After that, just flap the cover upwards. Step 28) The fusebox can now be lifted out. Take care of the connected cables. Step 29) Locate the control unit. S.10 Cete Automotive GmbH - Elmshorner Straße 33 - 25358 Horst - info@Active-Sound.eu... -
Page 13: Alternative Installation Method
We recommend to extend the cable. In case you have to remove the expansion kit, you have the possibility to remove it without removing all covers again. S.11 Cete Automotive GmbH - Elmshorner Straße 33 - 25358 Horst - info@Active-Sound.eu...


Need help?
Do you have a question about the BLE and is the answer not in the manual?
Questions and answers