Table of Contents
Advertisement
Quick Links
ASCEND ACOUSTICS, INC.
www.ascendacoustics.com
1062 Calle Negocio Suite G, San Clemente, CA 92673 (949) 366-1455
Email: sales@ascendacoustics.com Fax (949) 420-2418
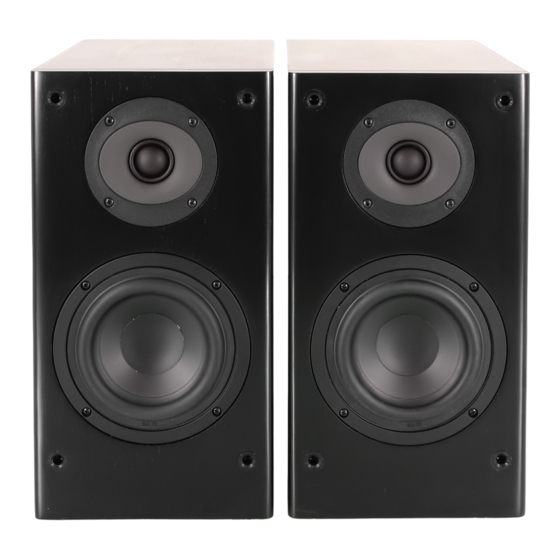
Sierra-1 LX Upgrade Instructions
Recommended Tools:
Phillips head screwdriver
1/2" Hex Nut Driver (1/2" socket)
Nail or small, thin-shaft screwdriver
Stubby handled Phillips head screwdriver (short handle)
Included Parts:
Sierra-LX Tweeter & Gasket
Sierra-LX Woofer and Gasket
Sierra-LX Crossover
Sierra-LX Product Label
1 Remove the Tweeter
a) Gently lay the speaker back so the front of the speaker is facing upward.
b) Using the Phillips head screwdriver, carefully remove the (4) screws from around the
perimeter of the tweeter and set them aside.
c) Lean the speaker forward and carefully remove the tweeter and gasket from the cabinet.
d) Gently remove each female wire connector from the tweeter's male terminals. You will need
to gently wiggle the connector to remove it from the terminal. Do not apply too much force or
you will risk damaging the tweeter and/or the connector itself.
2 Remove the Woofer
a) Using the Phillips head screwdriver, carefully remove the (4) screws from around the
perimeter of the woofer and set them aside.
b) Lean the speaker forward and carefully remove the woofer from the cabinet. A useful trick to
help remove the woofer is to insert one of the Phillips head screws you just removed into one of
the woofer's mounting holes. Angle the screw downward (or upward) so that the threads of the
screw grip the basket frame and pull on the screw. If still stuck do this same procedure in a few
of the other mounting holes. If you still can't get the woofer out, please call us.
c) Gently remove each female connector from the woofer's male terminals. You will need to
gently wiggle the connector to remove it from the terminal. Do not apply too much force or you
will risk damaging the woofer and/or the connector itself.
3 Remove damping material and disconnect the crossover lead wires
a) Reach inside the cabinet, fold the white Dacron batting material in half and then pull it from
the cabinet.
Advertisement
Table of Contents

Subscribe to Our Youtube Channel
Related Manuals for Ascend Acoustics Sierra-1 LX


Summary of Contents for Ascend Acoustics Sierra-1 LX
- Page 1 ASCEND ACOUSTICS, INC. www.ascendacoustics.com 1062 Calle Negocio Suite G, San Clemente, CA 92673 (949) 366-1455 Email: sales@ascendacoustics.com Fax (949) 420-2418 Sierra-1 LX Upgrade Instructions Recommended Tools: Phillips head screwdriver 1/2" Hex Nut Driver (1/2” socket) Nail or small, thin-shaft screwdriver...
- Page 2 b) Using the 1/2" Hex nut driver, carefully remove the securing nut from each of the two binding posts on the inside of the cabinet and set these aside. c) Using your fingers, remove the lock washer that is underneath the nut you just removed and set these aside.
- Page 3 f) Using the 1/2” Hex nut driver, tighten down from within the cabinet the securing nut of the red positive terminal. This should be tightened so that the binding posts on the back of the speaker are secure and will not twist or turn, and so that the nail or screwdriver lever remains as close to vertical as possible.
- Page 4 b) Gently push the plastic lead covers down the length of the wire exposing the female terminals. c) Place the included gasket in the cutout with the holes in the gasket aligned with the screw holes. d) Using the brown and black wires, gently push the female terminals back onto the corresponding male terminals on the woofer.
Need help?
Do you have a question about the Sierra-1 LX and is the answer not in the manual?
Questions and answers