Table of Contents
Advertisement
Quick Links
1062 Calle Negocio Suite G, San Clemente, CA 92673 (949) 366-1455
Recommended Tools:
Phillips head screwdriver
Long shaft flat-head screwdriver
Needle nose pliers
Included Parts:
LunaV2 crossover
2 slot port dampeners
Bag of stuffing
V2 label
We strongly recommend reinstalling the magnetic guard over the tweeter to protect the
delicate ribbon during the entire process. Please fully read all instructions before
starting.
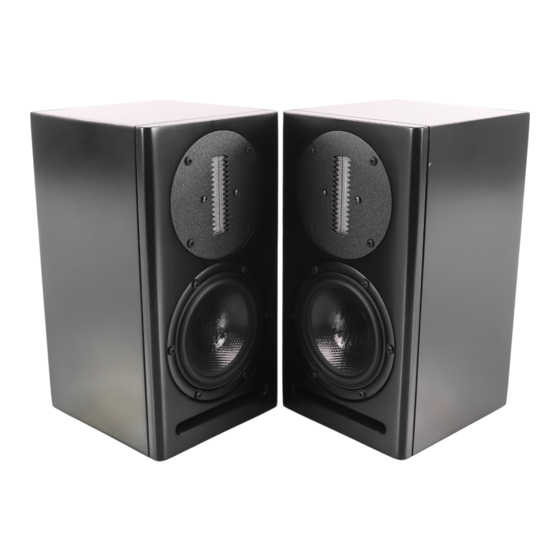
1 Remove the Tweeter
a) Gently lay the speaker back so the front of the speaker is facing upwards.
b) Using the Phillips head screwdriver, carefully remove the (4) screws from around the
perimeter of the tweeter and set them aside.
c) Lean the speaker forward and carefully remove the tweeter and gaskets from the cabinet.
d) Gently remove each female wire connector from the tweeter's male terminals. You will need
to gently wiggle the connector to remove it from the terminal. Do not apply too much force or
you will risk damaging the tweeter and/or the connector itself.
2 Remove the Woofer
a) Using the Phillips head screwdriver, carefully remove the (6) screws from around the
perimeter of the woofer and set them aside.
b) Lean the speaker forward and carefully remove the woofer from the cabinet. Sometimes the
woofer might appear to be stuck in the cabinet. This is due to the gasket between the woofer
basket frame and the cabinet itself. When this happens, we recommend inserting one of the
Phillips head screws you just removed into one of the woofer's mounting holes. Angle the
screw downward (or upward) so that the threads of the screw grip the basket frame and pull on
the screw. If still stuck do this same procedure in a few of the other mounting holes. If you still
can't get the woofer out, please call us.
c) Once the woofer is out, gently remove each female connector from the woofer's male
terminals. You will need to gently wiggle the connector to remove it from the terminal. Do not
apply too much force or you will risk damaging the woofer and/or the connector itself.
d) Take note of the woofer gasket.
ASCEND ACOUSTICS, INC.
Email: sales@ascendacoustics.com Fax (949) 420-2418
Luna to LunaV2 Upgrade Instructions
www.ascendacoustics.com
Advertisement
Table of Contents

Subscribe to Our Youtube Channel
Summary of Contents for Ascend Acoustics Luna
- Page 1 ASCEND ACOUSTICS, INC. www.ascendacoustics.com 1062 Calle Negocio Suite G, San Clemente, CA 92673 (949) 366-1455 Email: sales@ascendacoustics.com Fax (949) 420-2418 Luna to LunaV2 Upgrade Instructions Recommended Tools: Phillips head screwdriver Long shaft flat-head screwdriver Needle nose pliers Included Parts: LunaV2 crossover...
- Page 2 3 Remove the old crossover a) Once the tweeter and woofer have been removed, flip the speaker over so it is now laying face down. Be sure to push the crossover wires back into the cabinet so as to not scratch the cabinet.
- Page 3 Grab the other dampener and install into the right side of the slot port, repeating the above steps a-d. 9 Adhere the V2 product label a) Place directly above the serial number label. Congratulations, you are finished, enjoy your new Luna V2!!


Need help?
Do you have a question about the Luna and is the answer not in the manual?
Questions and answers